Create a Fundraiser Page
When a campaign page is completed in Umbraco, the next step is to create a fundraiser page. A fundraiser page is an individual or organization’s dedicated online page used to collect donations for a specific cause with a certain campaign.
To create a fundraiser page:
1. Login to the Umbraco staging backoffice using your login credentials. Navigate to Crowdfunding and then Campaigns under the Content tab.
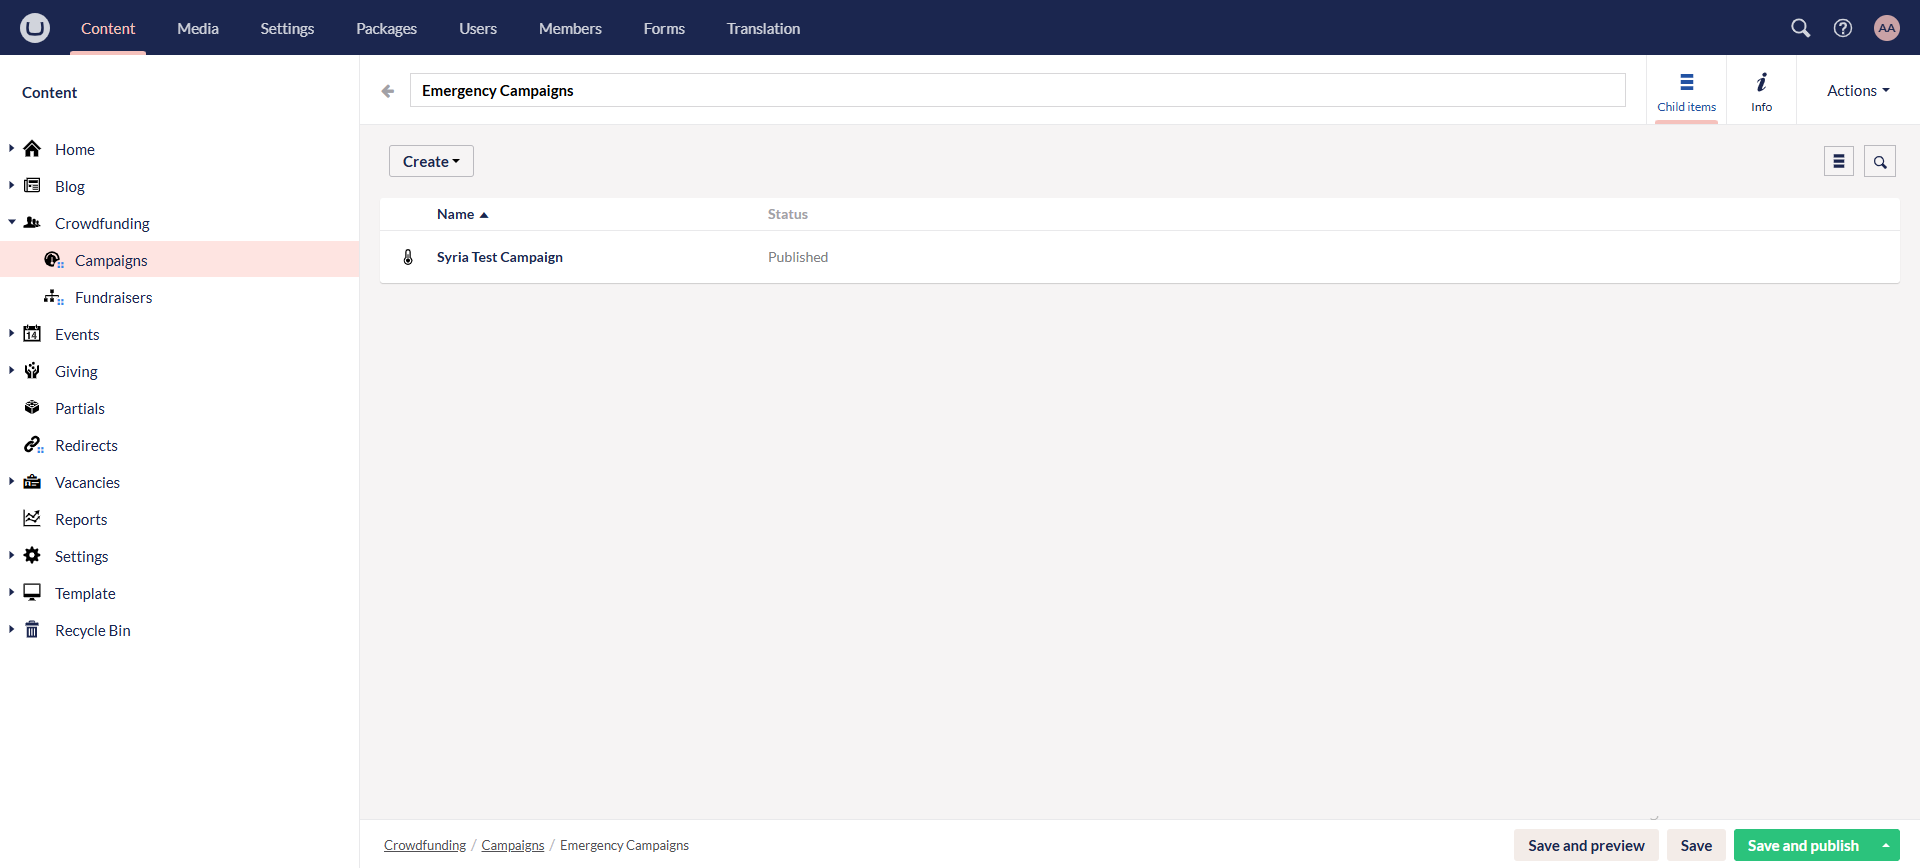
2. Open up any campaign and click Create a Fundraising Page.
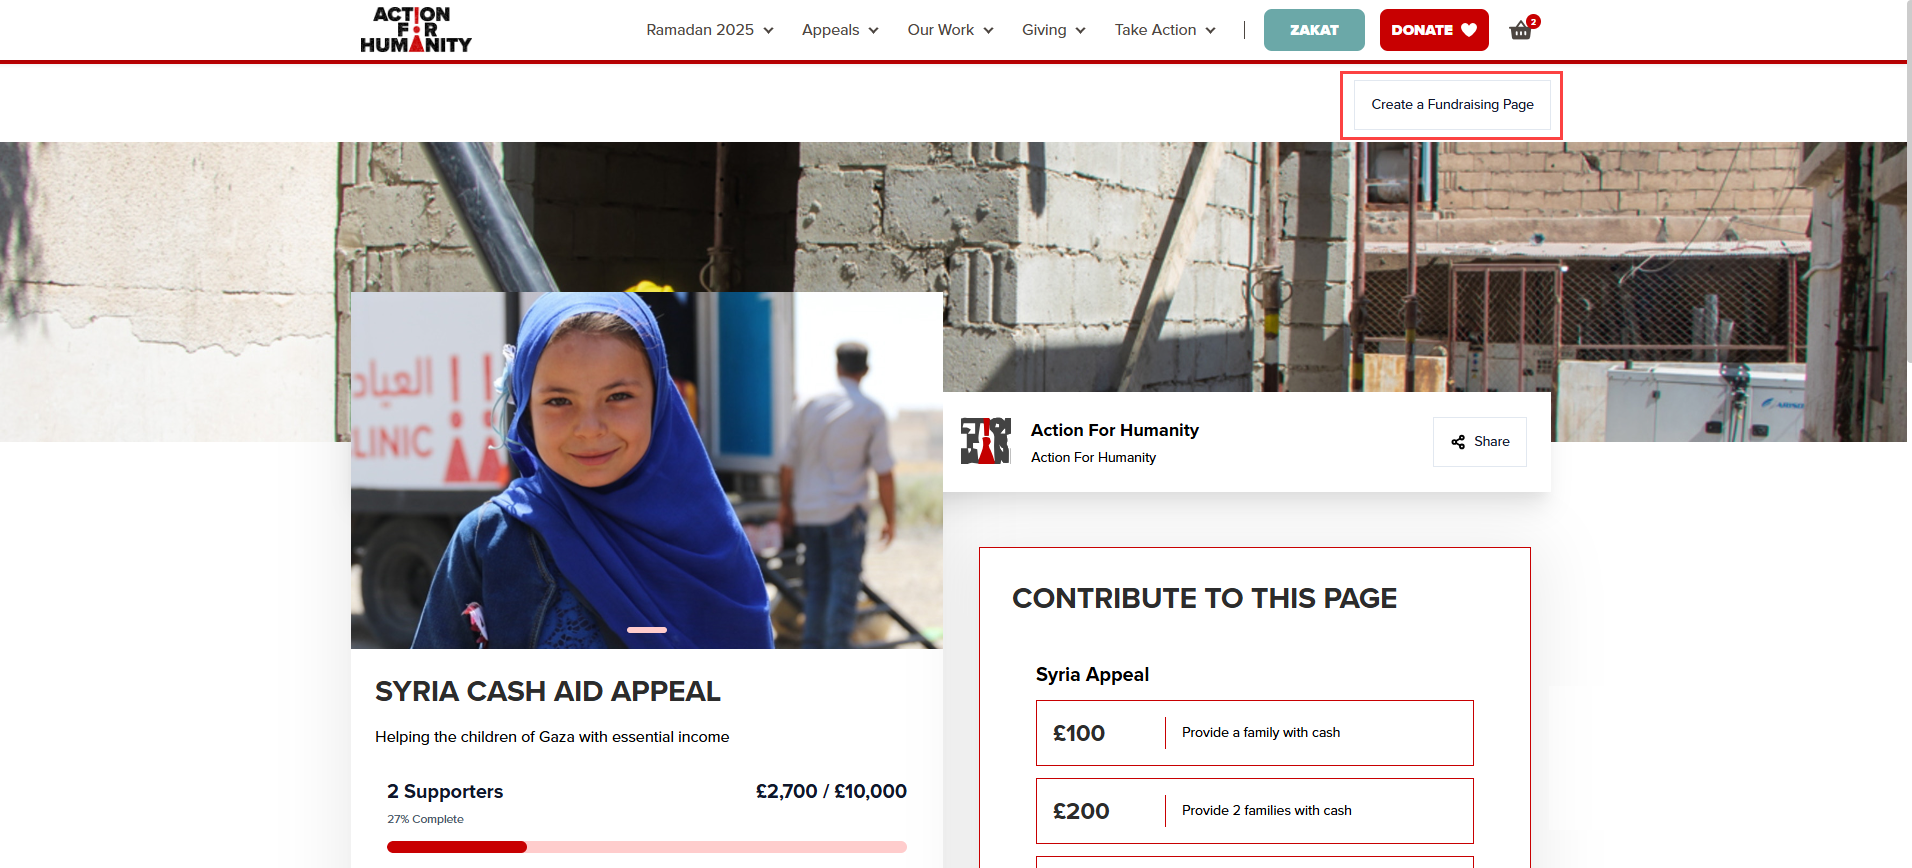
3. Click Sign In on the charity's main sign-in modal. Donors creating a page for the first time are redirected to a login module.
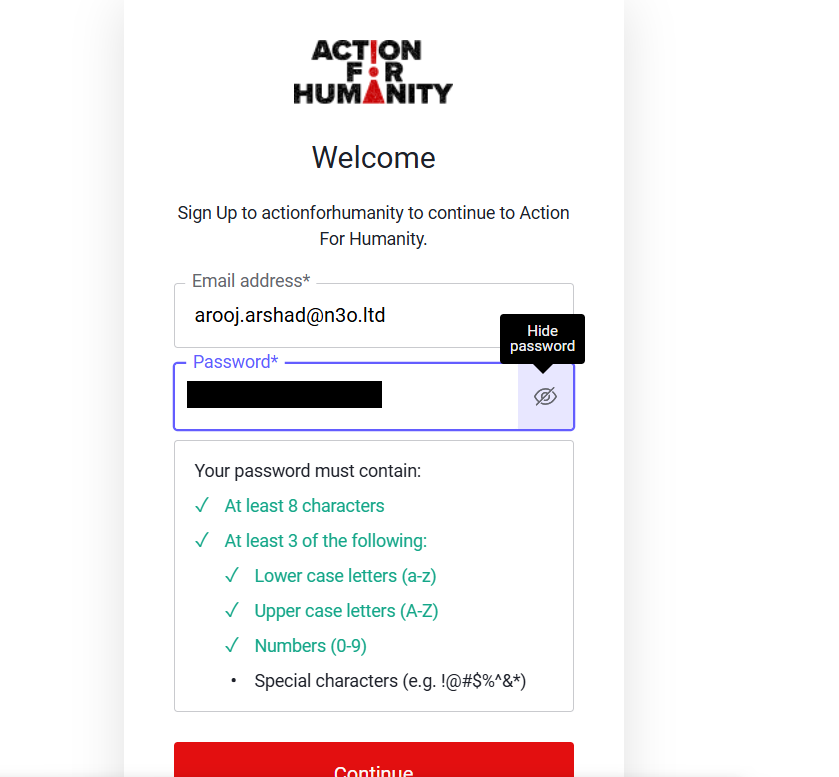
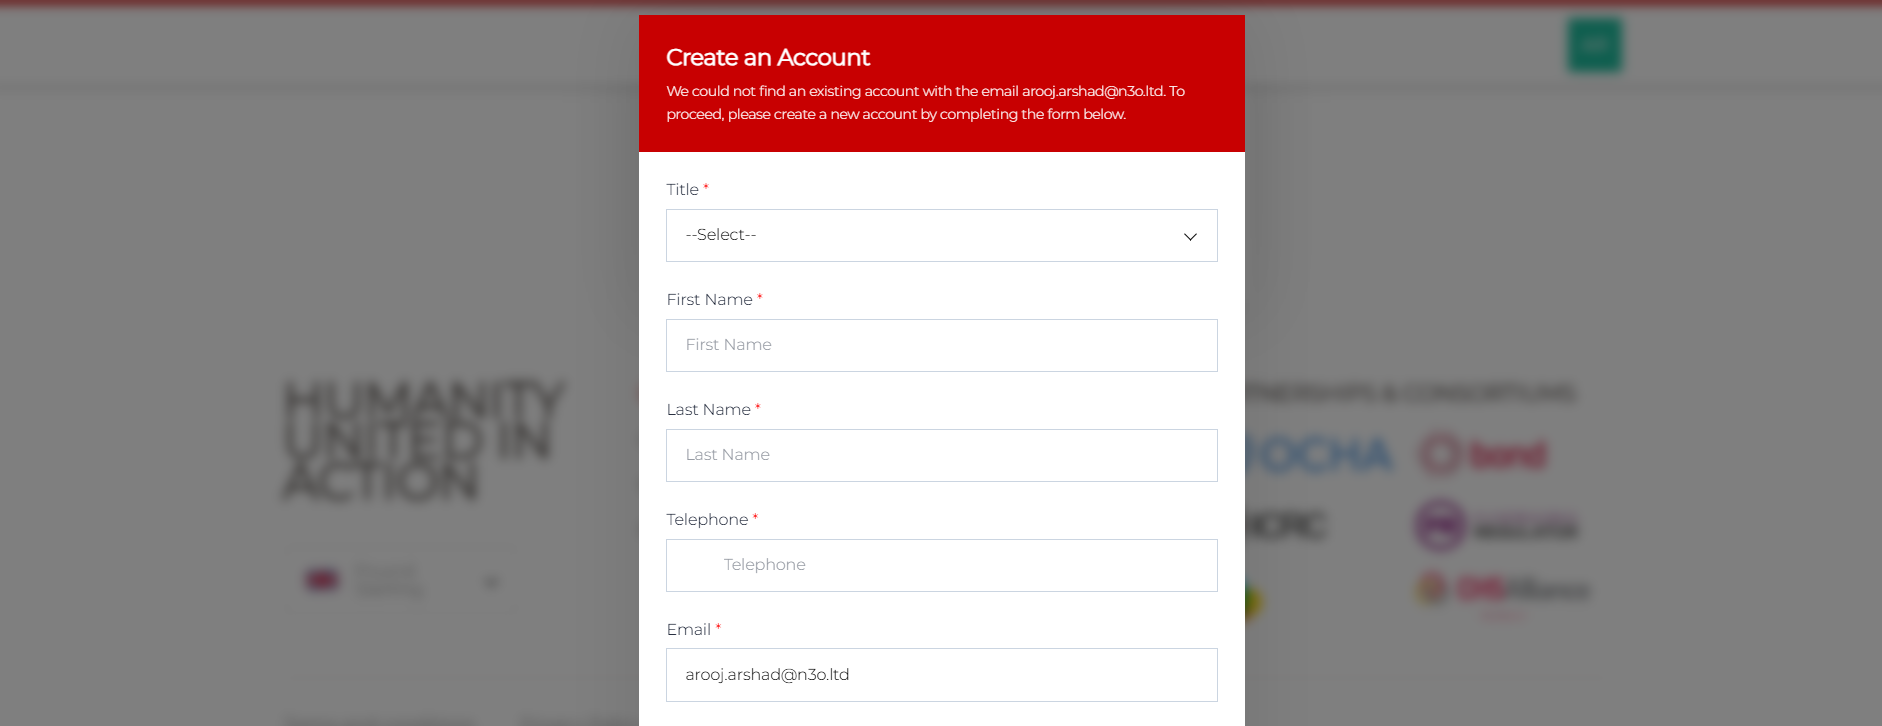
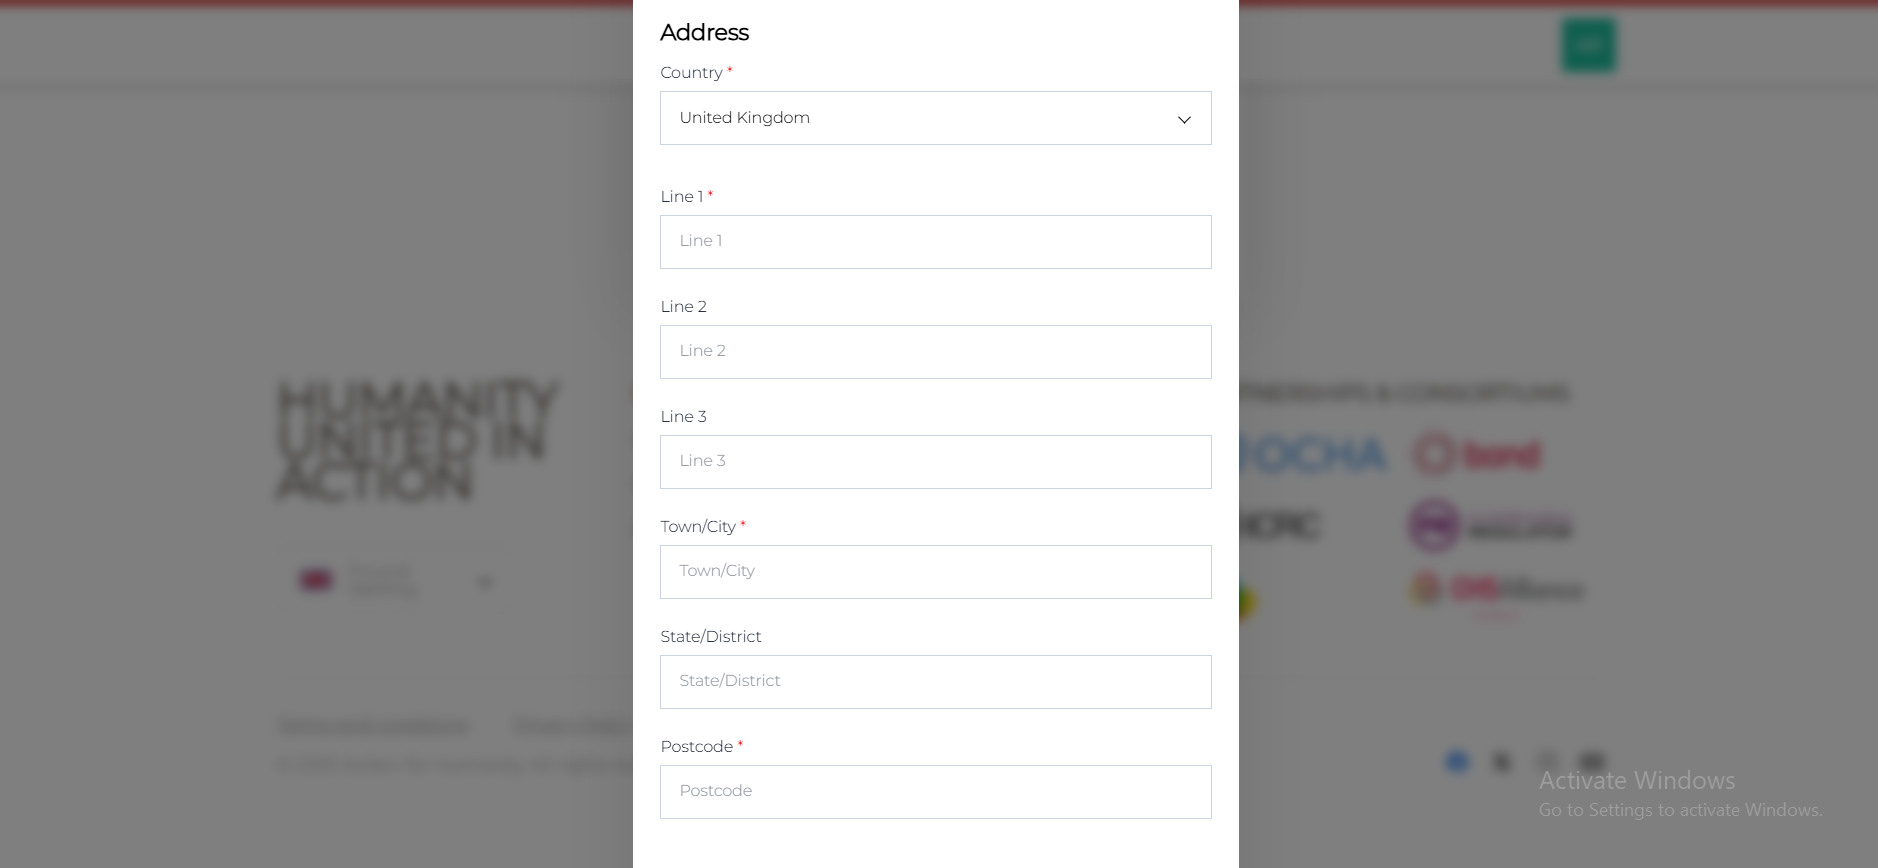
- If you do not have an account, click Sign up, enter your email and password and press Continue. Next, input all your account details (title, first & last name, telephone, email), address details (country, city, postcode, line number) and click Continue.
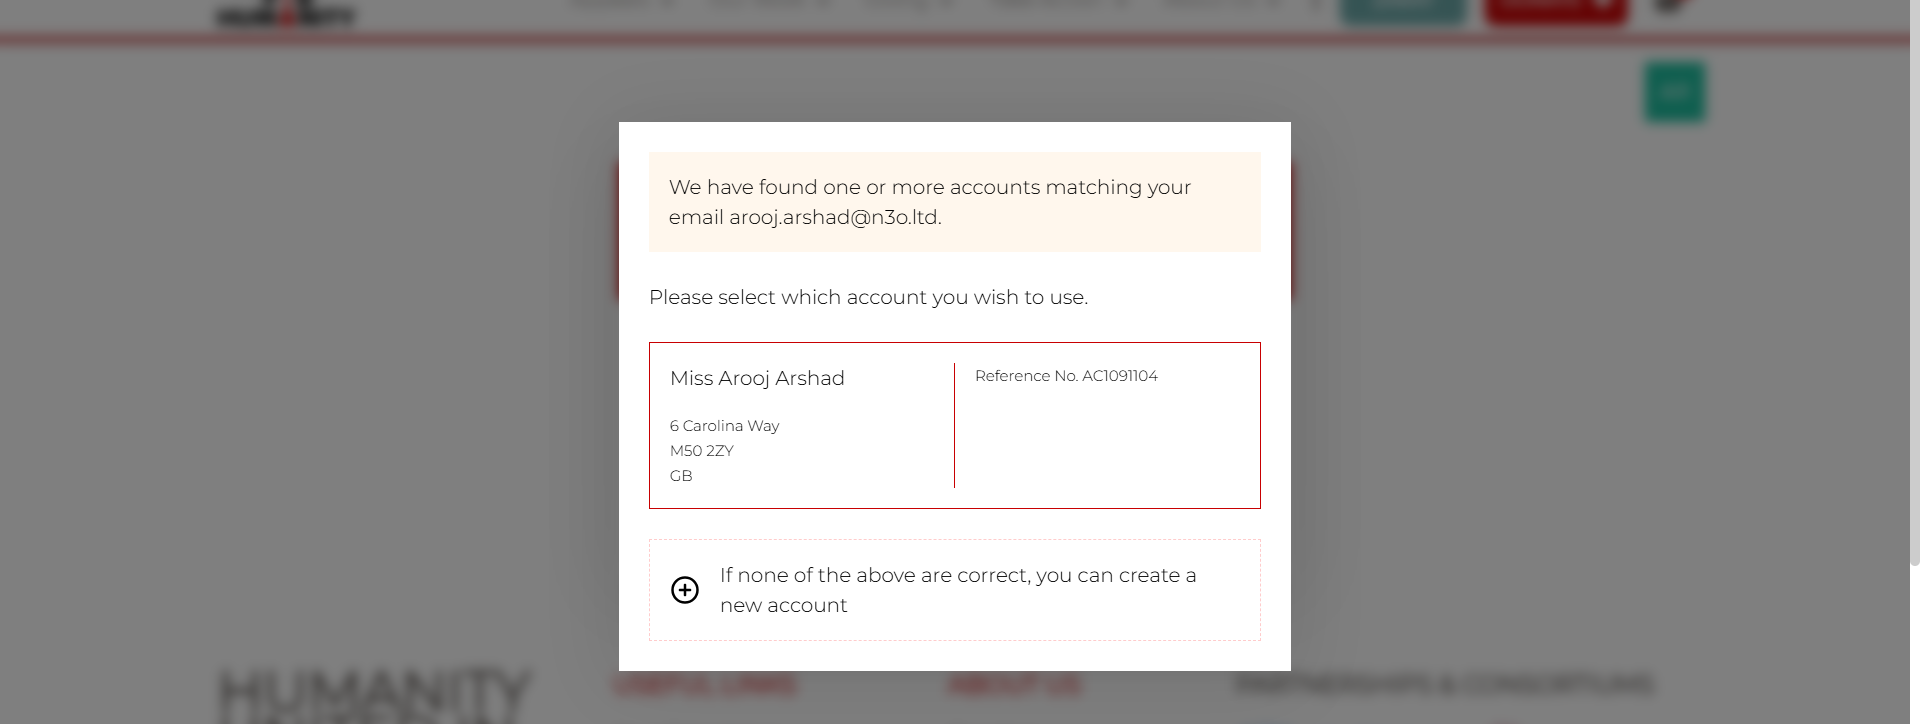
- If you have an account, then enter your email and password on the login module and the system searches for one or more matching accounts. Select the existing matched account, confirm your address and other details and click Continue.
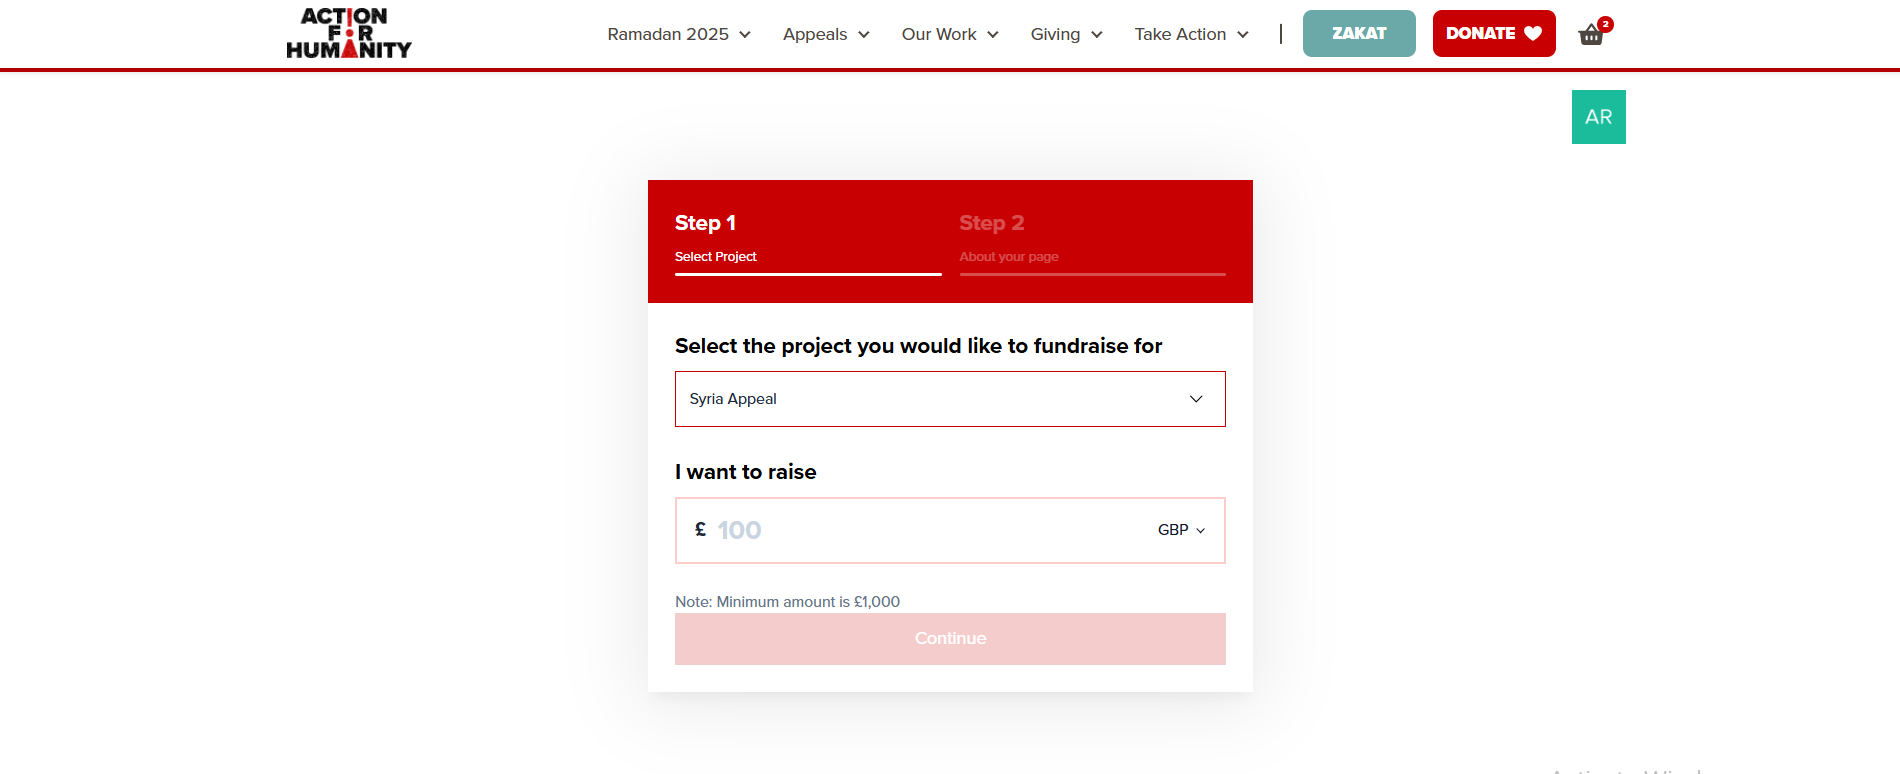
4. Moving forward, select the project which you would like to fundraise for, input the amount to raise and click Continue. These projects are the fundraiser goals added in the fundraising pages section while creating a campaign.
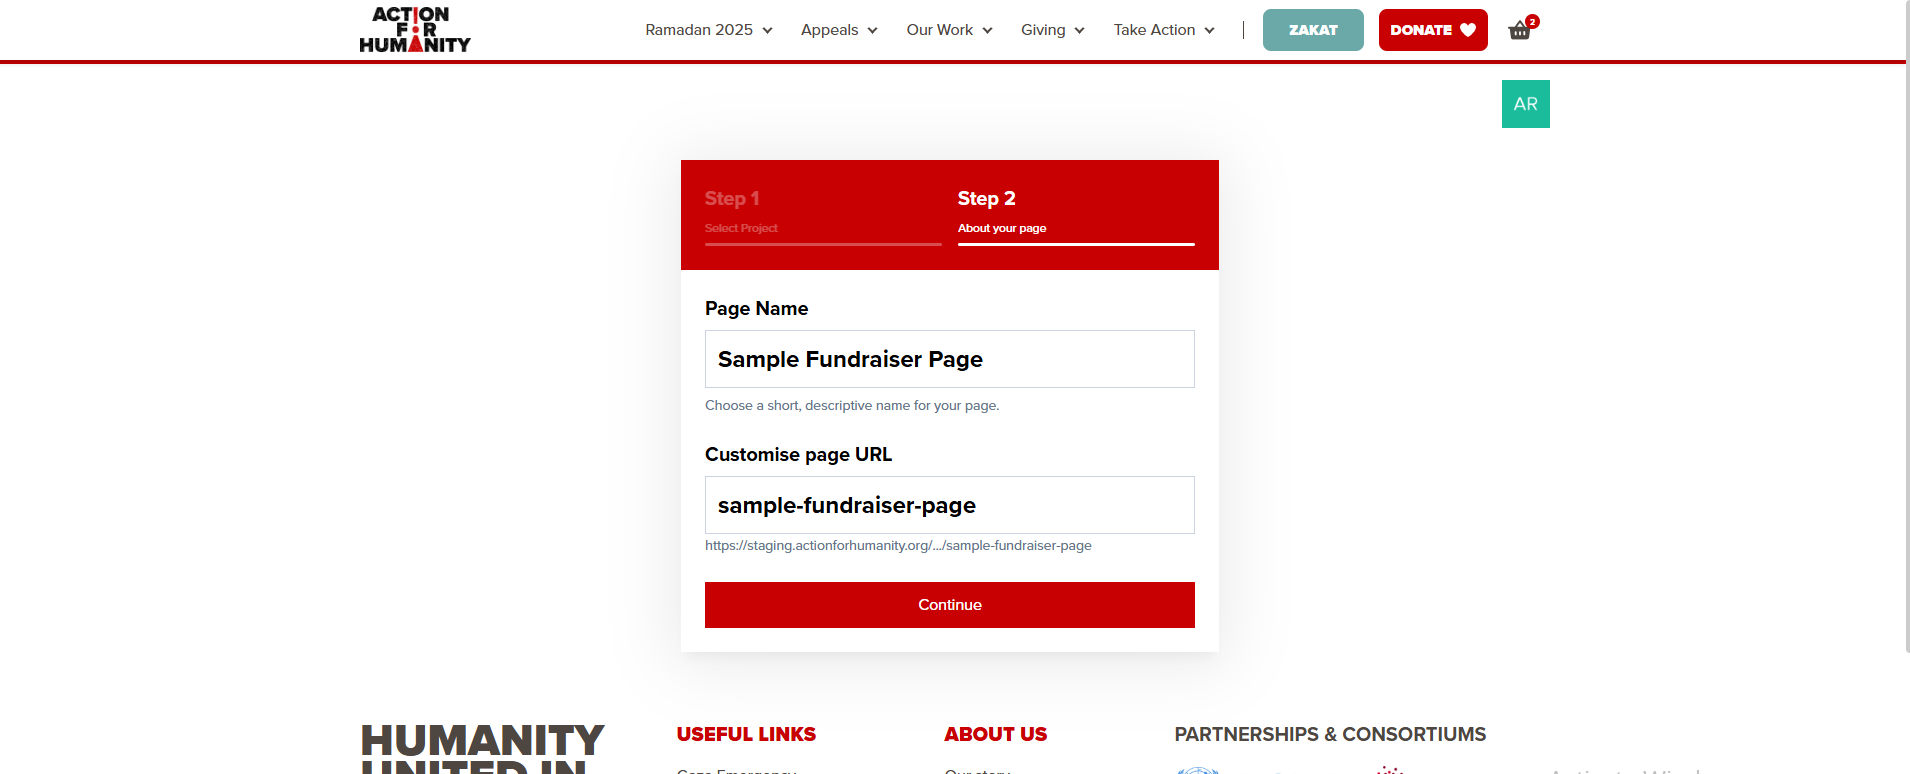
5. Input the fundraiser page name and a customized URL will be generated. You can also modify or customize the URL as per your preference. Click Continue.
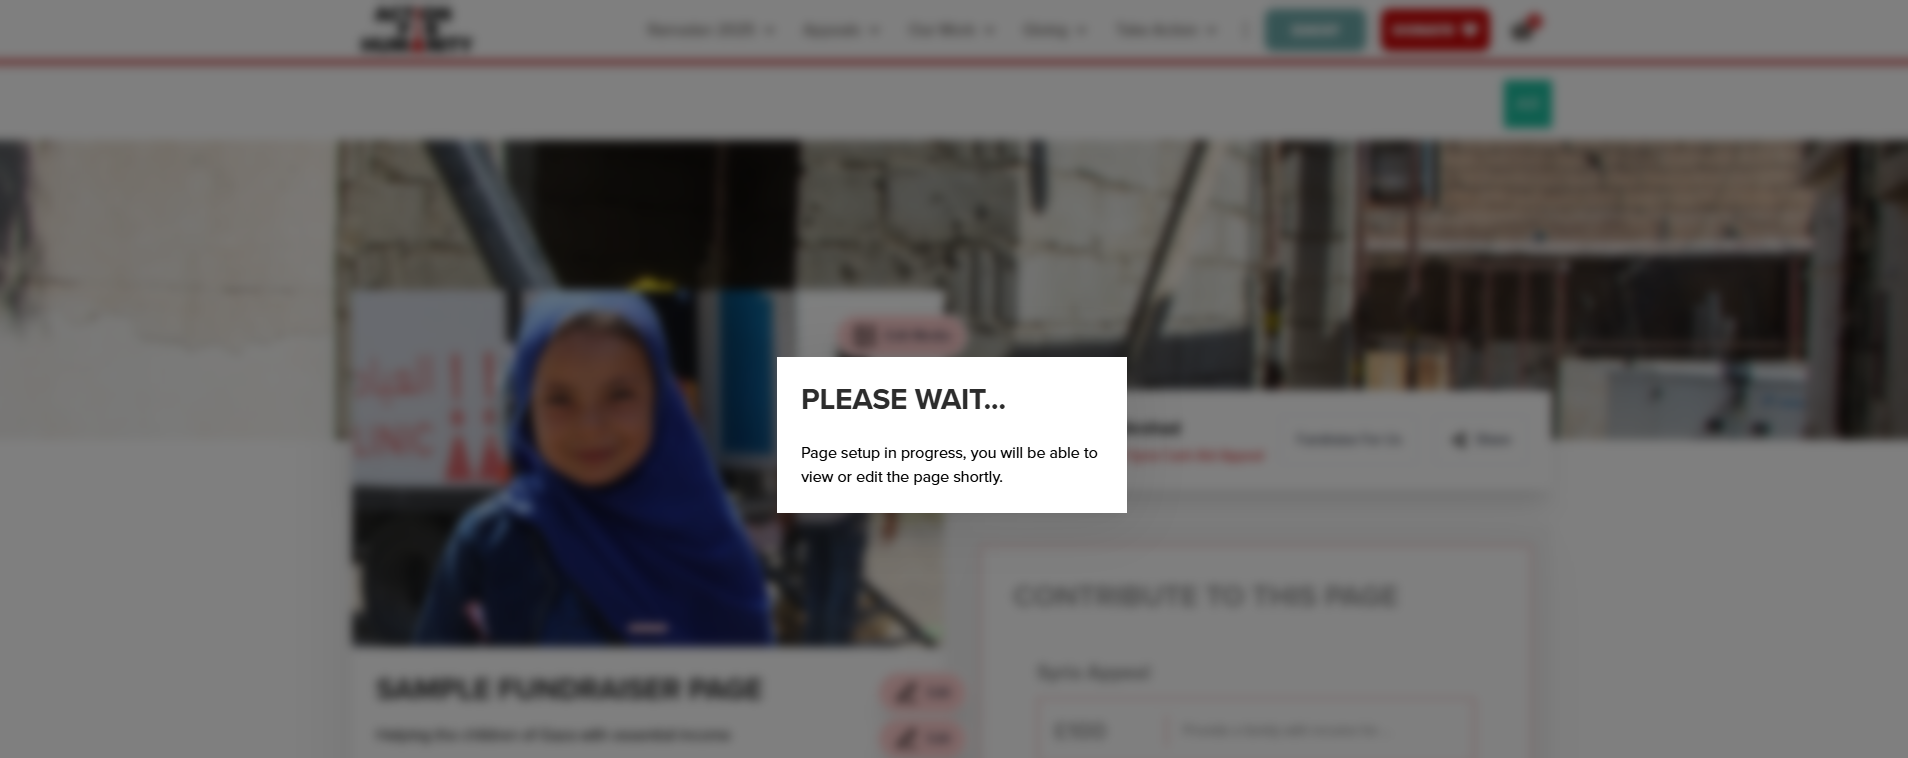
6. The system starts creating the fundraising page and a message is shown to please wait.
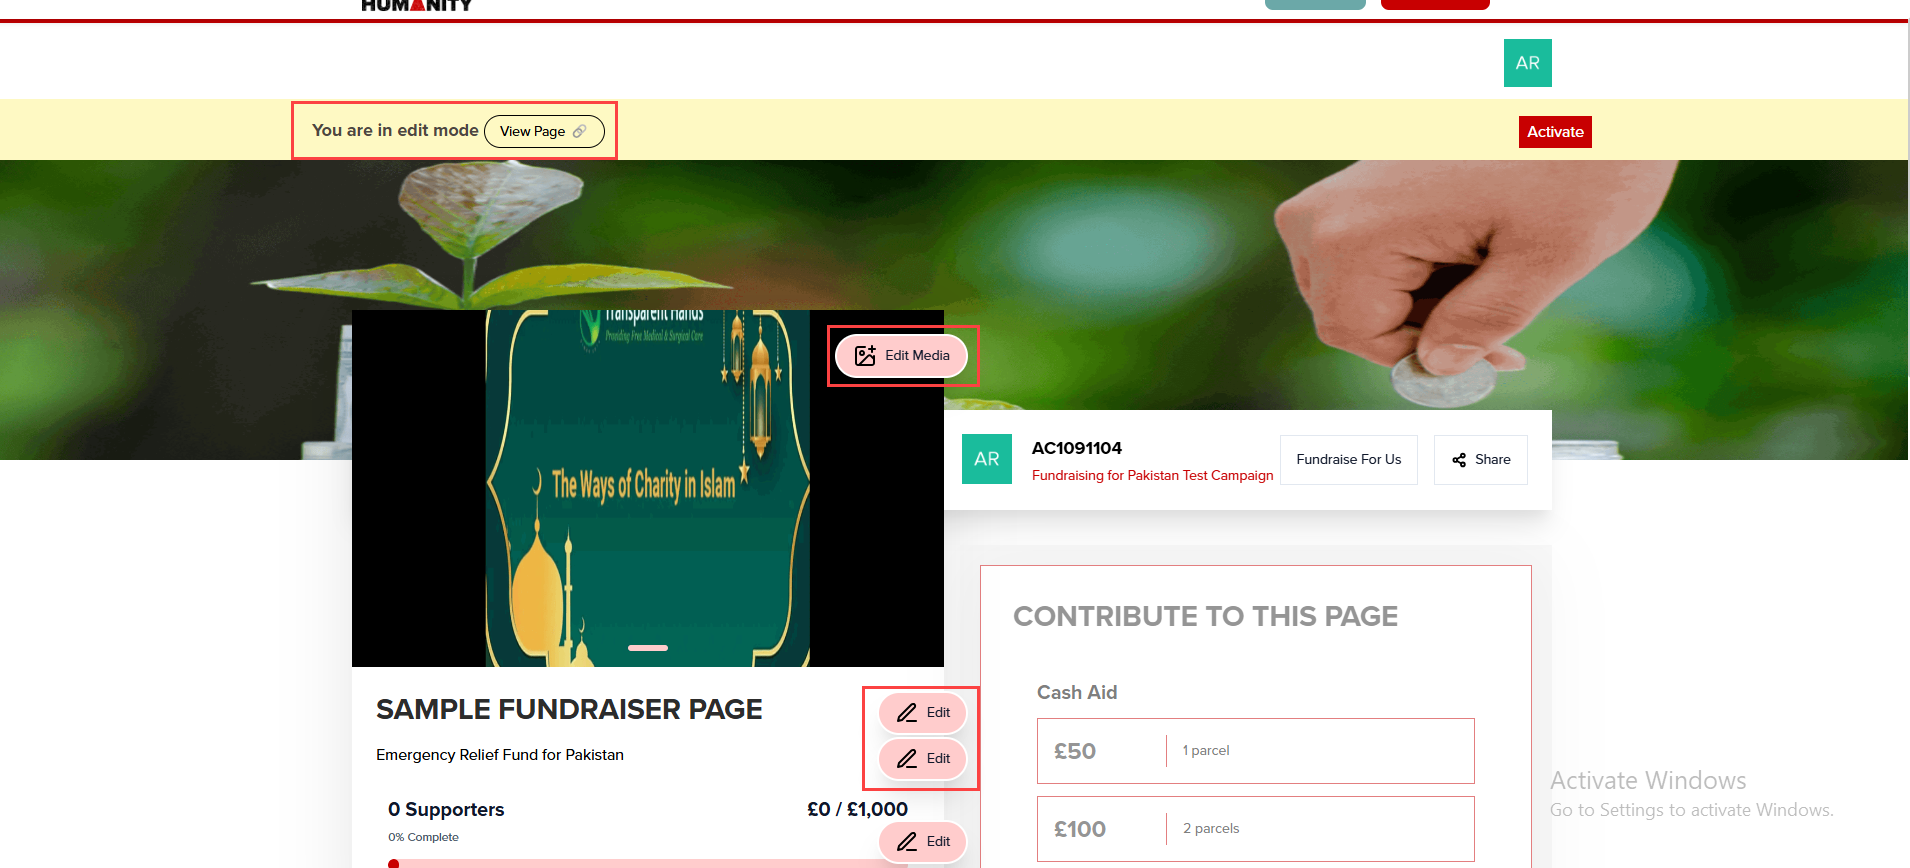
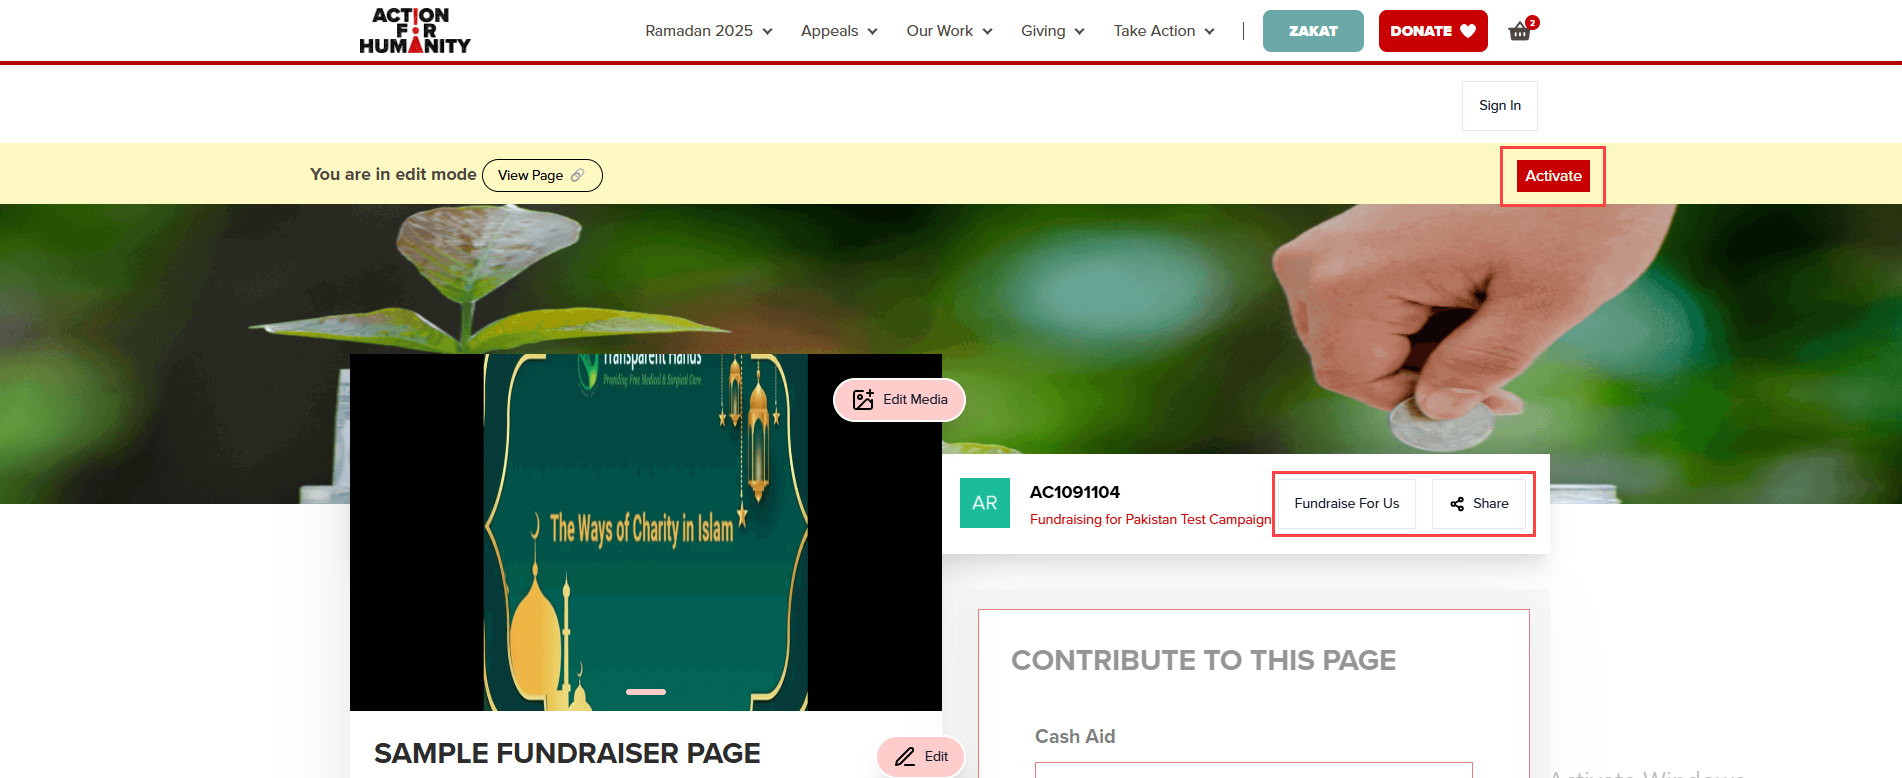
7. When the page gets created, it appears in an edit mode with a tagline: "You are in edit mode". You can edit different parts of the page including images, title, description, goal information and body description, that show an Edit option.
To edit an image, click Edit Media and "+" on the top right. Next, click Browse files, choose a new image from the system, edit and crop the uploaded picture, press Save, and then "Upload" to change the image.
To edit other parts, click Edit, change the existing and click Save.
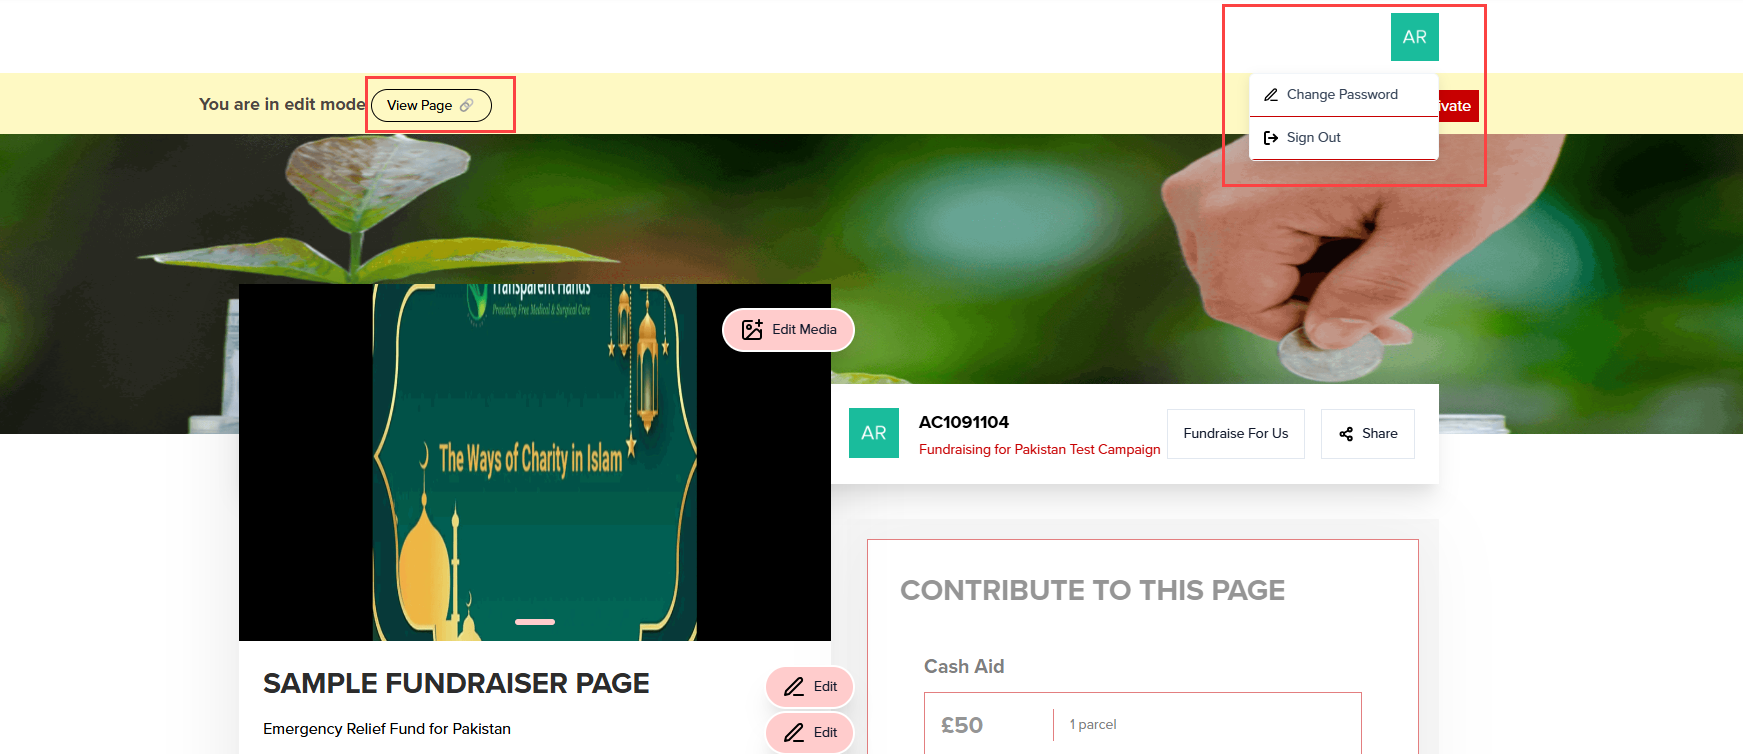
- You can also preview the page to see how it actually looks like via the View Page option.
- On the right-hand side, you will also see your account logo. Click the logo and you can change your password or sign out respectively.
8. For the fundraiser page to be accessible to everyone, click Activate. It takes a few seconds to activate the page and make it live.
- You can also share the page with other people via the Share option. Click the button and copy the link.
- You can also create a new fundraiser page via the Fundraise For Us option which will link it to the main campaign page.
The fundraiser page will always be in edit mode for the creator and live mode for everyone else.
Step 9 is for the internal N3O team only but can looked upon for more information.
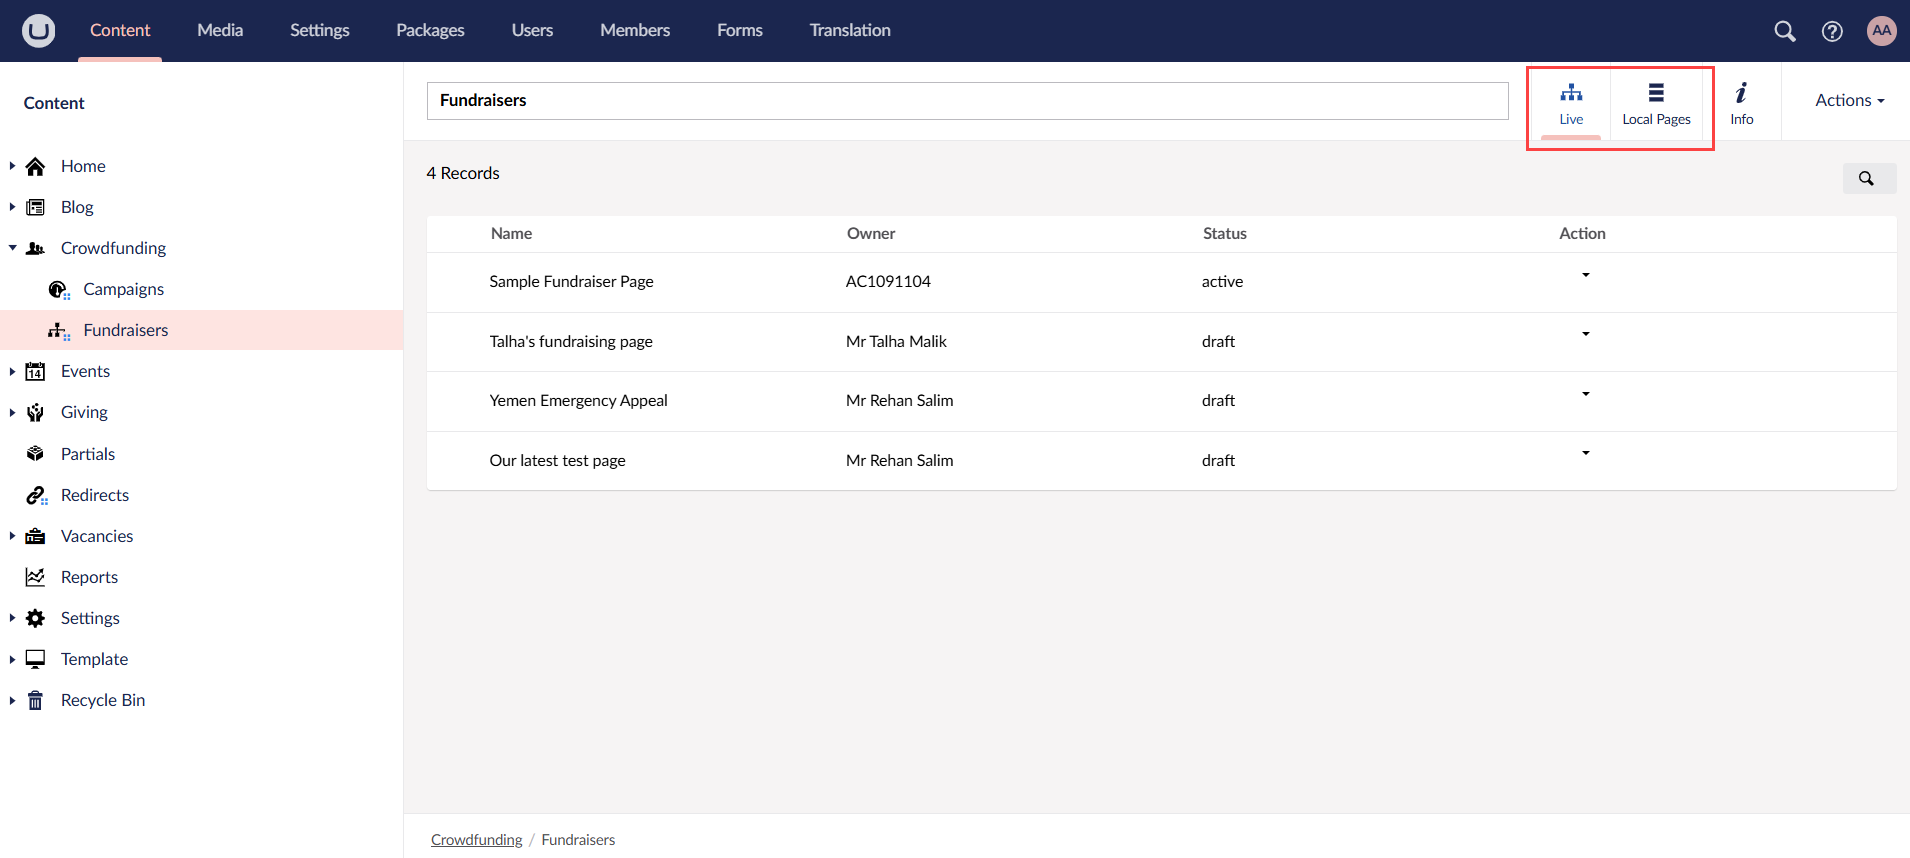
9. Each created fundraiser page is added and saved under the Fundraisers section in Umbraco. Expand Crowdfunding and click Fundraisers.
- Live fundraiser pages are saved under the Live tab with its page name, page creator account's name and status. You can view or edit a page via the drop down under Actions.
- Local fundraiser pages that are only saved and published in Umbraco are saved under the Local Pages tab with its page name and status.