Creating Accounts
In Engage, an account represents an individual or organization (business, school, or community group) which interacts with your organization and keeps track of contact details, preferences, donations, or sponsorships in a single place.
Accounts, whether individual or organization, are kept separate due to the difference between them regarding tax relief, data protection and many other areas in various locations. Also, Engage advises not to create a household account for a couple or family. In most locations, tax relief and consent options are specific to an individual and will not work as expected if individual accounts are combined. Instead, accounts can be grouped into households after exporting if you wish to do so for purposes such as a postal mailing.
This article will walk you through creating a new account within Engage.
To avoid any duplicate account and their problems, first search for an account within Engage.
Option 1: Create an Account from the Dashboard using Create
1. On the Engage dashboard, click the Create button. A bar containing different icons will be shown.

2. Click Create Account. This will take you to the create account screen.
Option 2: Create an Account from the Dashboard using Quick Navigation
1. On the Engage dashboard, navigate to quick navigation.

2. Click Create Account and a screen will appear to create the account.
Each individual and organization account has its own information that is needed to complete the account details and will vary with each subscription. If that information is not there, you can always come back later and add it.
Create an Individual Account
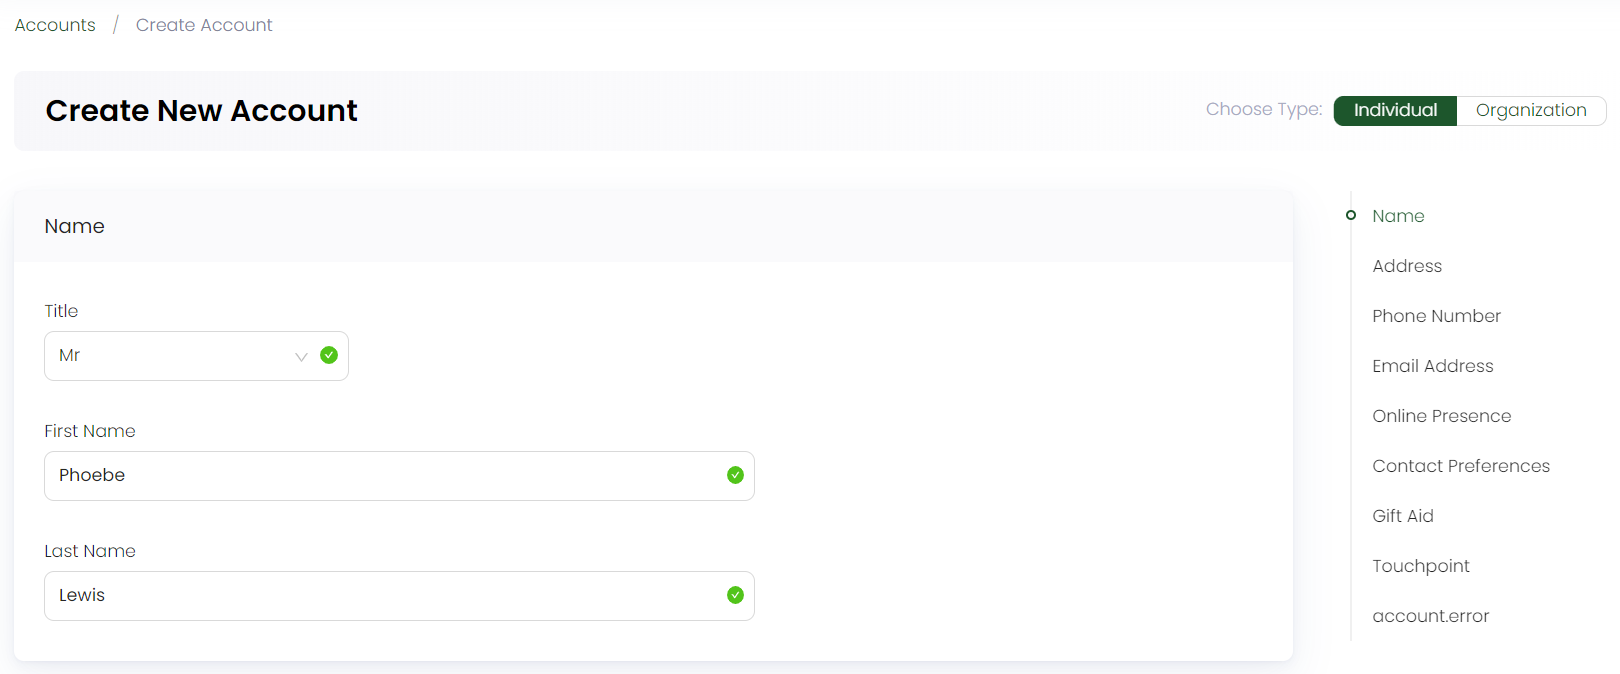
- By default, create new account screen always opens for an individual account.
- Sometimes, when entering account information while creating an account, e.g. name, address, background search may show previously existing accounts with a similar input. A task named as Possible duplicates found will appear.
1. In the Name section, specify the Title, First Name and Last Name.
The list of titles is maintained by your system administrator.
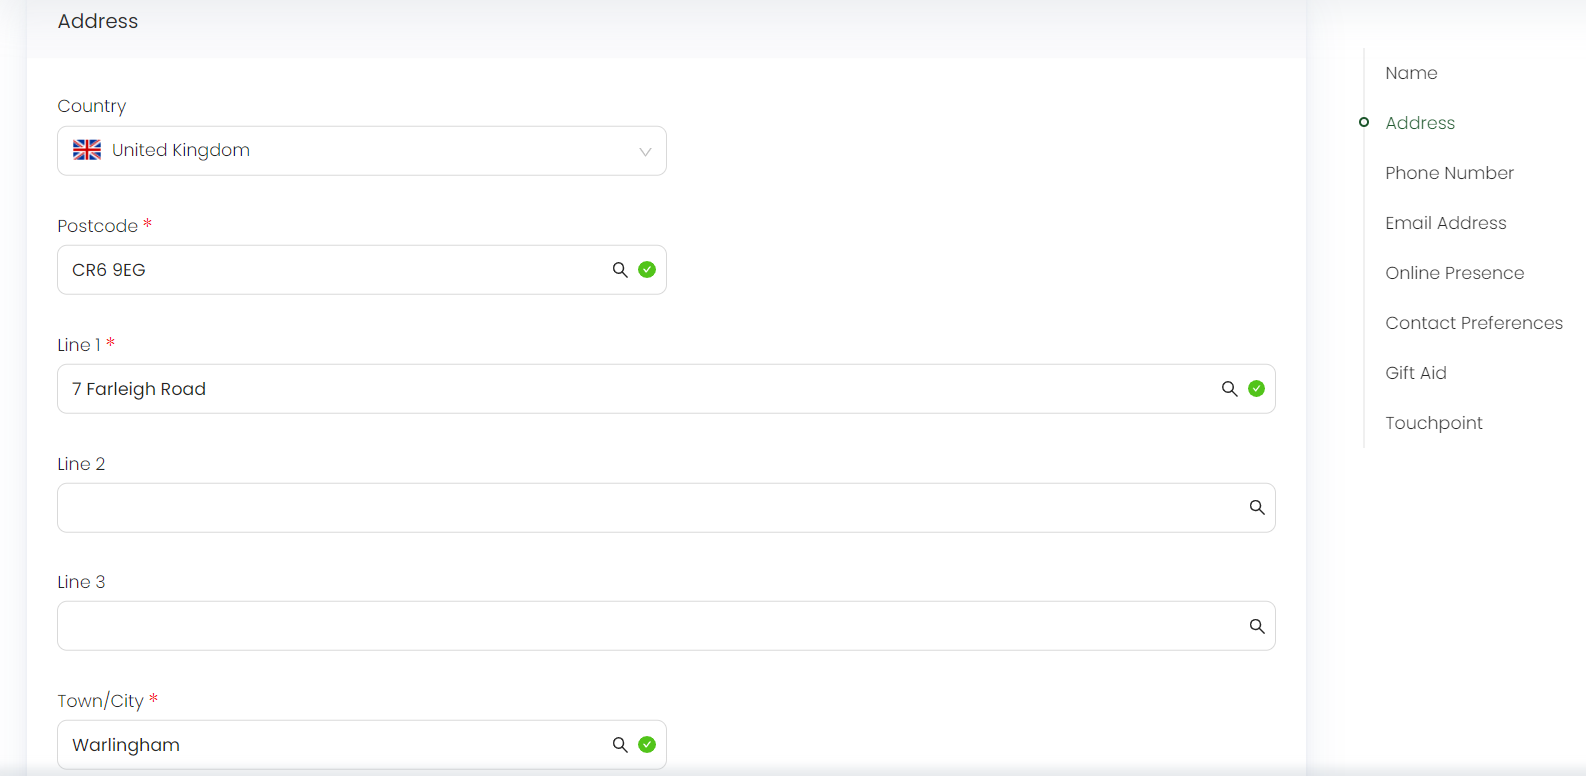
2. In the Address section, select the Country, and the Postcode, if any. Then input the address fields as Line 1, Line 2 or Line 3 and the Town/City.
- Most of the time, the address may appear relative to the postcode search.
- Some countries might not have a postcode e.g. Dubai, Ireland etc. and their address input parameters might be different.
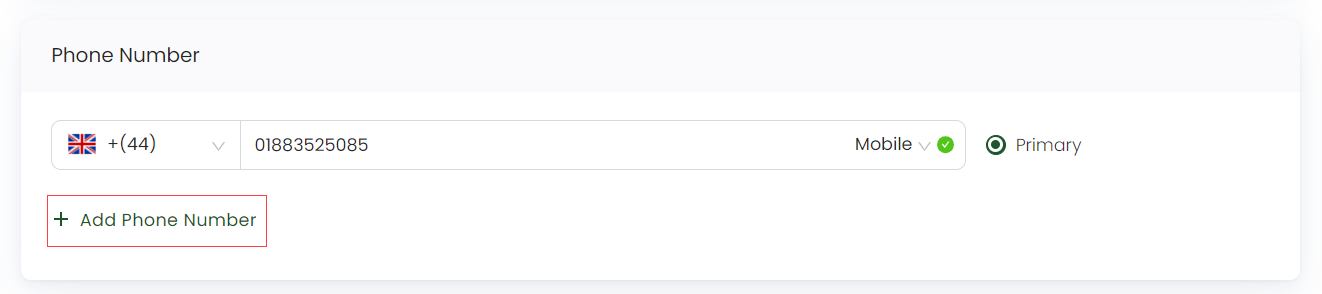
3. Moving forward, in the Phone Number section, enter the accounts phone number in the format "(country code) (phone number)" for e.g. +447884424343 is a UK phone number with 10 digits saved in the system. Most of the time the system will be able to detect if the number is a fixed line or mobile, but if not, set it manually. The first number will become the primary number which is the one used by automated processes in the system. You can also add extra phone numbers with + Add Phone Number and remove them with the Remove button.
For incorrect and incomplete phone numbers, a validation pop-up error message will appear.
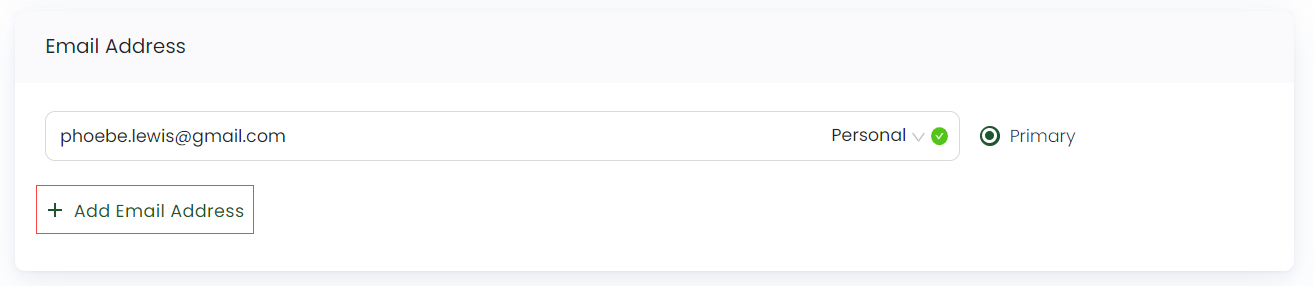
4. In the Email Address section, input the accounts email. Most of the time the system will be able to detect if the email is work or personal, but if not, set it manually. The first email will become the primary email which is the one used by automated processes in the system. You can also add extra email addresses with + Add Email Address and remove them with the Remove button.
5. In the Online Presence section, select the digital platform you use to interact online with other people, for example, Facebook, YouTube, Instagram, etc., via the drop-down and input an example.

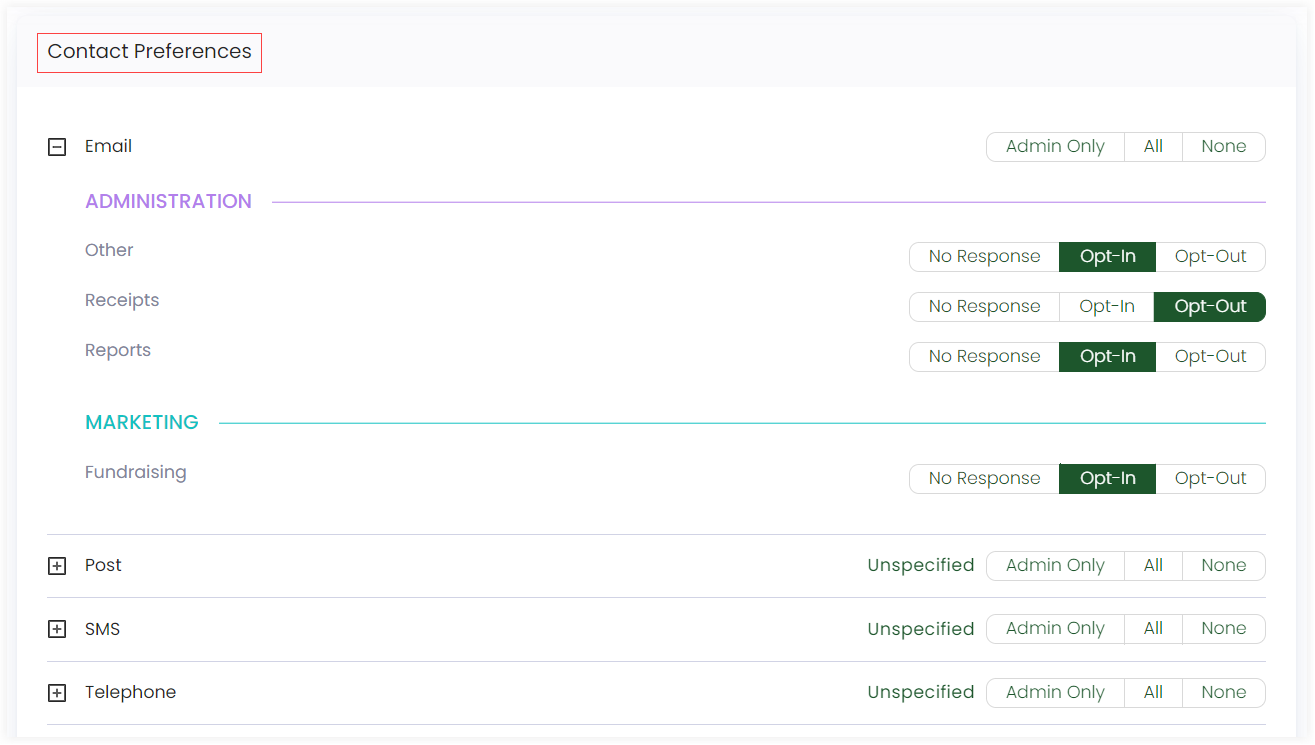
6. For the Contact Preferences section, select the way you want to receive communication i.e. via Email, Post, SMS or Telephone. For details, refer to the Contact Preferences documentation.
You can select two categories at one time by using the Opt-In and Opt-Out options.
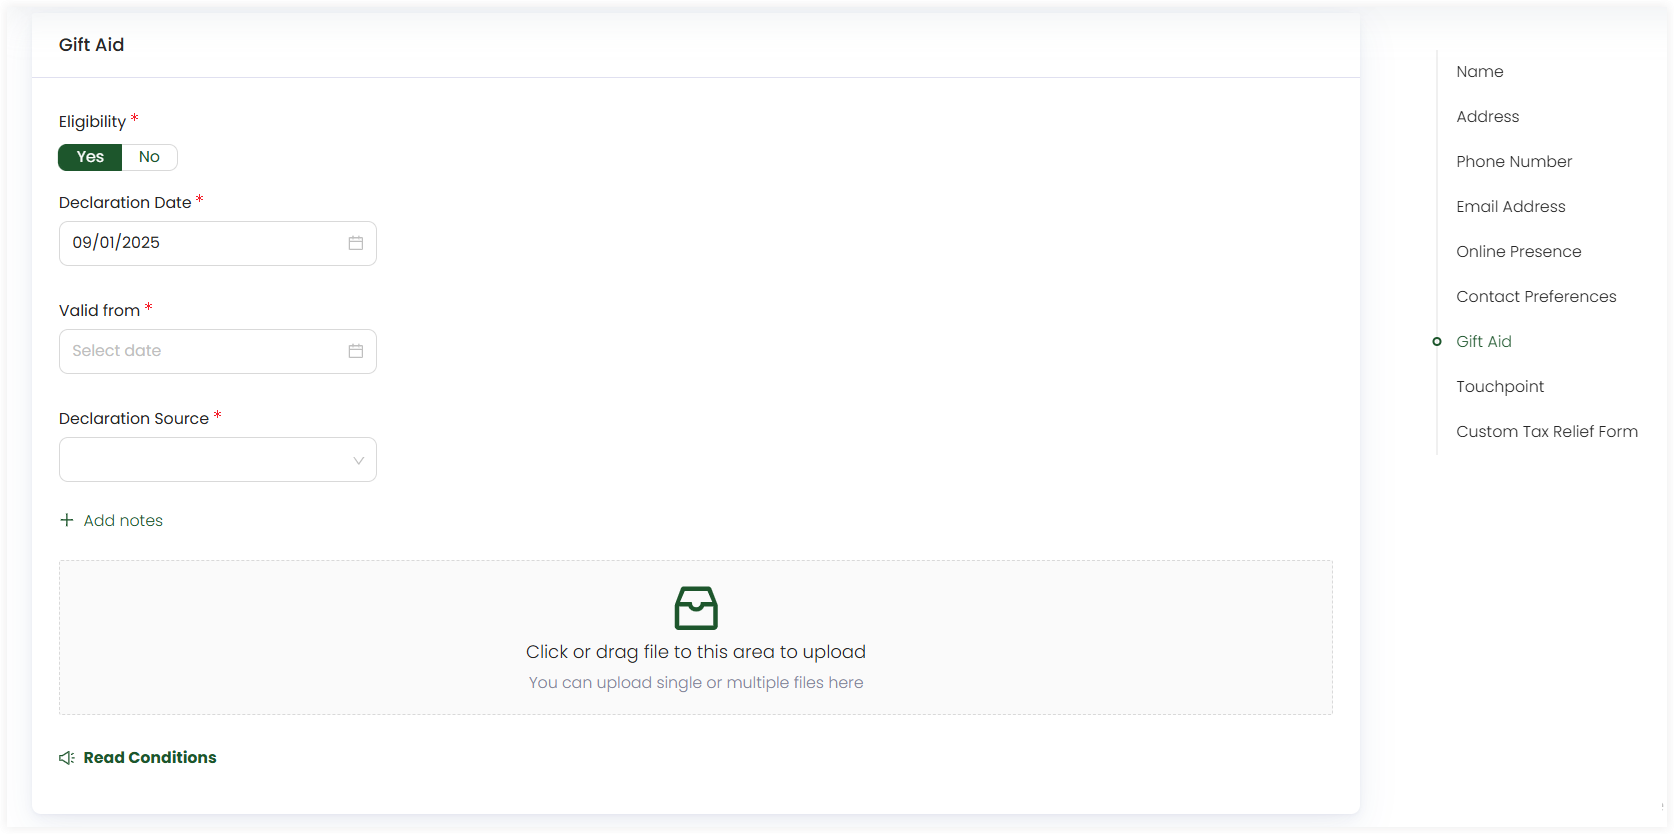
7. You can also specify tax relief preferences / Gift Aid associated with the account.
- If you select Tax Eligibility as yes, then choose the Valid From date, the Declaration Source from the drop-down and any other tax files that you want to upload. Declaration date is prepopulated by the system.
- If you select Tax Eligibility as no, then choose the reason as unspecified, declined or other and any other tax files that you want to upload. Declaration date is prepopulated by the system.
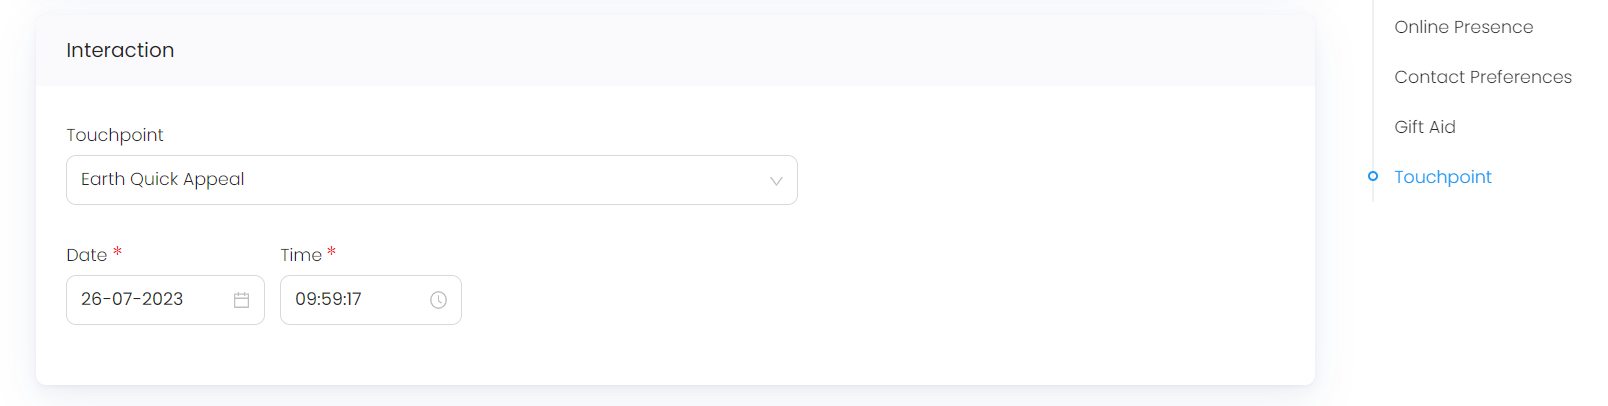
8. If you wish to track the source of the account for analytics purposes you can do that by assigning an initial touchpoint to the account. If unsure, leave this blank. For more information, go to Interactions documentation.
9. In the Add more details to the account section, select the custom form and add all its required details. This section only appears if custom forms are added and configured by the administrator in the Admin part of Engage.

10. Click + Create Account. At this point, you may see one or more validation messages in Engage indicating missing or incorrect data that must be specified or corrected to proceed. Solve the validation messages, if any, and your account is created successfully.
Differences between Individual and Organization Accounts
The list of organization types is managed by your system administrator.
While creating an individual and organization account, there are some fields which require different information to be added for both. Rest of the sections in an organization account including address, phone number, email etc. are added the same way as for an individual account.
| Field | Individual Account | Organization Account |
|---|---|---|
| Name | Input Title, First Name and Last Name. | Input Organization Name and select the Organization Type from the drop-down. |
| Contact Person | Individual account does not have this field. | Input Title, First Name and Last Name. |
| Gift Aid | Specify the tax relief as yes or no. | Tax relief is not eligible for an organization account. |