Mailchimp
A list created in Engage can be connected with multiple external email marketing platforms. This can be handy for sending bespoke thankyou or other emails to donors for their donations or extra efforts. In this guide, you will learn how to connect your list with Mailchimp.
Create an Audience and API Key in Mailchimp
Login to your Mailchimp account and first set up an audience. Your audience is where you will store and manage all your contacts/donors data. If you have existing one, you can also use that but for now let's create a new one.
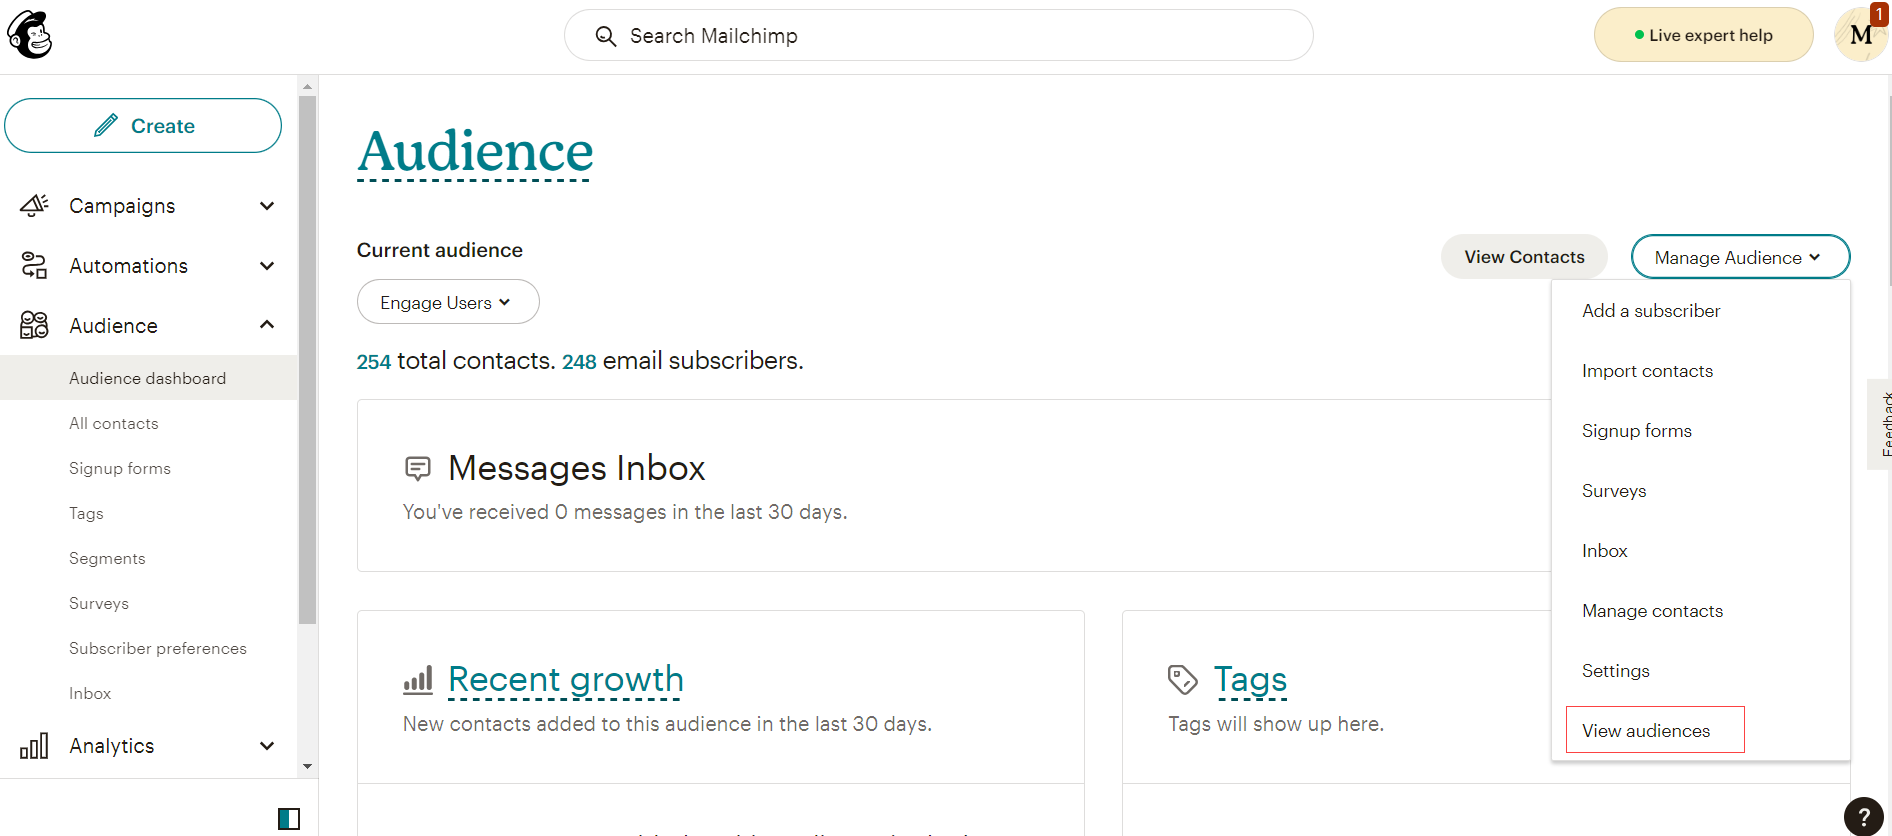
1. Click Audience, then click Audience dashboard in the sidebar menu.
2. Click the Manage Audience drop-down and choose View audiences.
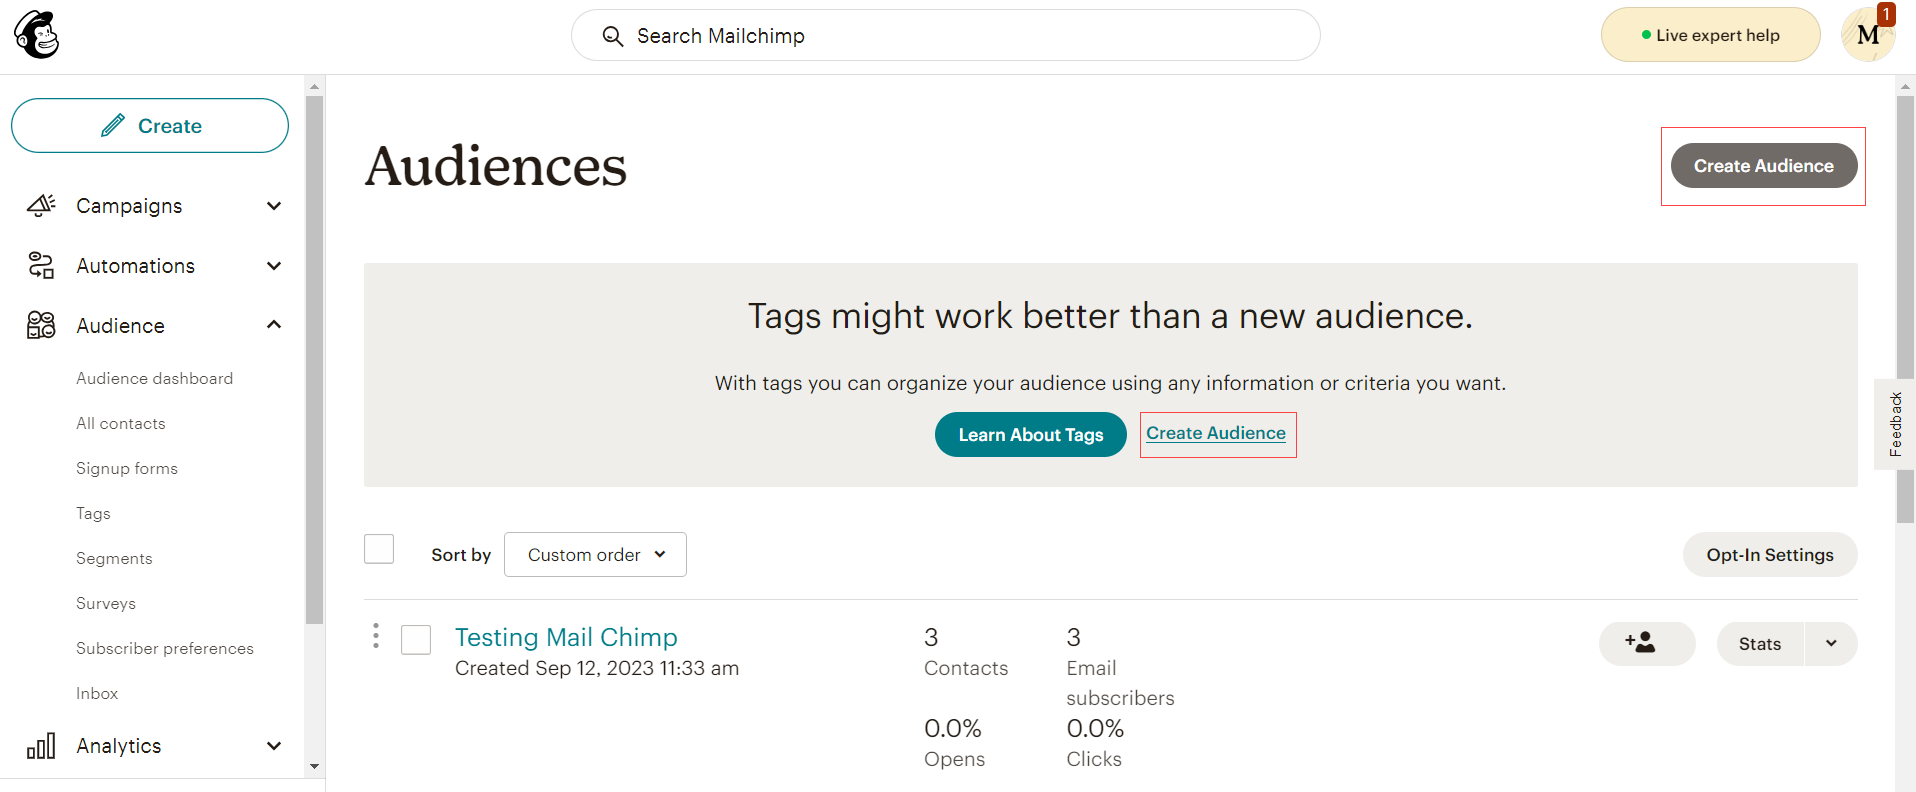
3. Click Create Audience. In the confirmation box, click Create Audience, next to Learn About Tags.
4. Enter the details in the fields provided like audience name, default name, email address and campaign URL settings according to your organization.
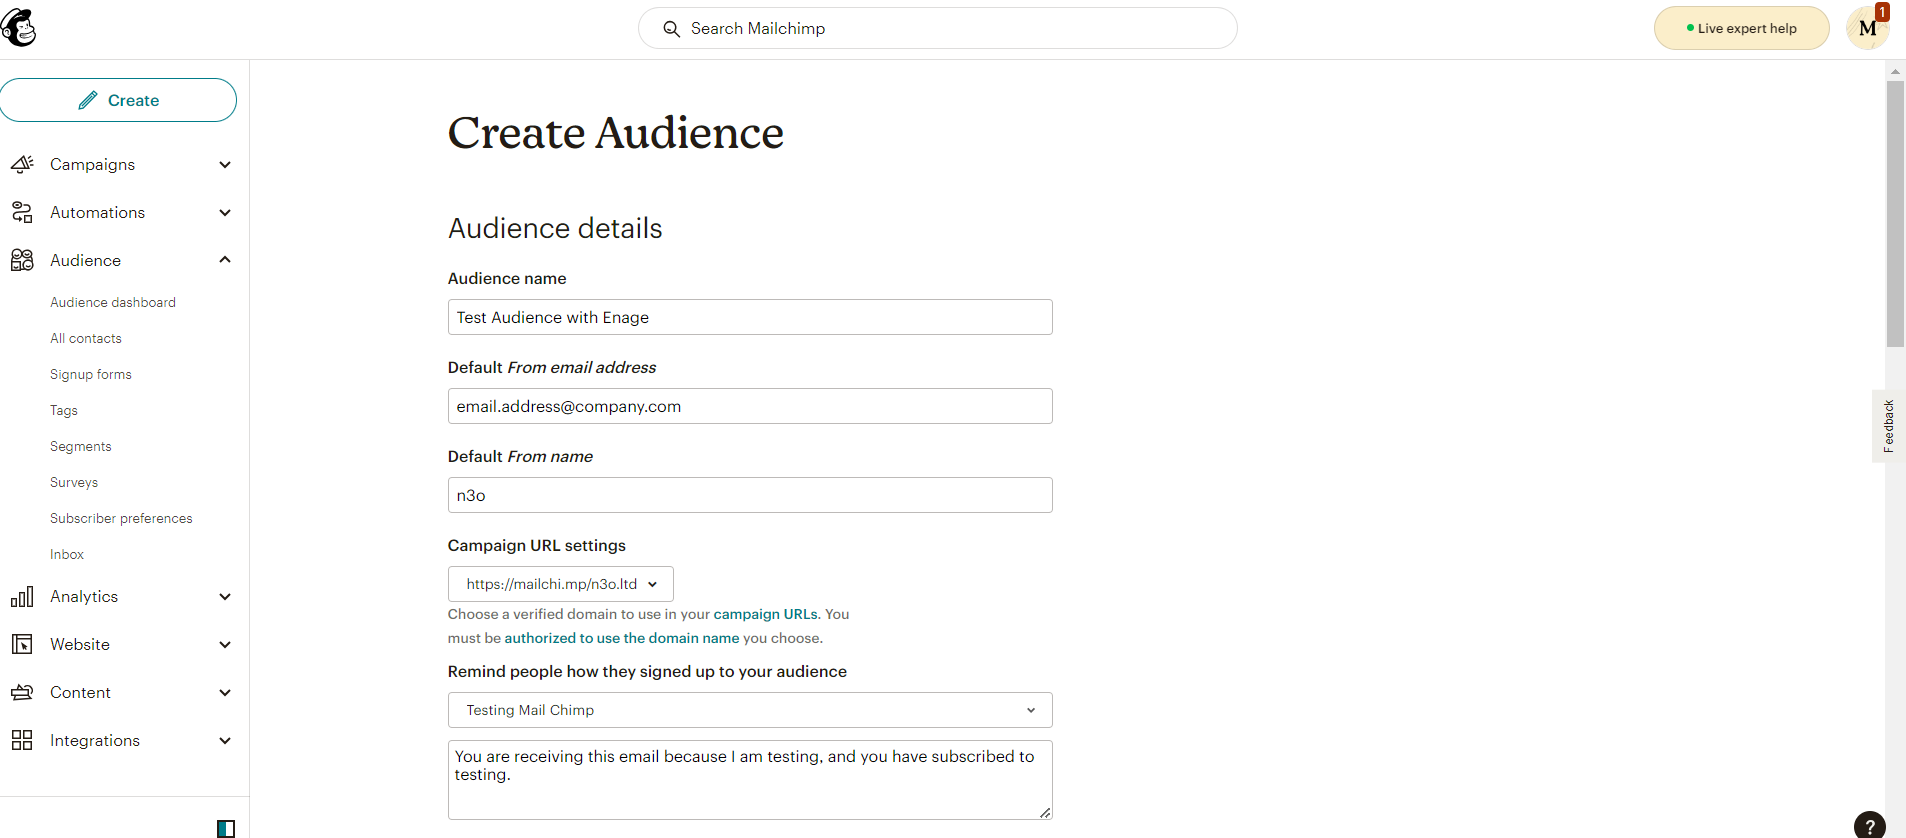
5. Review the Contact information for this audience, and edit if needed. This will be prepopulated according to your organization details that you added while creating an account.
6. In the Form Settings section, choose the opt-in method for your audience. As an Engage user, donot tickmark the Enable double opt-in option, rather prefer the other one.
7. In the Notifications section, review the email address that you'd like to receive notifications about your audience, and edit if needed. Click Save. As soon as your audience gets created, you will be able to import contacts within it from Engage.
Now, generate an API key for your audience in order to connect Mailchimp with Engage.
You will only be able to see the full API key immediately after you generate it. After that, you will only see the name given to it and its first 4 digits.
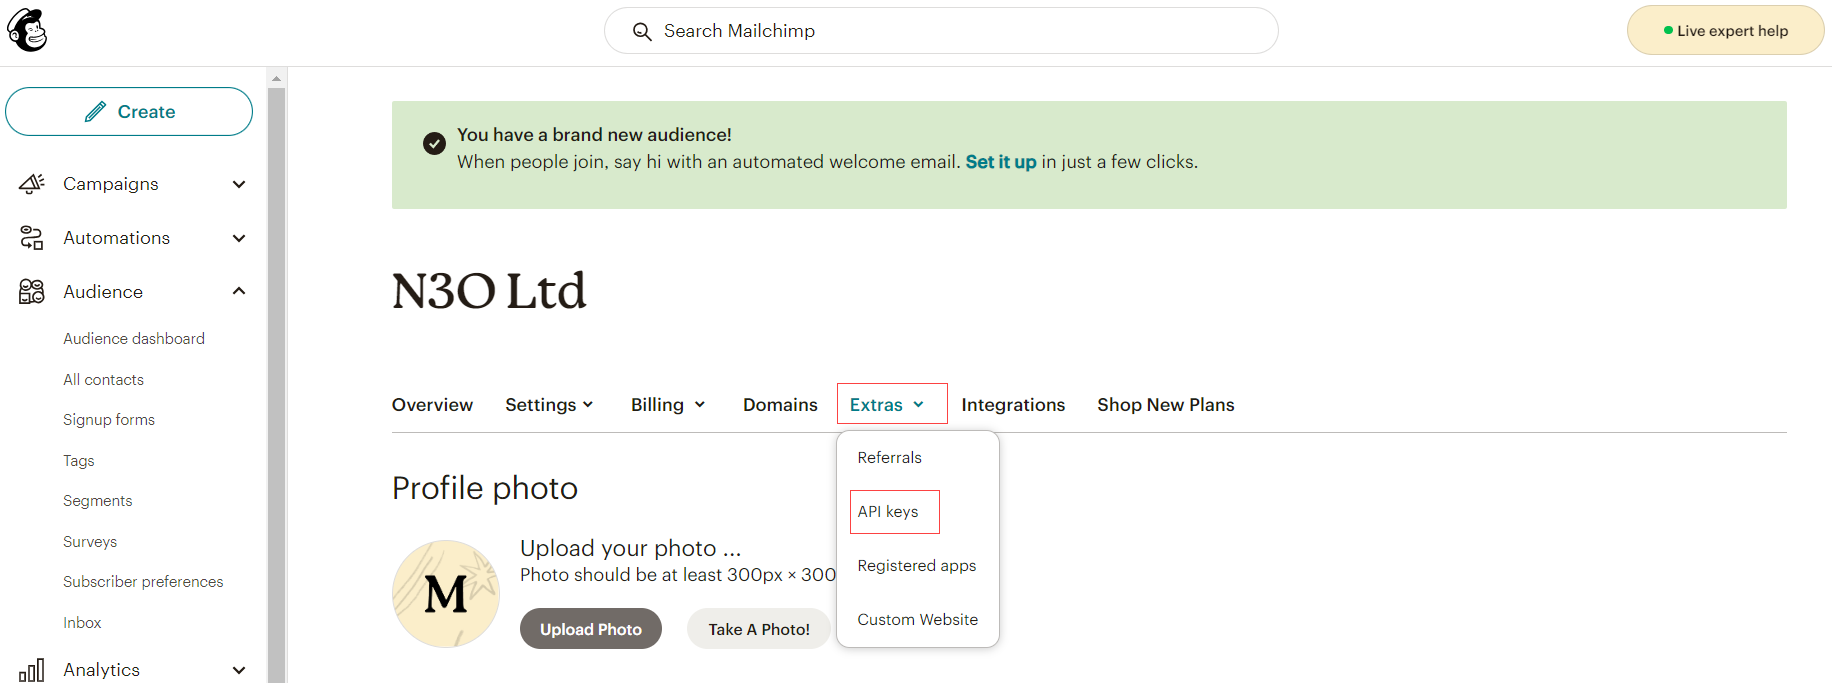
1. Click your profile icon and choose Profile.
2. Click the Extras drop-down then choose API keys.
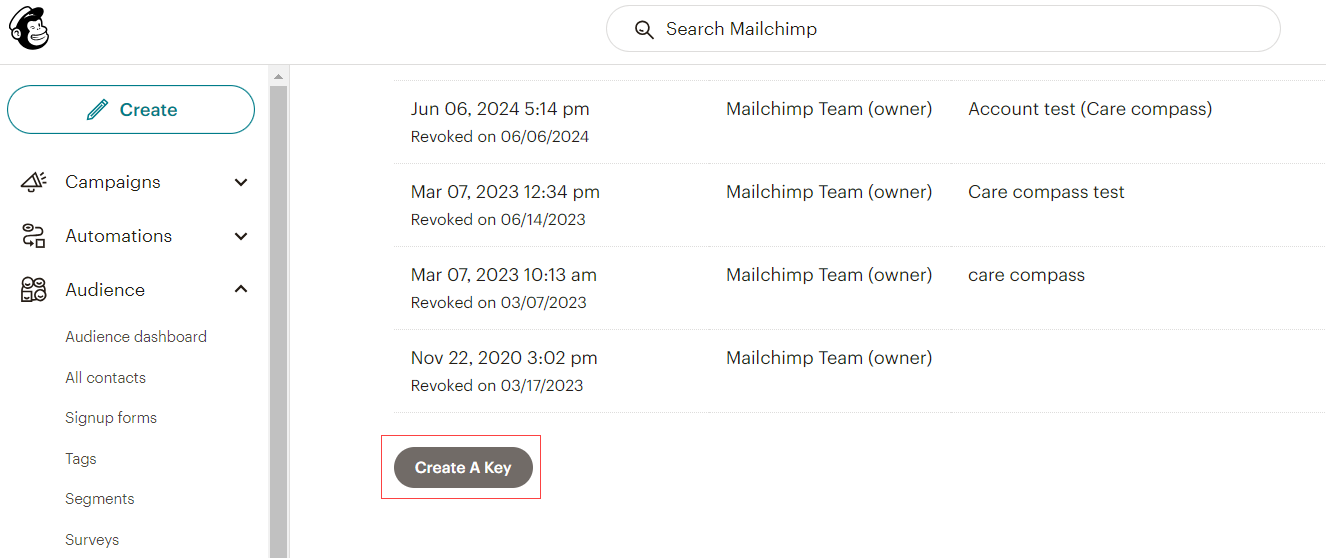
3. In the Your API Keys section, click Create A Key.
4. Name your key. Be descriptive, so you know what app uses that key and click Generate Key.
5. Once we generate your key, click Copy Key to Clipboard. Save your key someplace secure as you won't be able to see or copy it again. If you lose this key, you’ll need to generate a new key and update any integration that uses it. Click Done.
Create a List in Engage and Connect it with Mailchimp
Navigate to Engage and login to your account. Navigate to the Lists section under Data, and Create a new list or select any existing one. In this guide, we will be using an accounts list with fields:
- First and last name
- Email address
- Status
- Phone Number
Remember, phone number of all the contacts must be valid, and email address MUST be added as a field otherwise you will not be able to connect the list to the specified Mailchimp audience.
1. On the lists detail screen, click Connect.
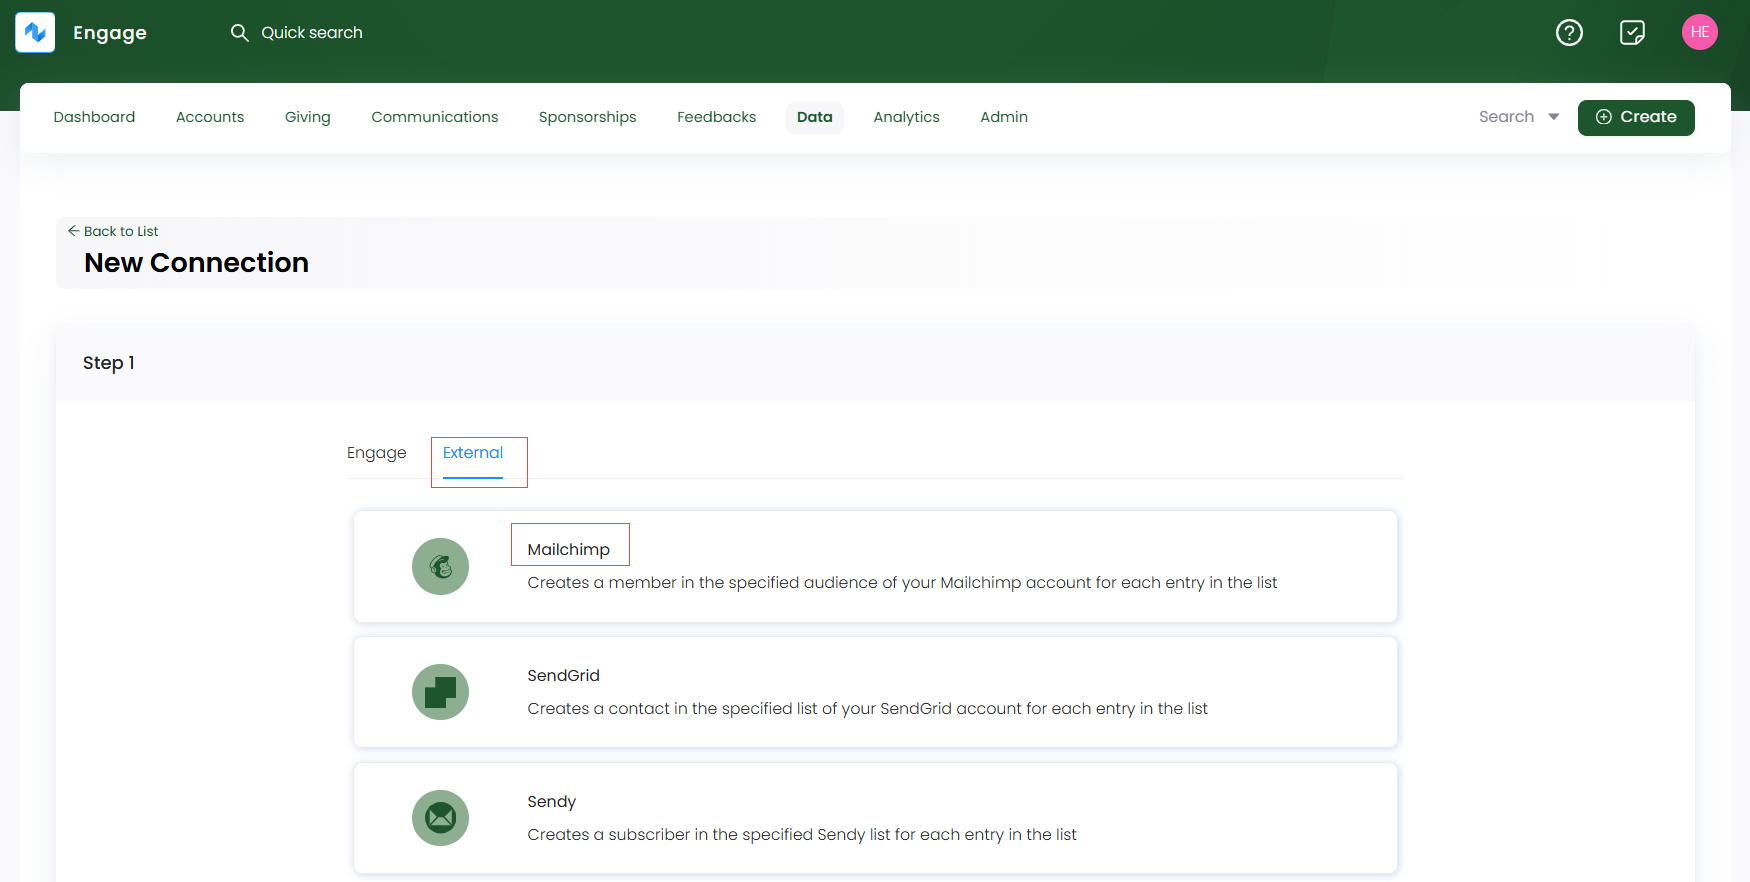
2. Under the New Connection screen, click the External tab, choose Mailchimp and click Next.
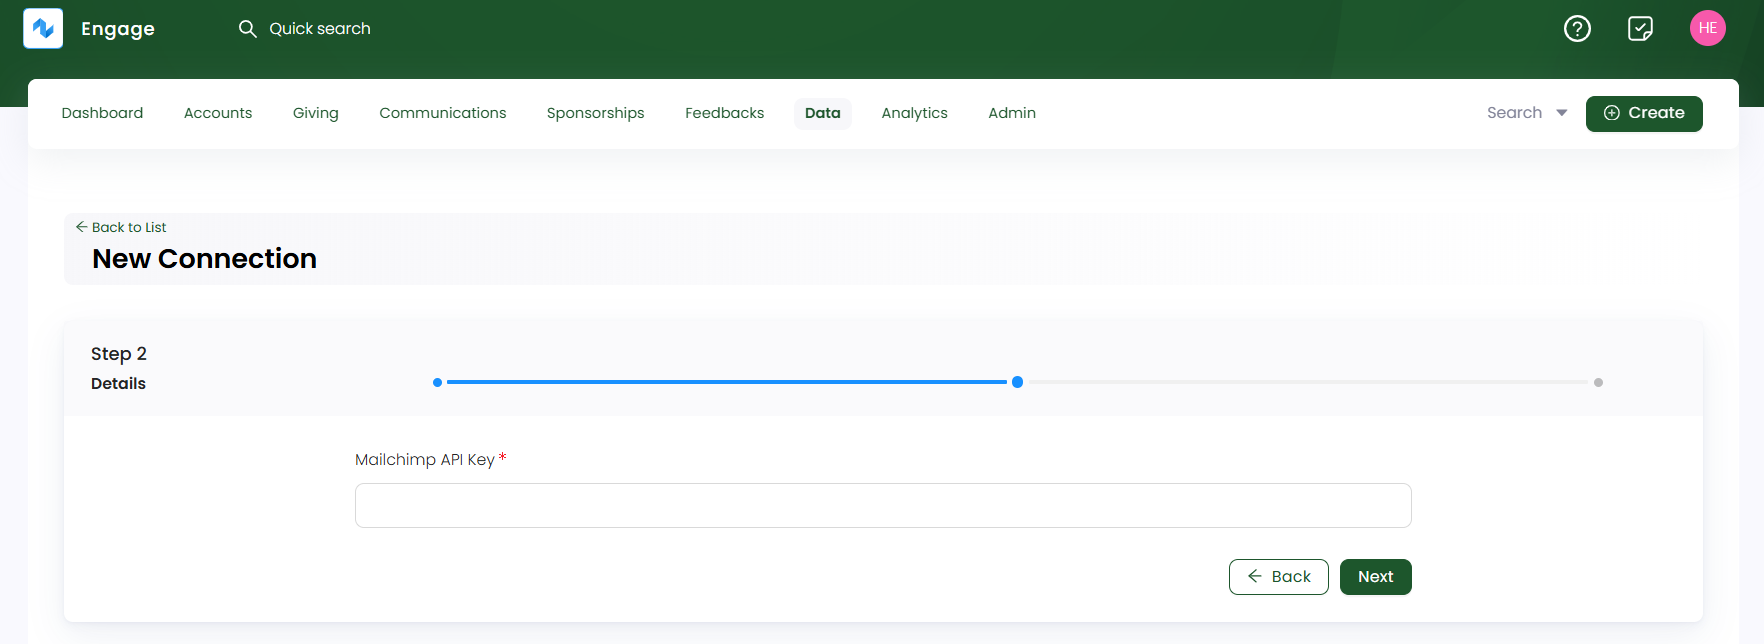
3. Paste the Mailchimp API Key generated before and click Next.
4. As a last step, choose the Mailchimp audience you created before from the drop-down. Tickmark the Engage list fields and select the relevant Mailchimp audience fields to map them onto one another.
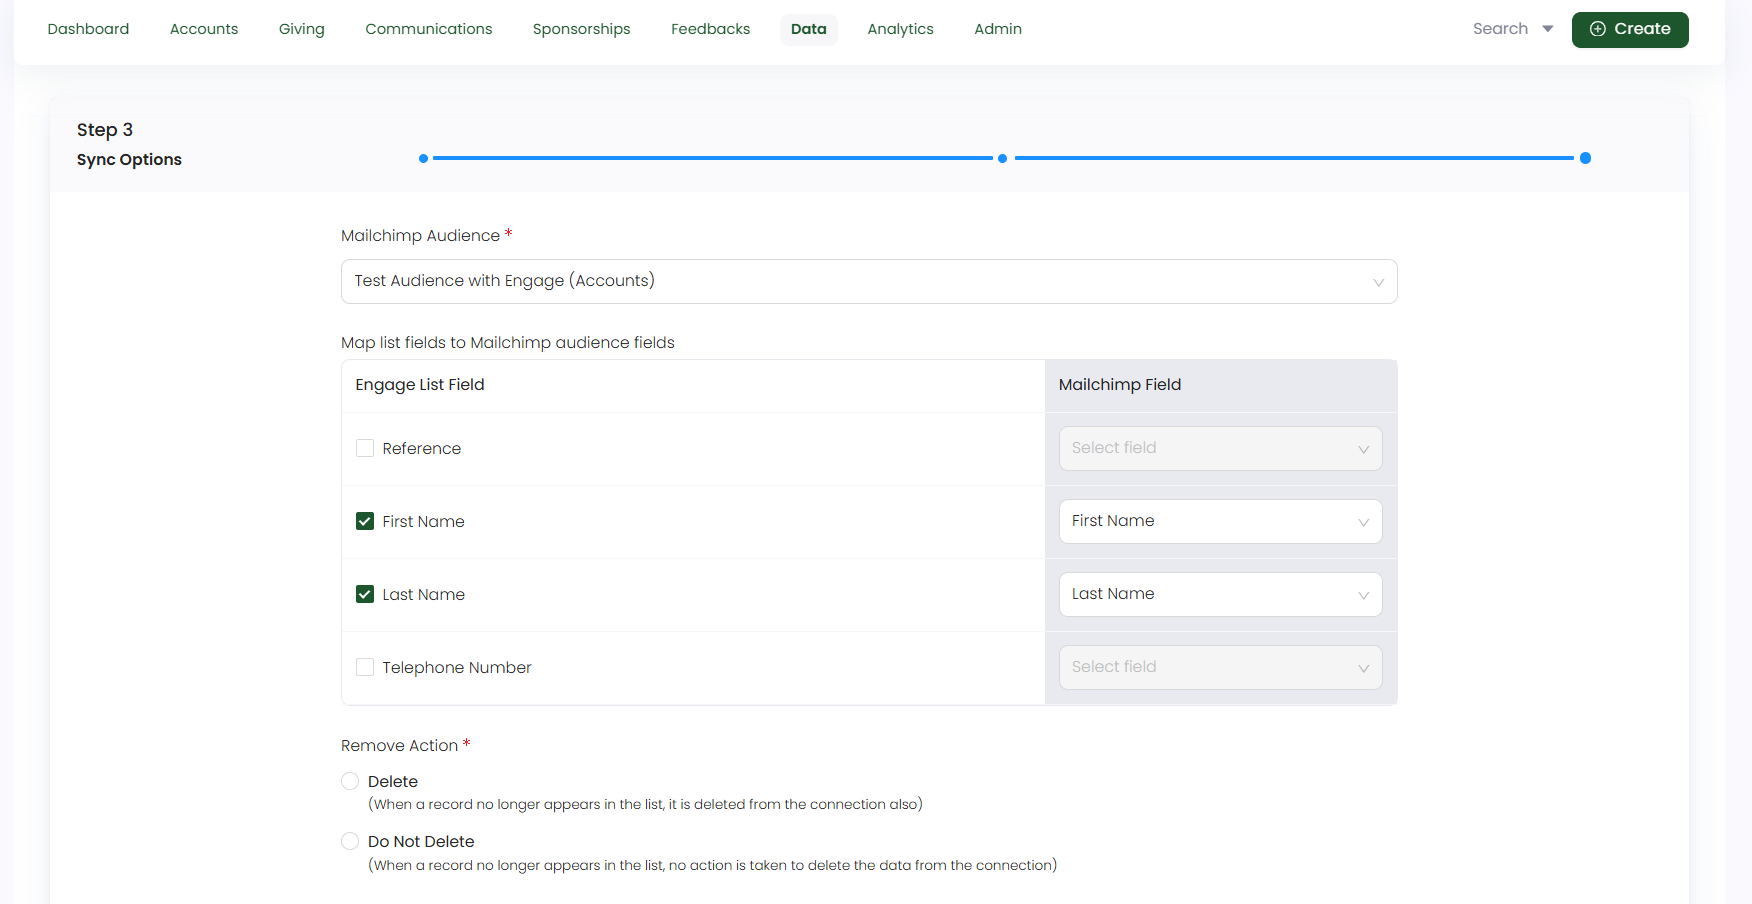
5. Choose the required Remove action and click Save Connection.
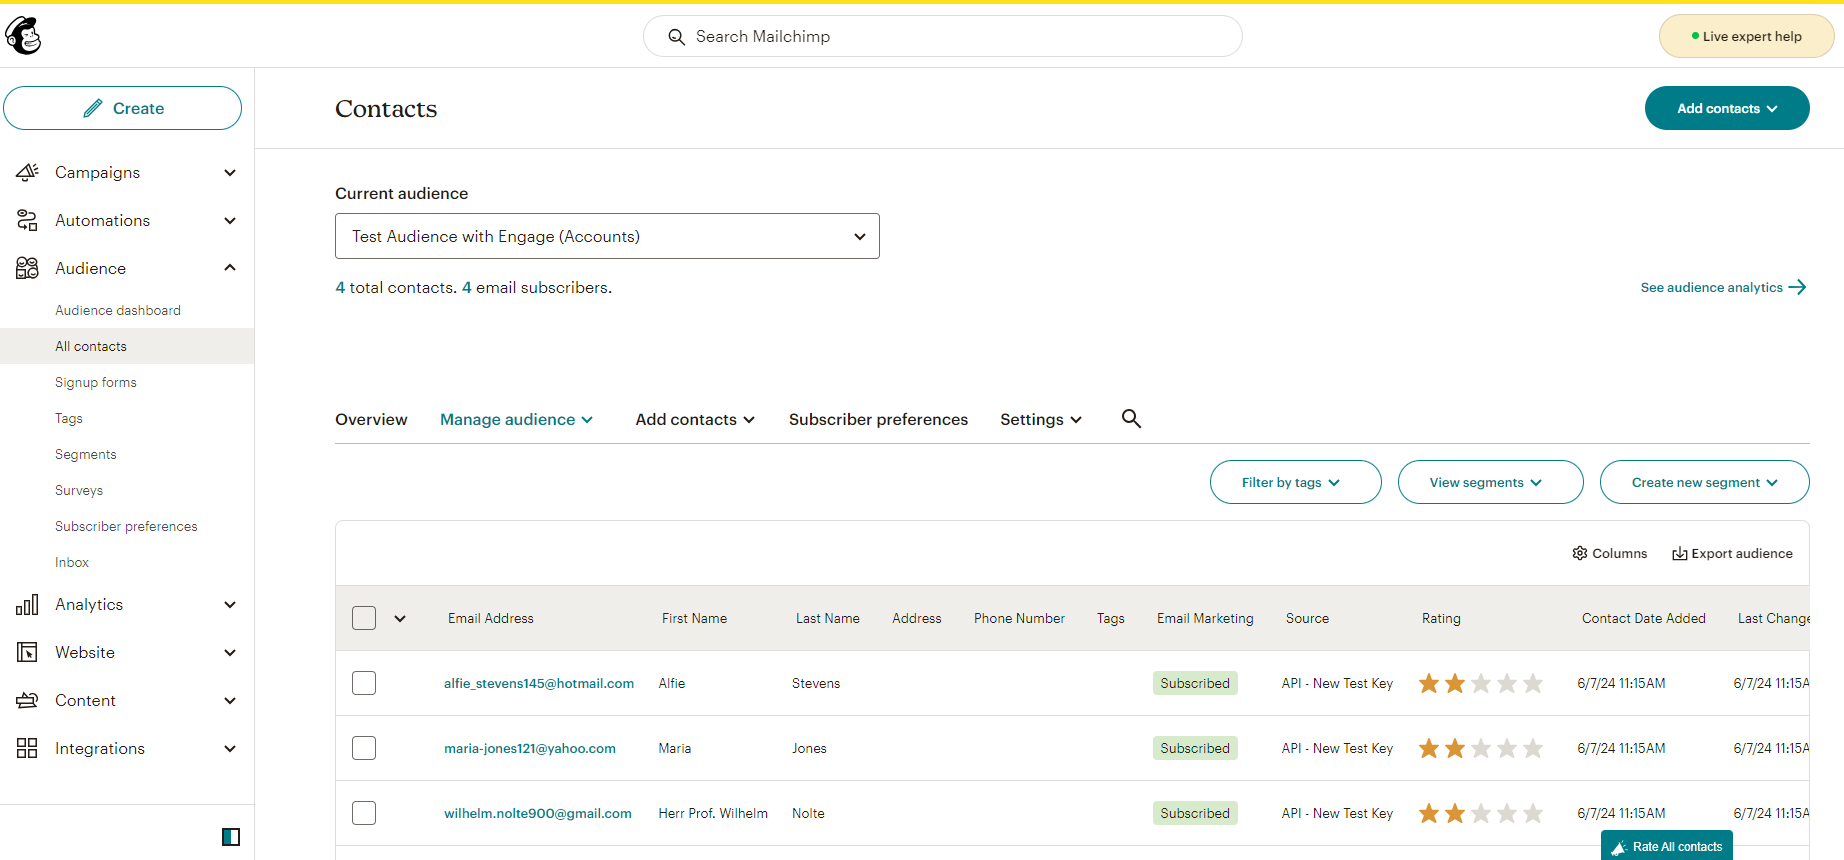
6. All the accounts in the list will be synced and imported within Mailchimp and appear under the choosen audience. Click Audience, then All Contacts to see list of all those accounts.