Bulk Import of Beneficiaries
Generally, bulk import refers to the process of uploading large volume of data such as donor records into the CRM in one go, rather than adding individually. This speeds up the data entry process and reduces the chance of manual input errors.
How to Upload Beneficiary Data Using Engage's Bulk Import?
Engage allows you to import beneficiary data in bulk via Engage Forms (Umbraco). Have a look at the detailed steps below.
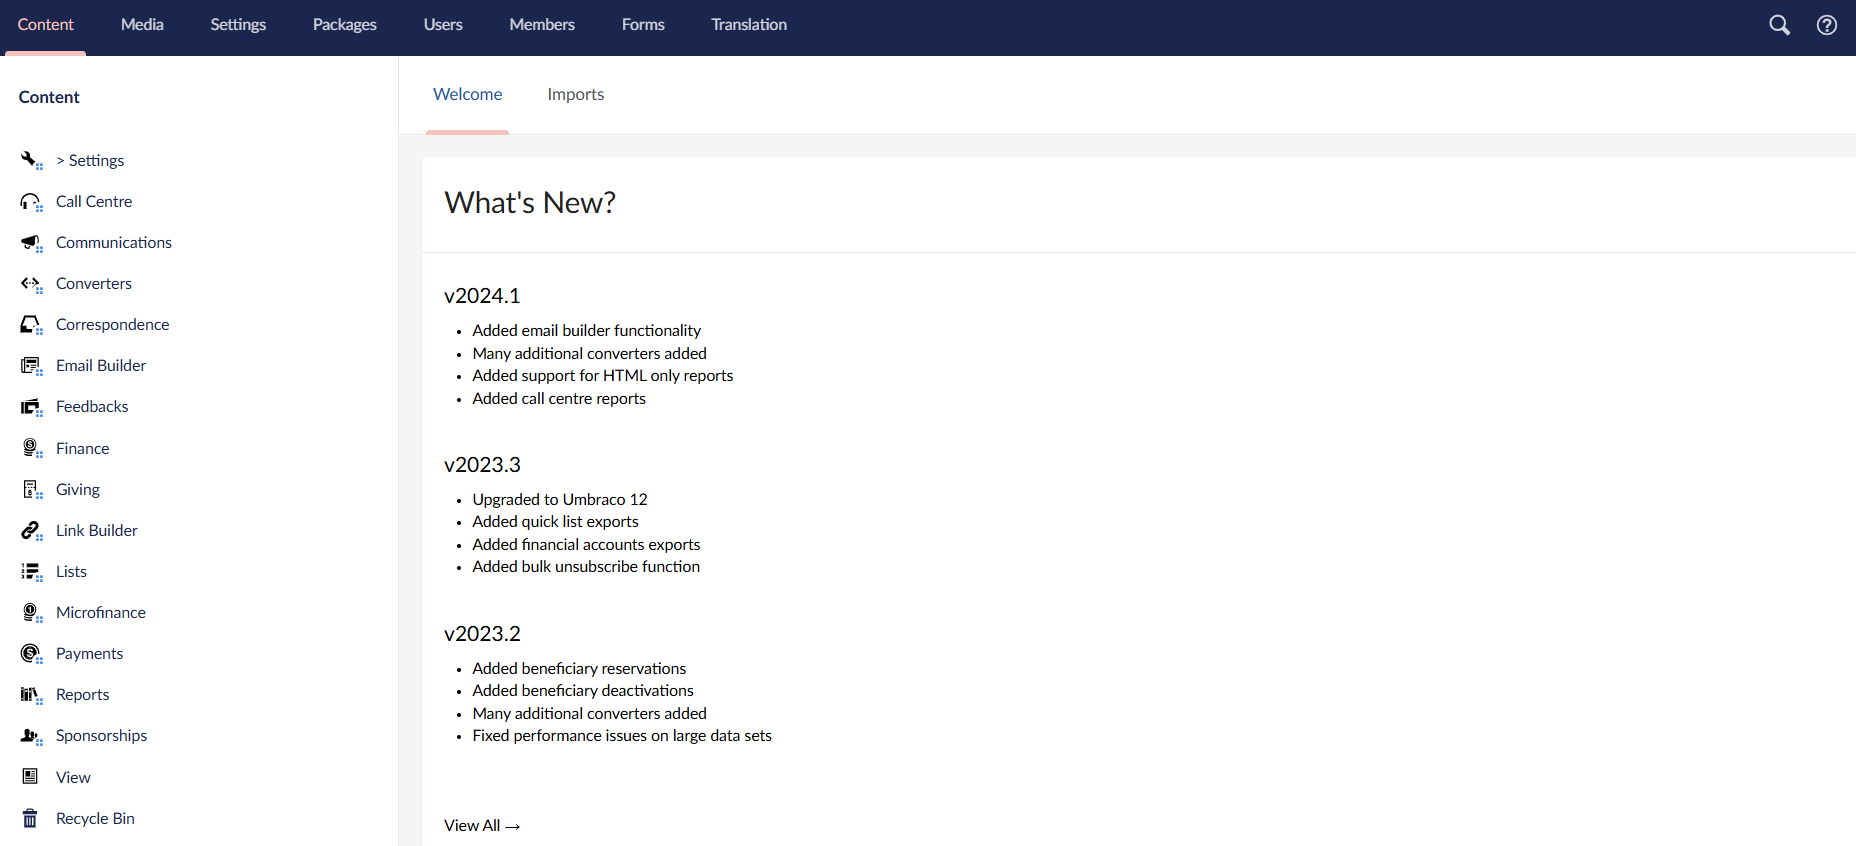
1. Login into Engage CRM, click Engage on the top left-hand side, and choose Forms to navigate to the main Umbraco dashboard.
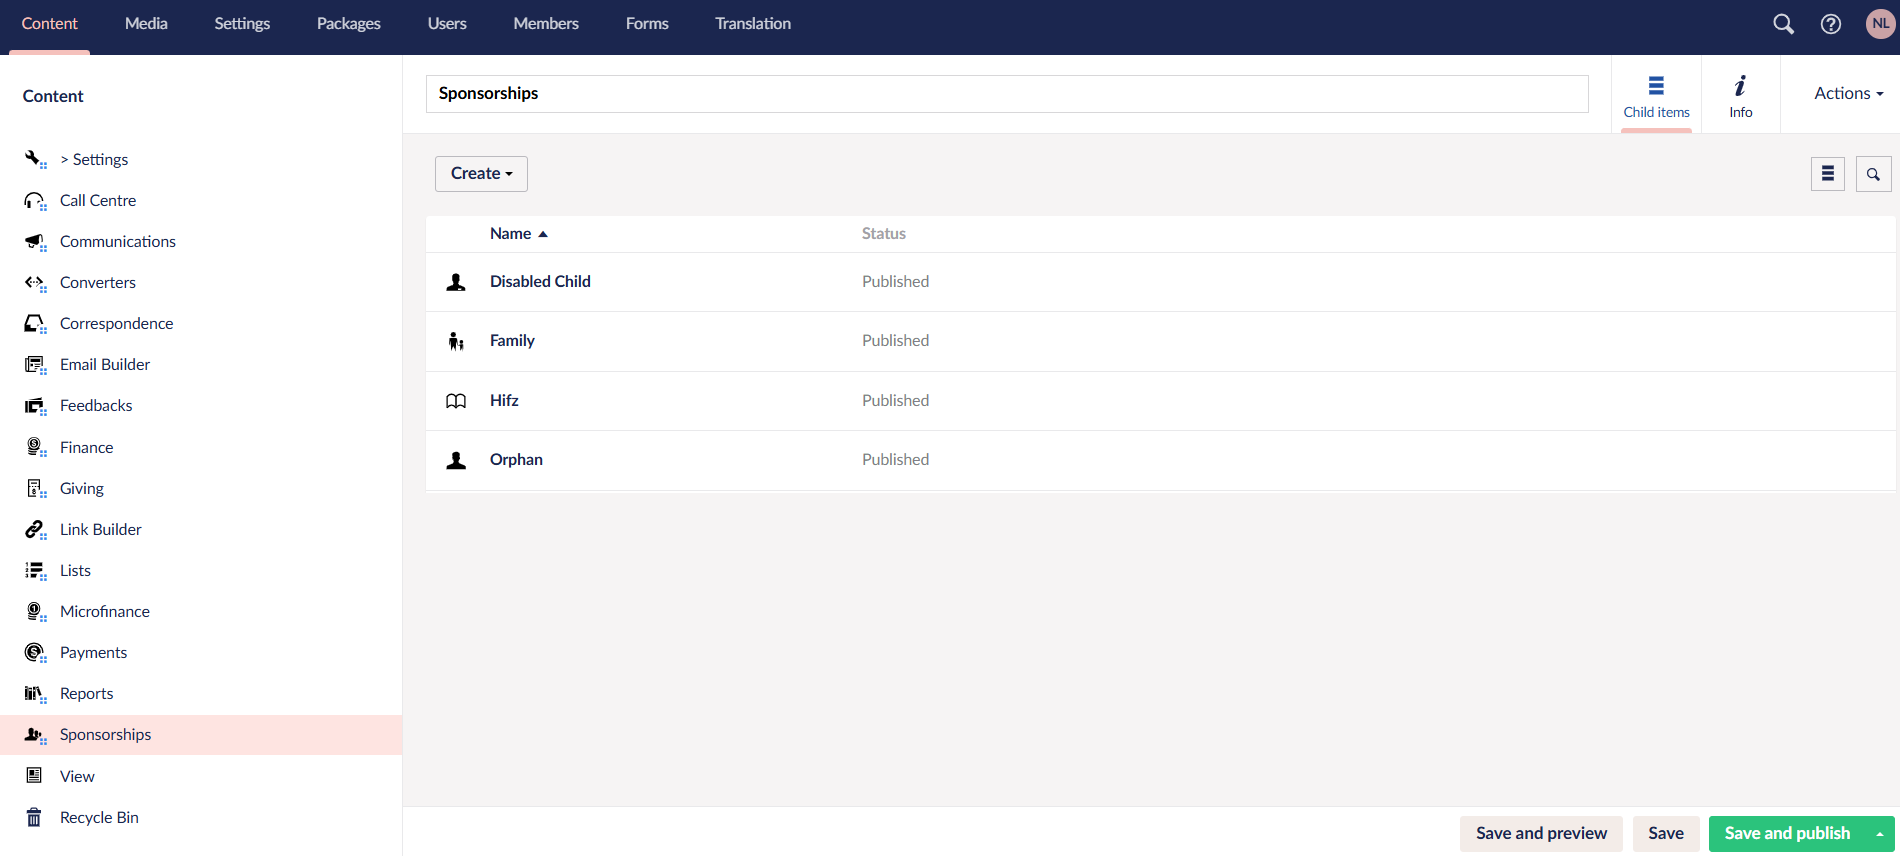
2. Choose Sponsorships from the side menu, and select the sponsorship scheme you want to import beneficiaries for. As an example, let's use the "Orphan scheme".
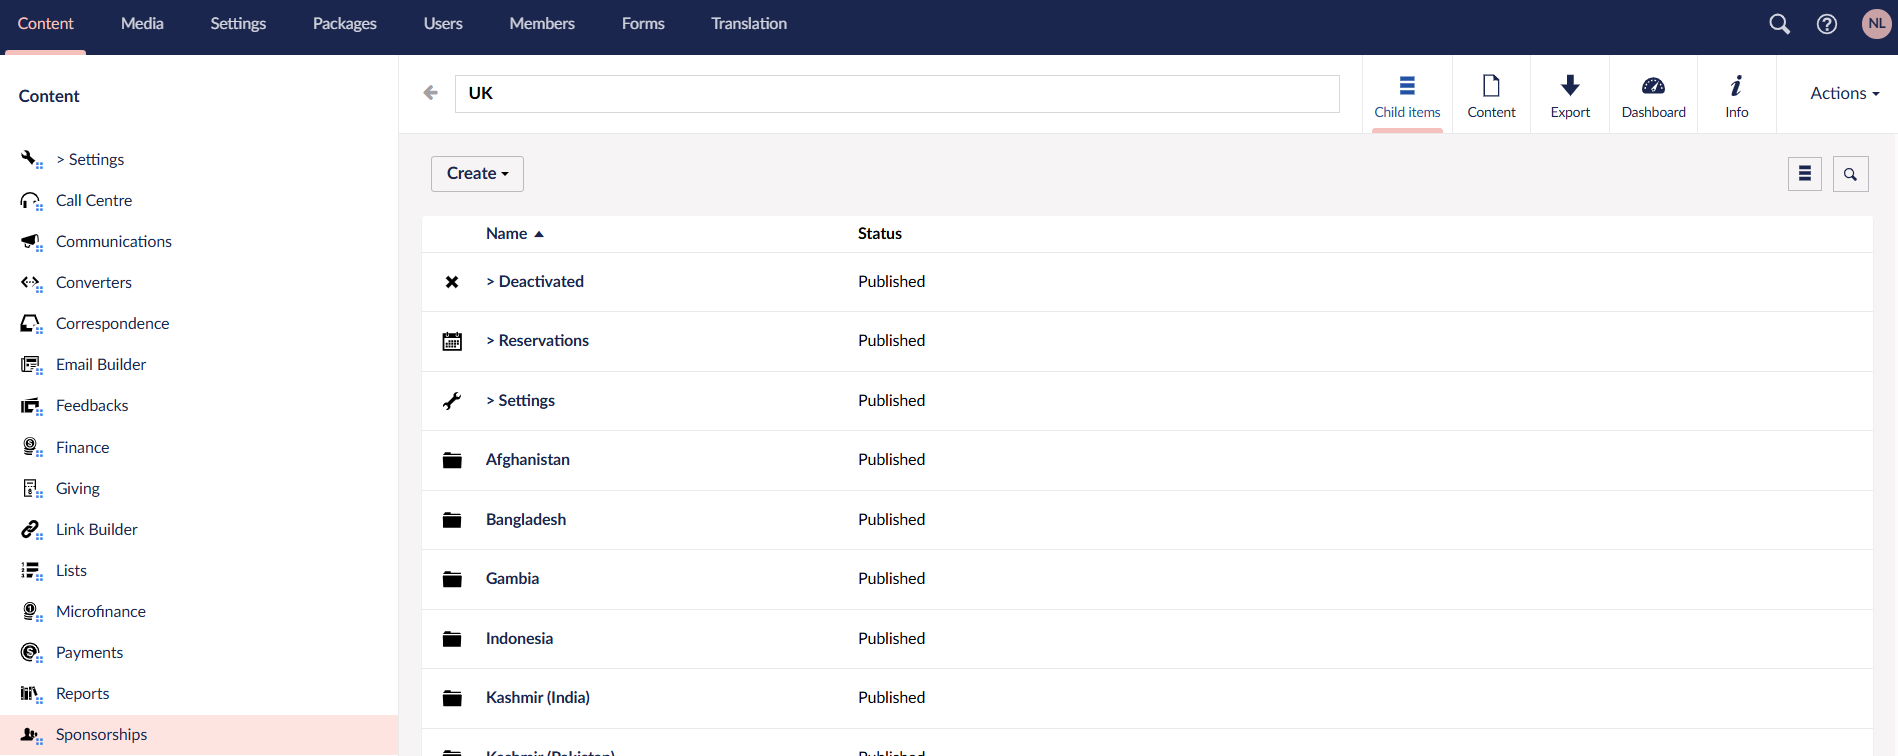
3. As orphans might be scattered across multiple locations, we categorise them into different location-based folders. Choose a single location folder.
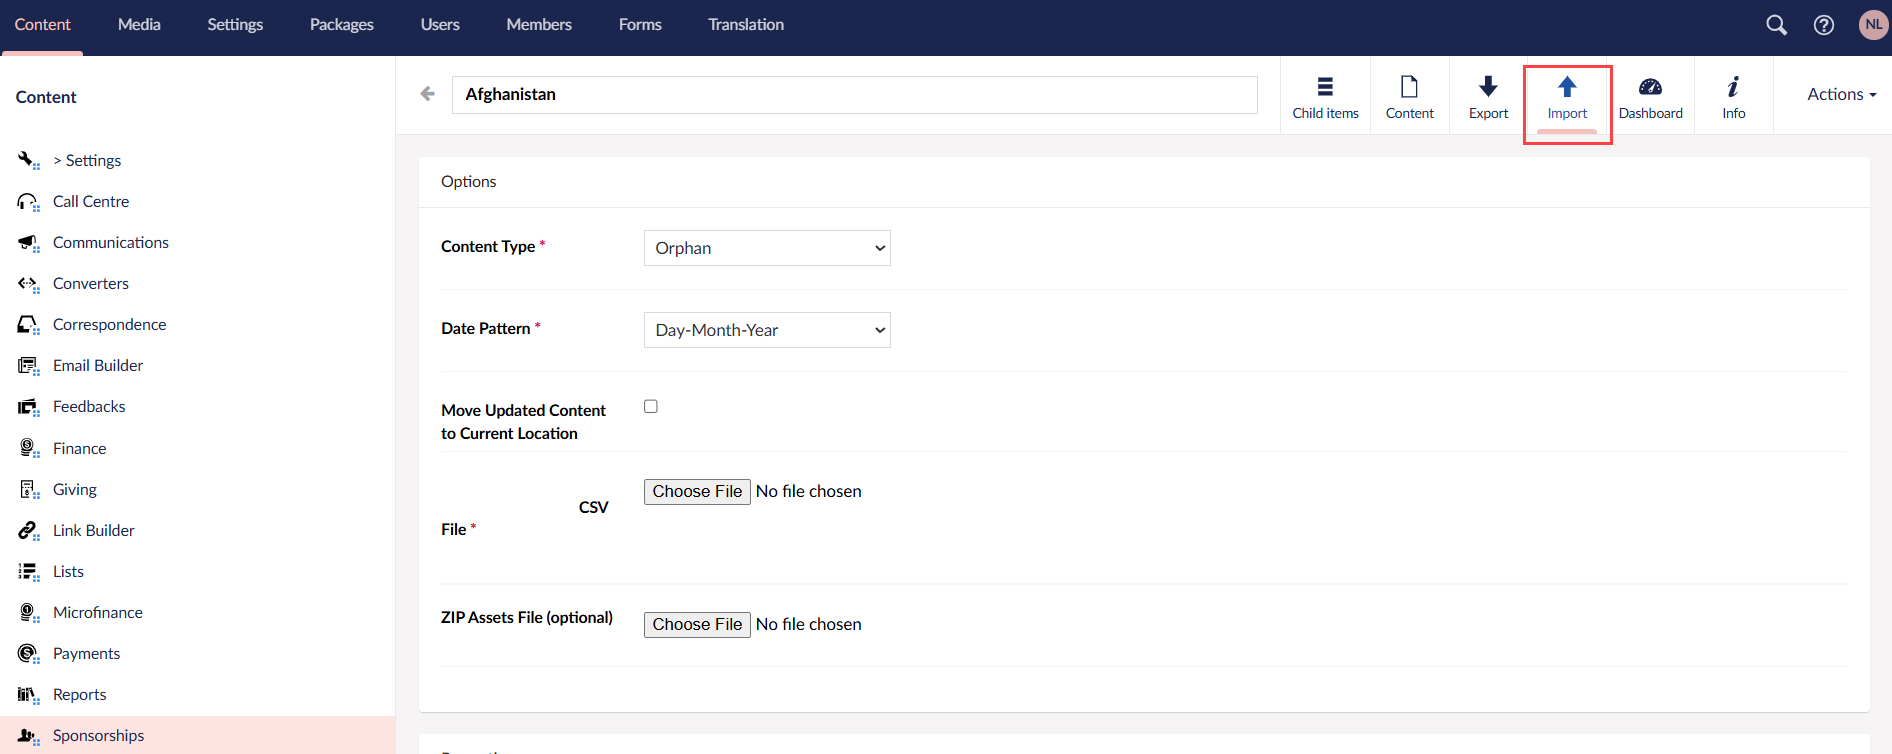
4. Click Import on the top left, select the Content Type (defined as the sponsorship scheme), Date Pattern is prepopulated and scroll down to the Properties section.
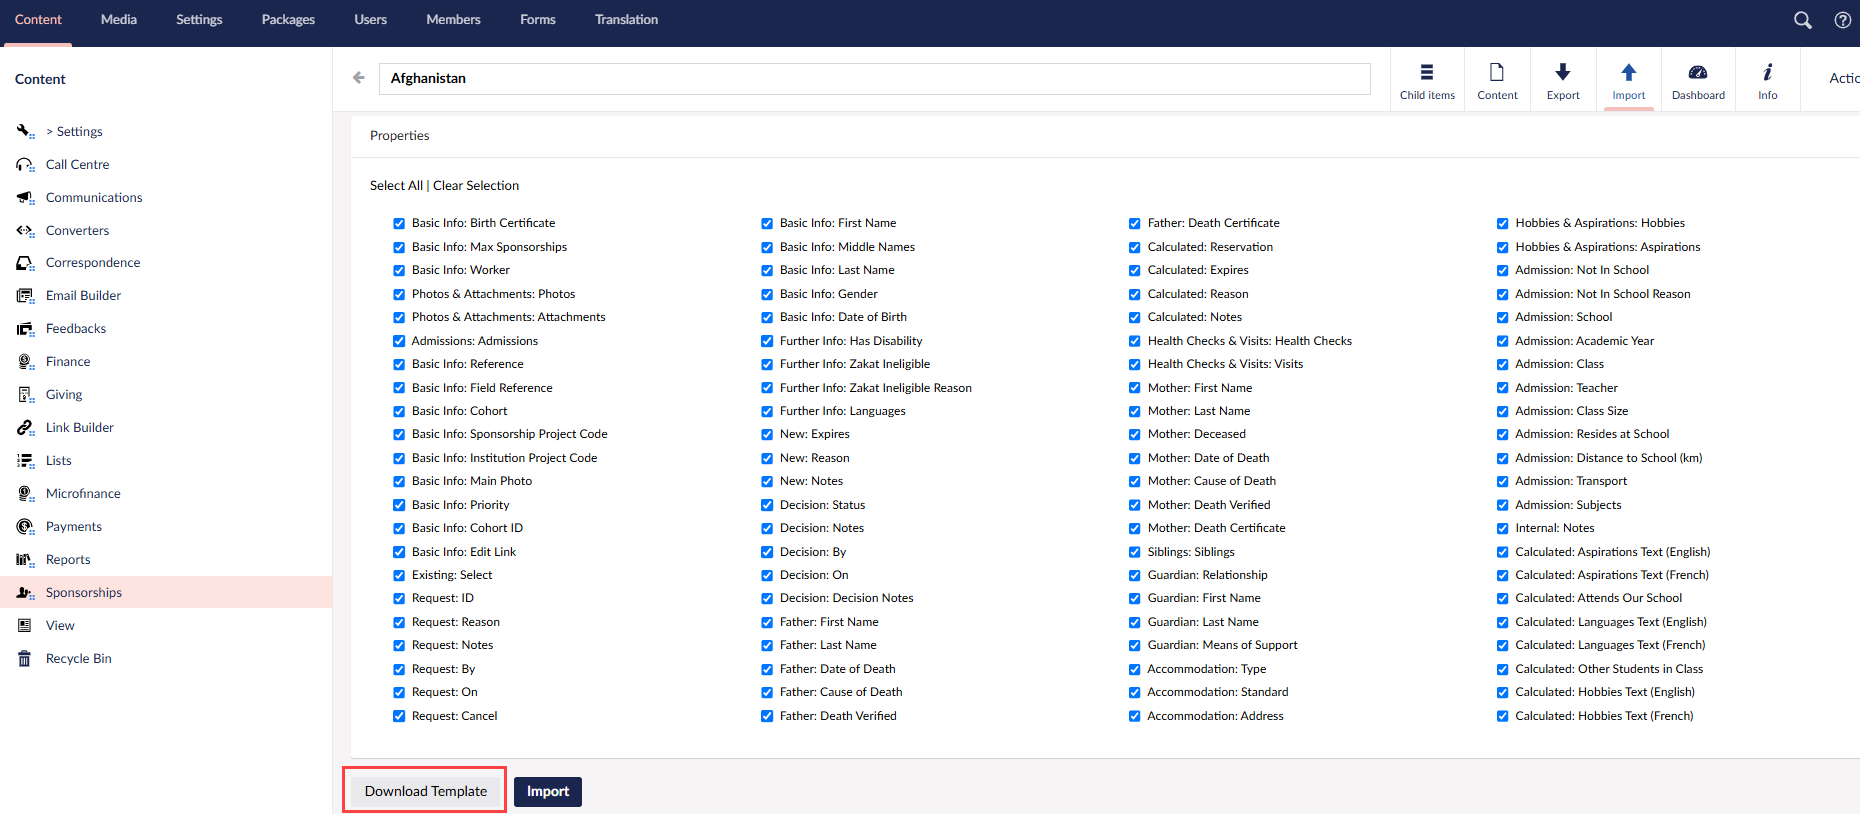
5. Click Select All to select all the properties an imported beneficiary might require, and then Download Template to download the template (Excel sheet).
6. In the downloaded Excel sheet, there are both mandatory and optional fields available. Input all the mandatory fields and any optional fields, if required, to make sure a beneficiary is imported correctly.
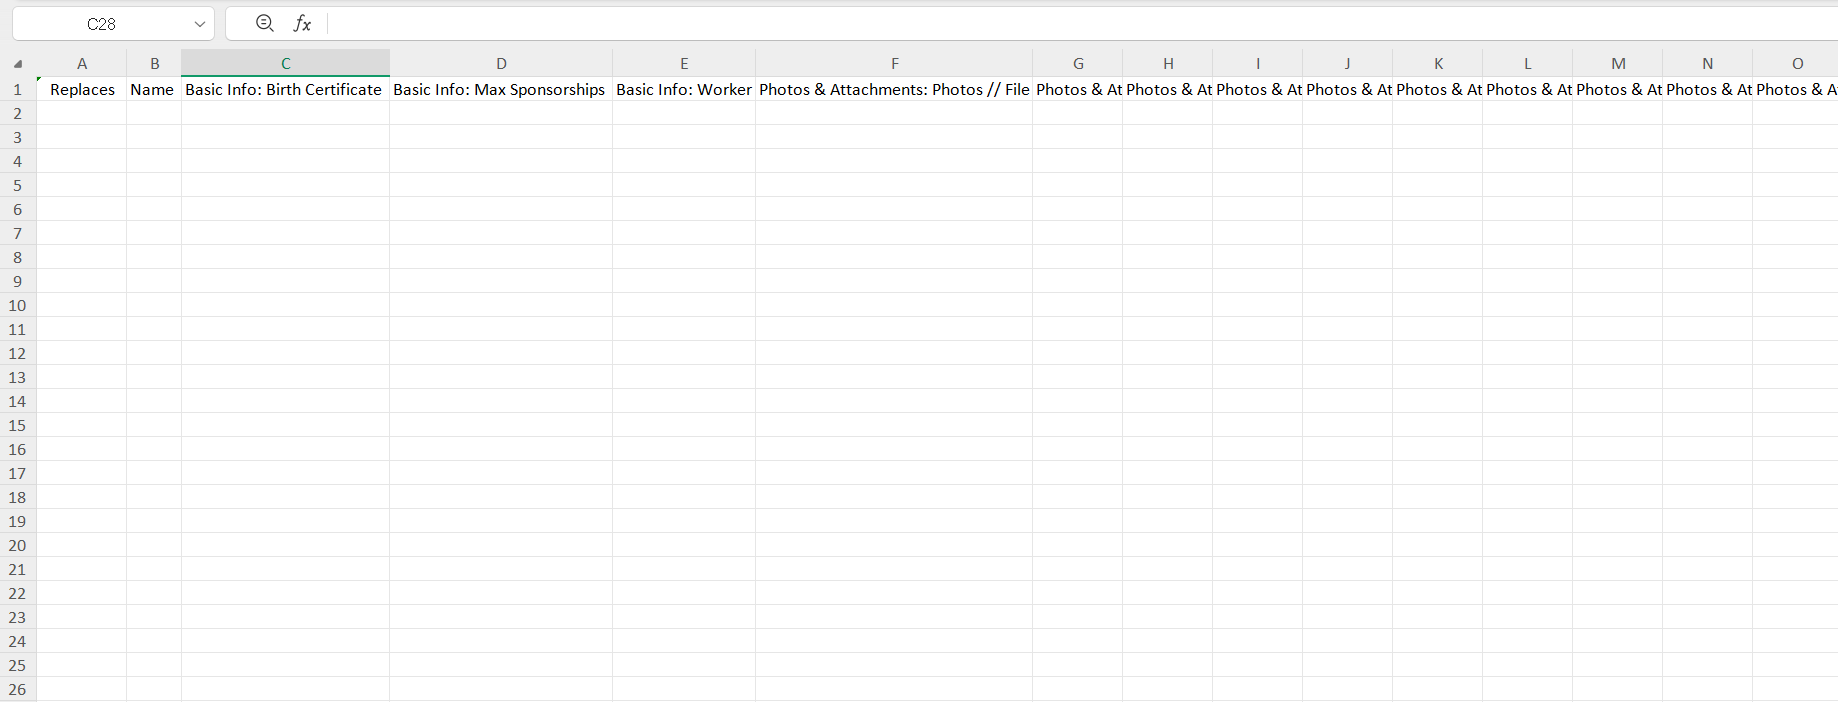
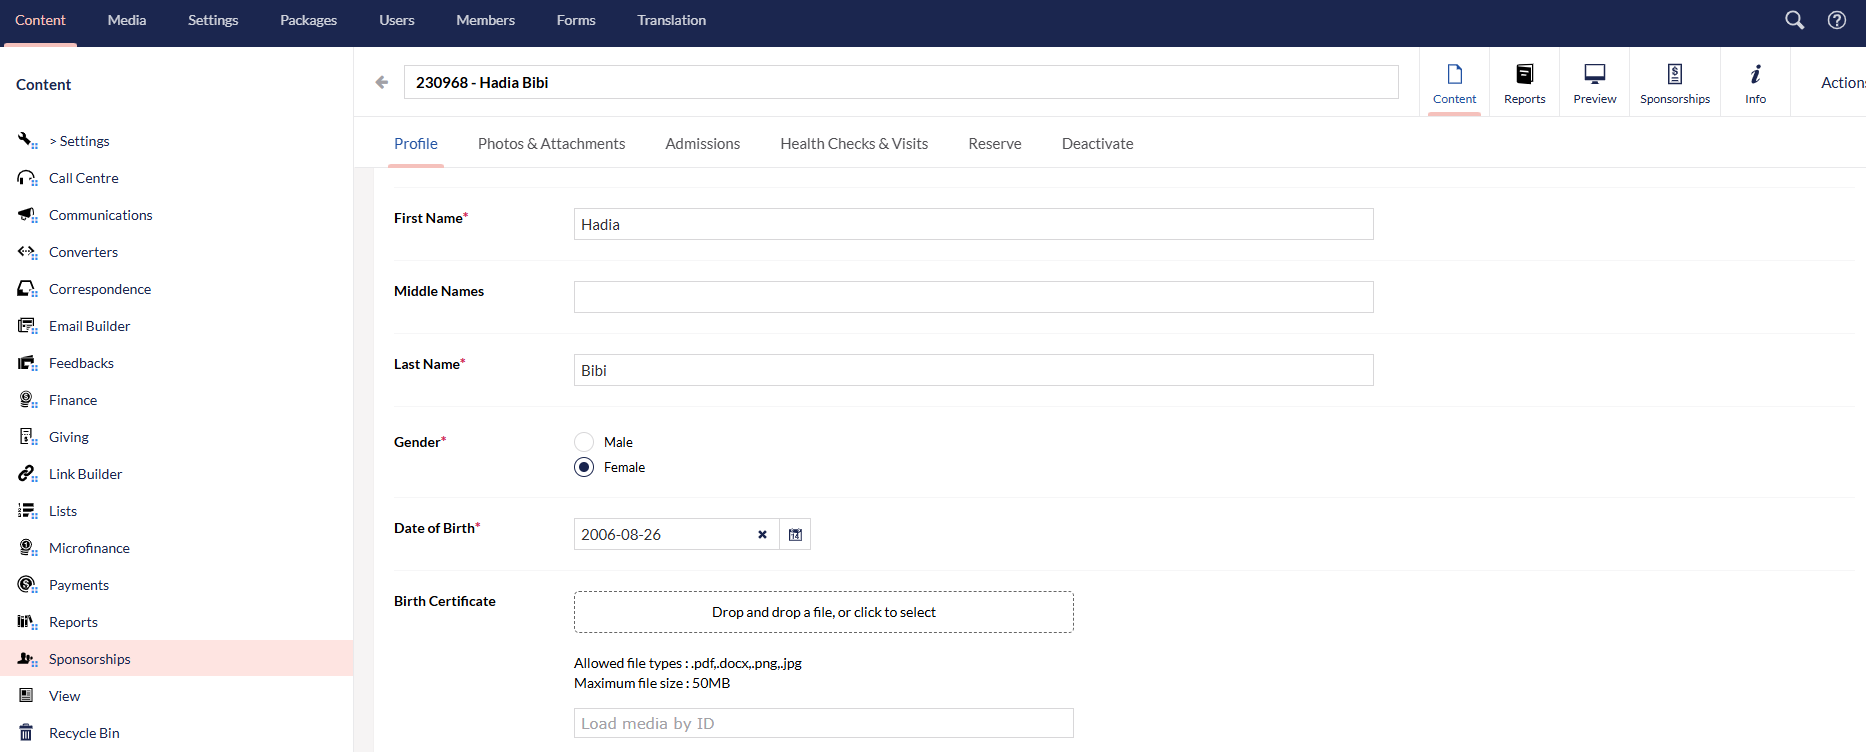
- Mandatory fields are those with an aesterisk on an actual beneficiaries profile in Umbraco.
- The "Replaces" field in the Excel sheet is only to be filled with the beneficiary reference, if you want to update any existing beneficiary's data.
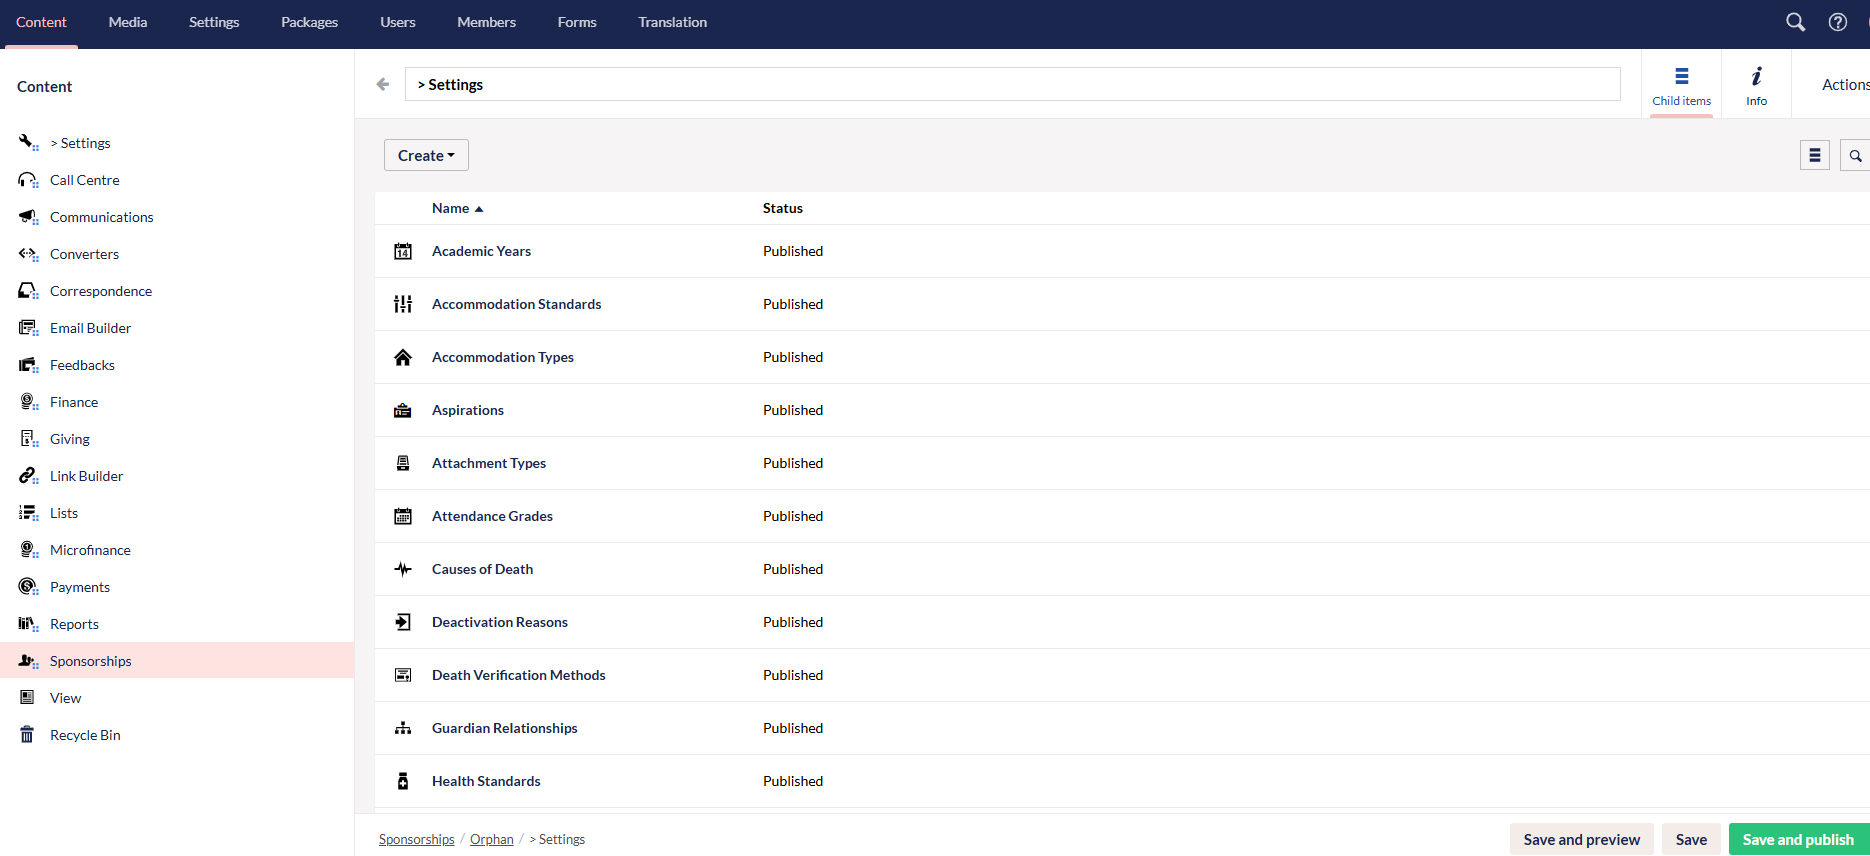
- Regarding fields having more than one option to input e.g. father's cause of death, means of support, guardian relationship, etc., choose from the ones available by visiting the Settings section under the related sponsorship scheme.
Some of the mandatory fields within the Excel sheet are:
- Beneficiary's first & last Name
- Beneficiary's gender
- Beneficiary's date of birth
- Beneficiary's language
- Fathers: first & last name, date & cause of death, death verified
- Mothers: first & last name
- Siblings: first & last name, relationship with the beneficiary & status
- Guardian: first & last name, relationship with the beneficiary & means of support
- Beneficiary's Accomodation: type, standard and address
Some of the optional fields within the Excel sheet are:
- Beneficiary's birth certificate
- Beneficiary's zakat ineligibility as yes or no and the ineligibility reason
- Admission Information: school, academic year, class, teacher, transport and subjects taken
7. To upload the Excel sheet, navigate back to the Import tab, click Choose File and select the Excel CSV file. Lastly, click Import.
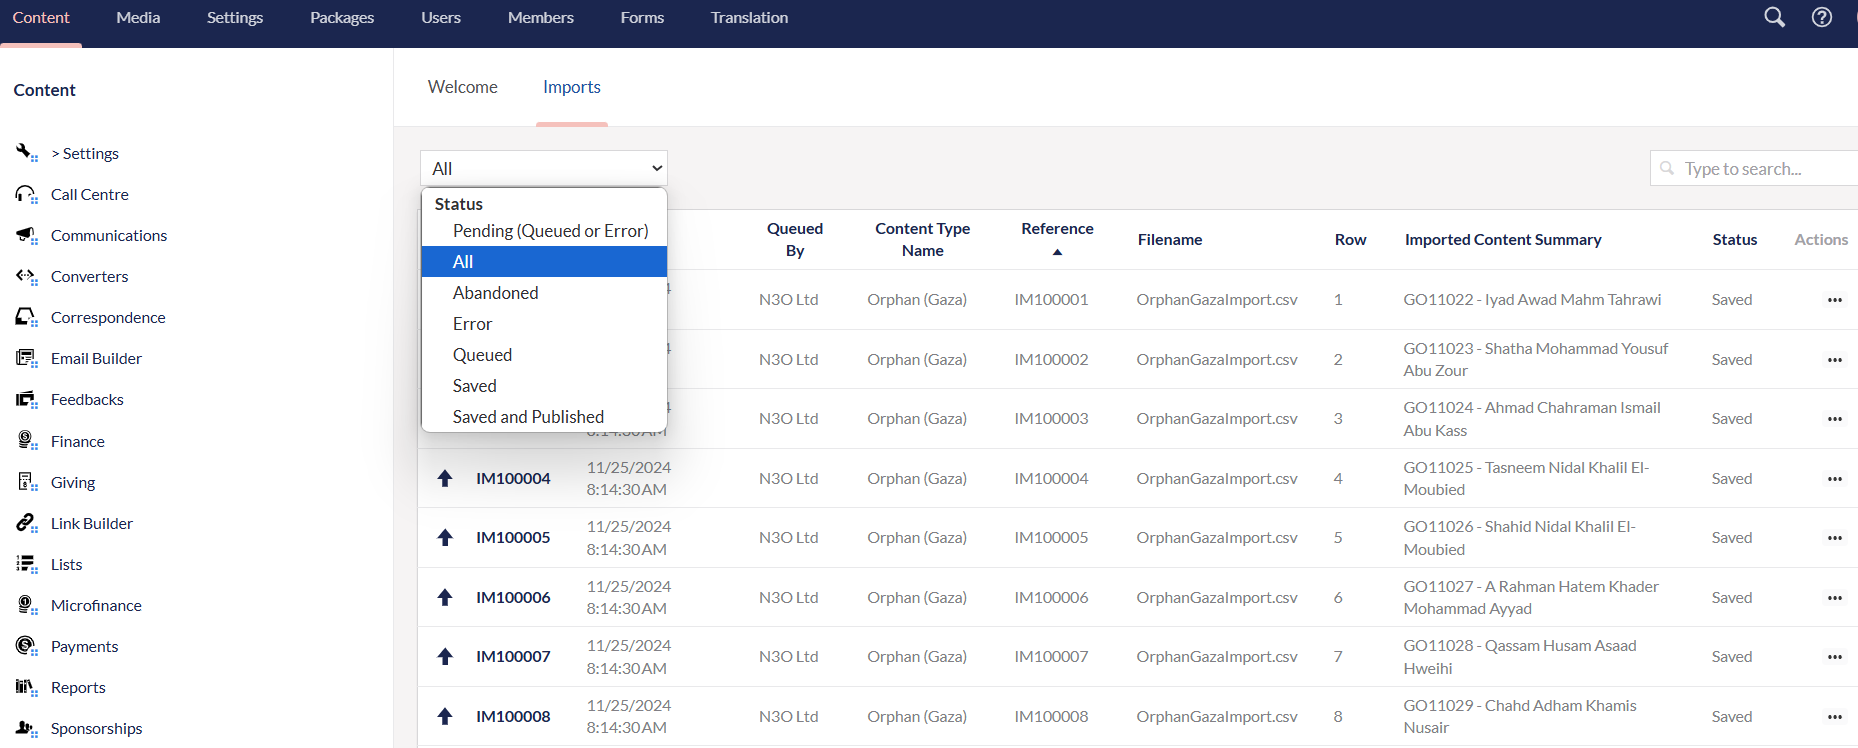
8. To view the status of your import, click the Imports tab on the main Umbraco dashboard screen. Now, select the status (Pending(Queued or Error), All, Abandoned, Error, Queued, Saved, Saved or Published) of the import from the dropdown. For convenience, select "All" as status, to view all imports. Imports appear in the form of a list with the name, time and date it was queued at, content type name, uploaded filenames, and status. If the status shows "saved and published", that means the import is successfully complete. You can also select the name of the import and look at the details downloaded for it.