Sponsorships
Another major part of Engage Forms under Content in the section menu is Sponsorships. The sponsorships module is custom-built to manage hundreds of thousands of donor-to-beneficiary relationships. It has two main parts; Engage and Engage Forms. Engage stores the relationship between the donor and beneficiary along with other functionalities such as payments and donations whereas Engage forms stores the actual data of the beneficiaries.
Collect and Add Beneficiary Information in Engage Forms
Engage forms allow you to customize the data you want to collect about your beneficiaries (whether it’s about their family, health, education, or hobby) and manage what it looks like. Each beneficiary when added in Engage forms, is automatically synced with Engage allowing the donor to view the relationship and conduct any actions necessary.
To add a new beneficiary:
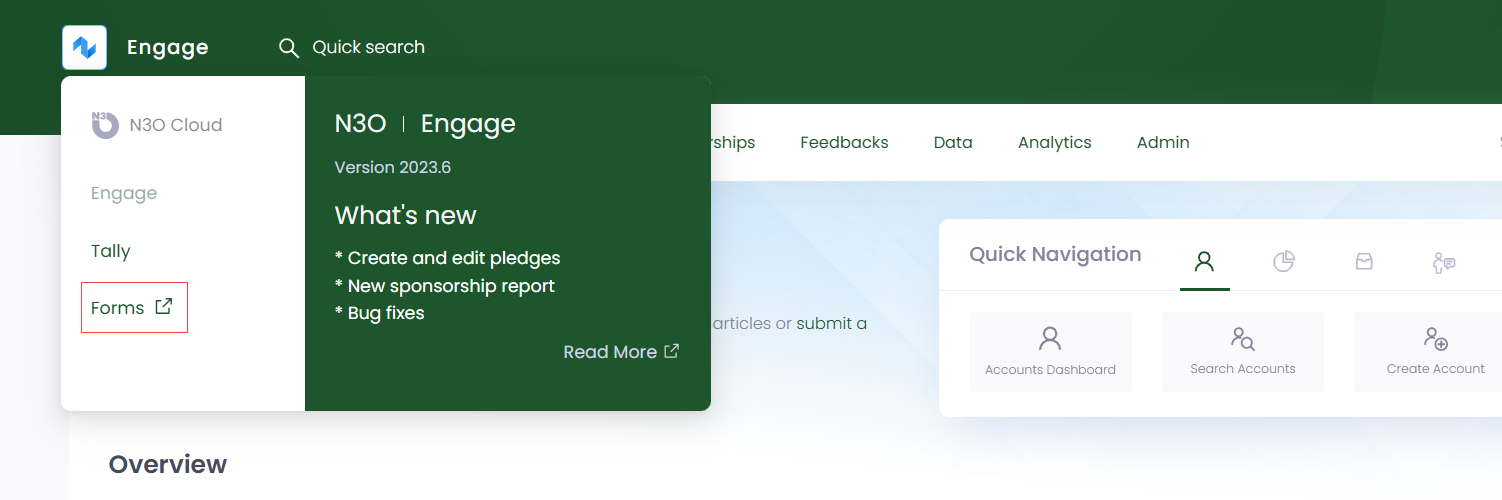
1. Click Engage on the main dashboard and navigate to Engage Forms.
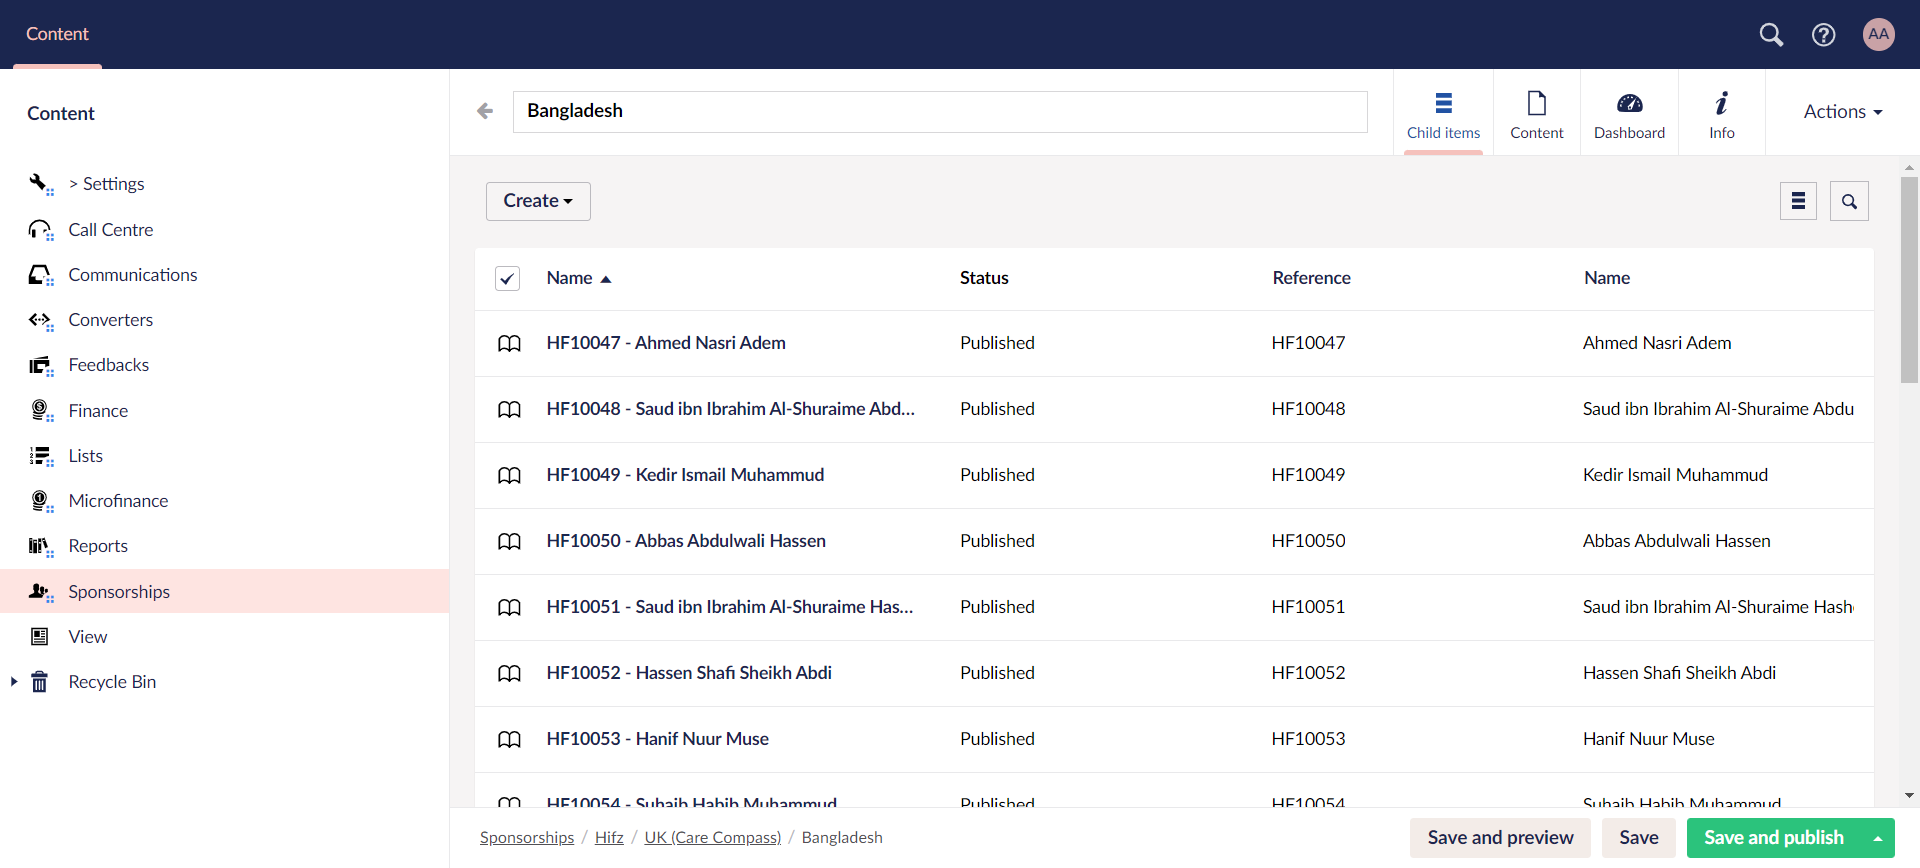
2. Click on Sponsorships and you will see a number of folders depicting the different sponsorship schemes added in Engage.
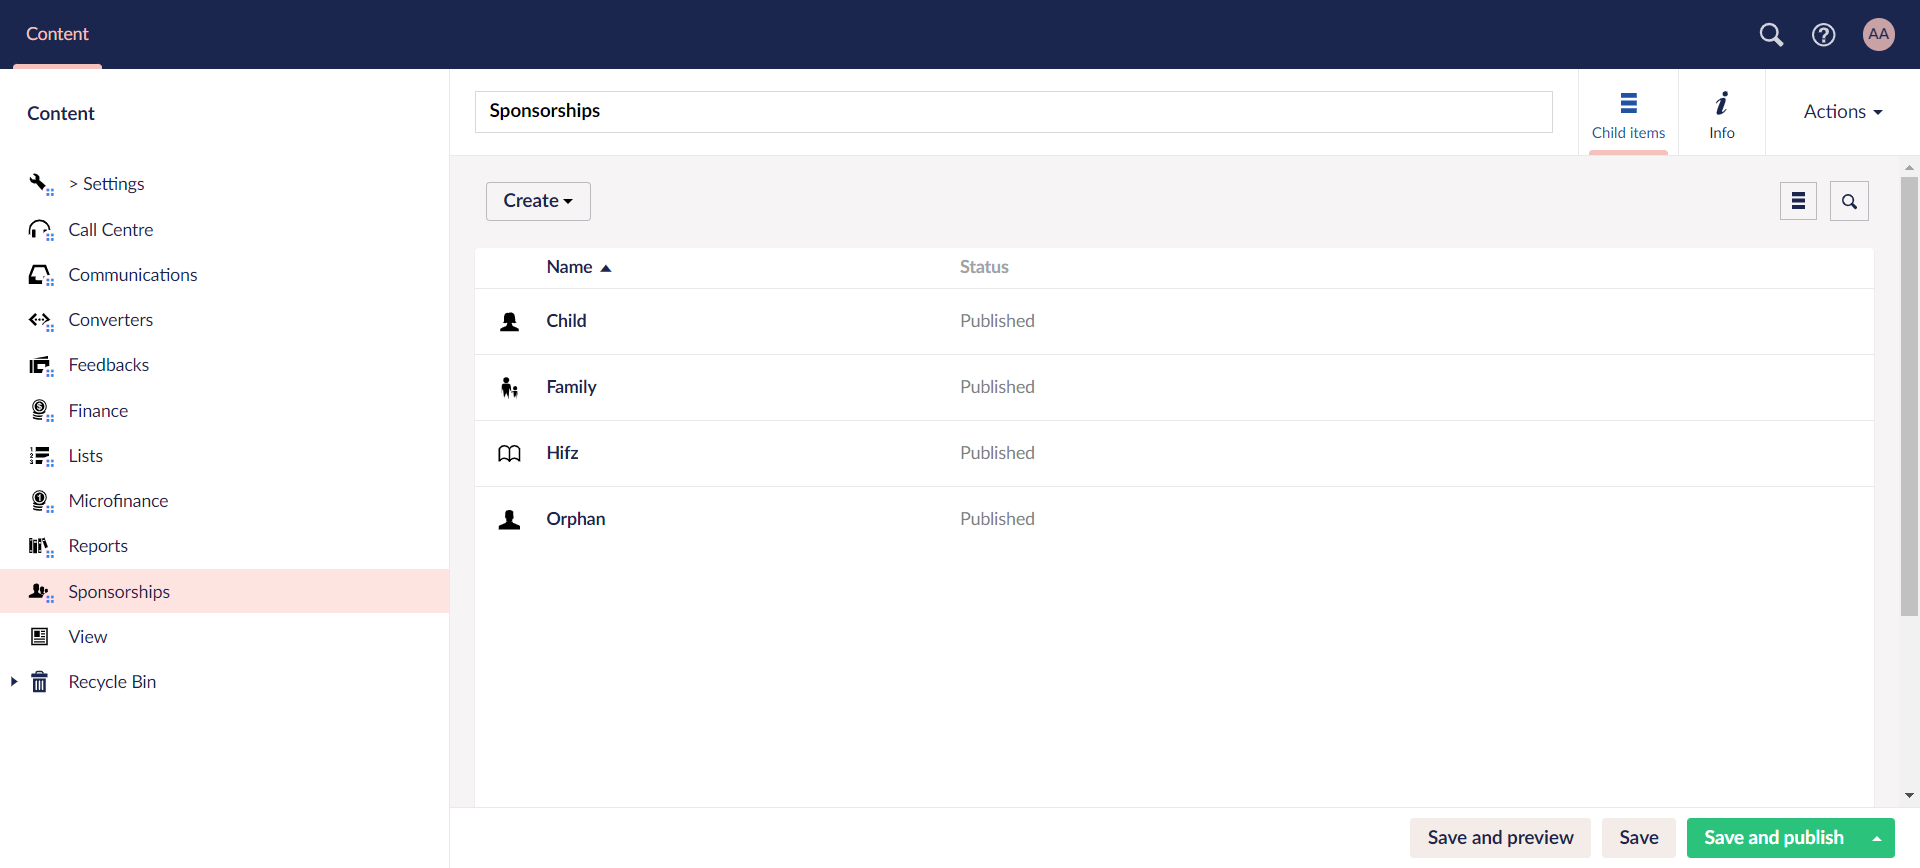
3. Choose any folder, and you can view further scheme folders created within. You can also create a new one via Create.
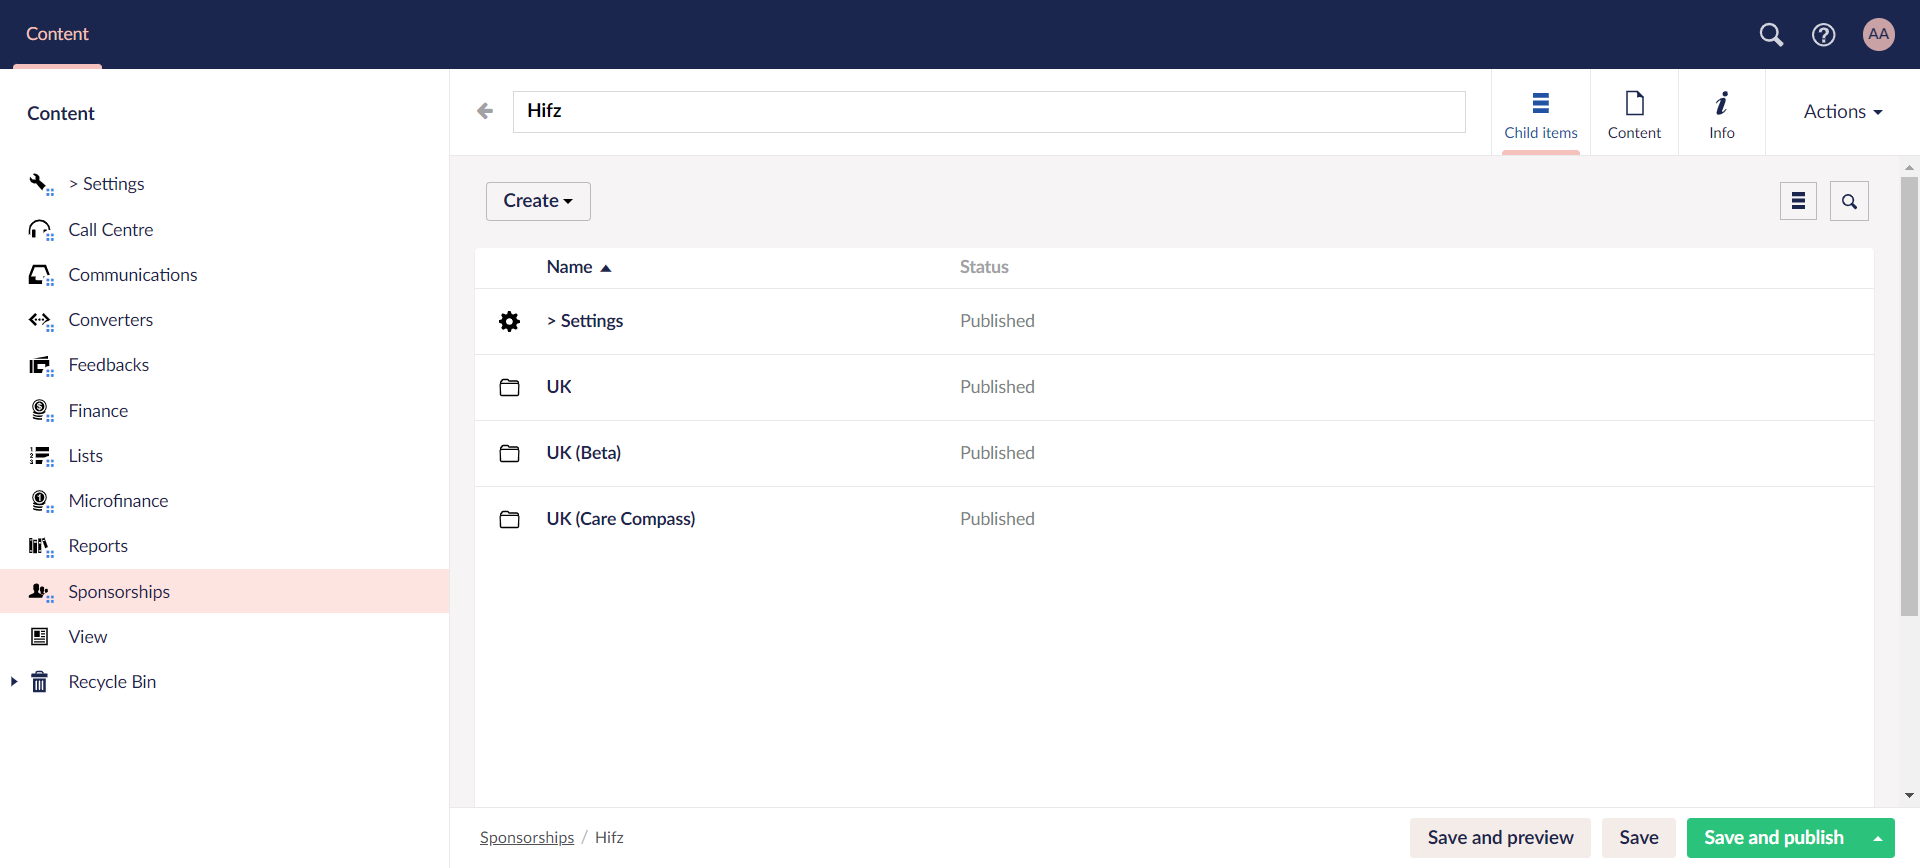
4. Click on any scheme folder and create different locations via Create based on the fund dimension "location" for that scheme in Engage.
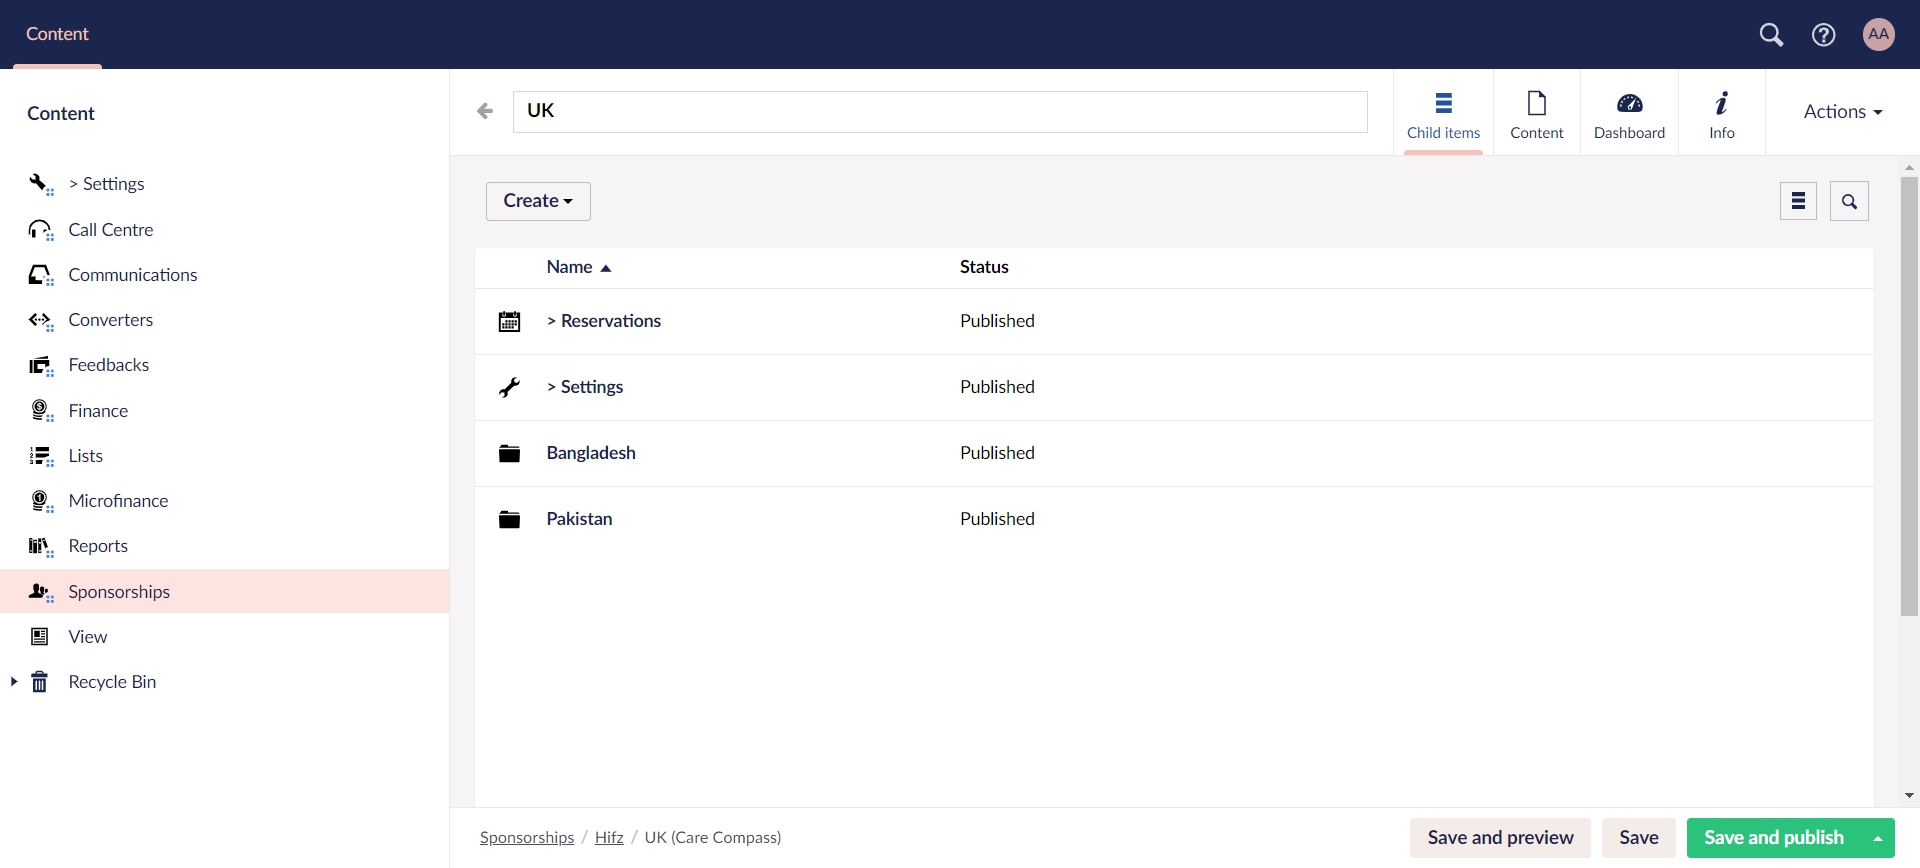
5. Choose any location folder, and you will see a list of all added beneficiaries for a particular scheme.
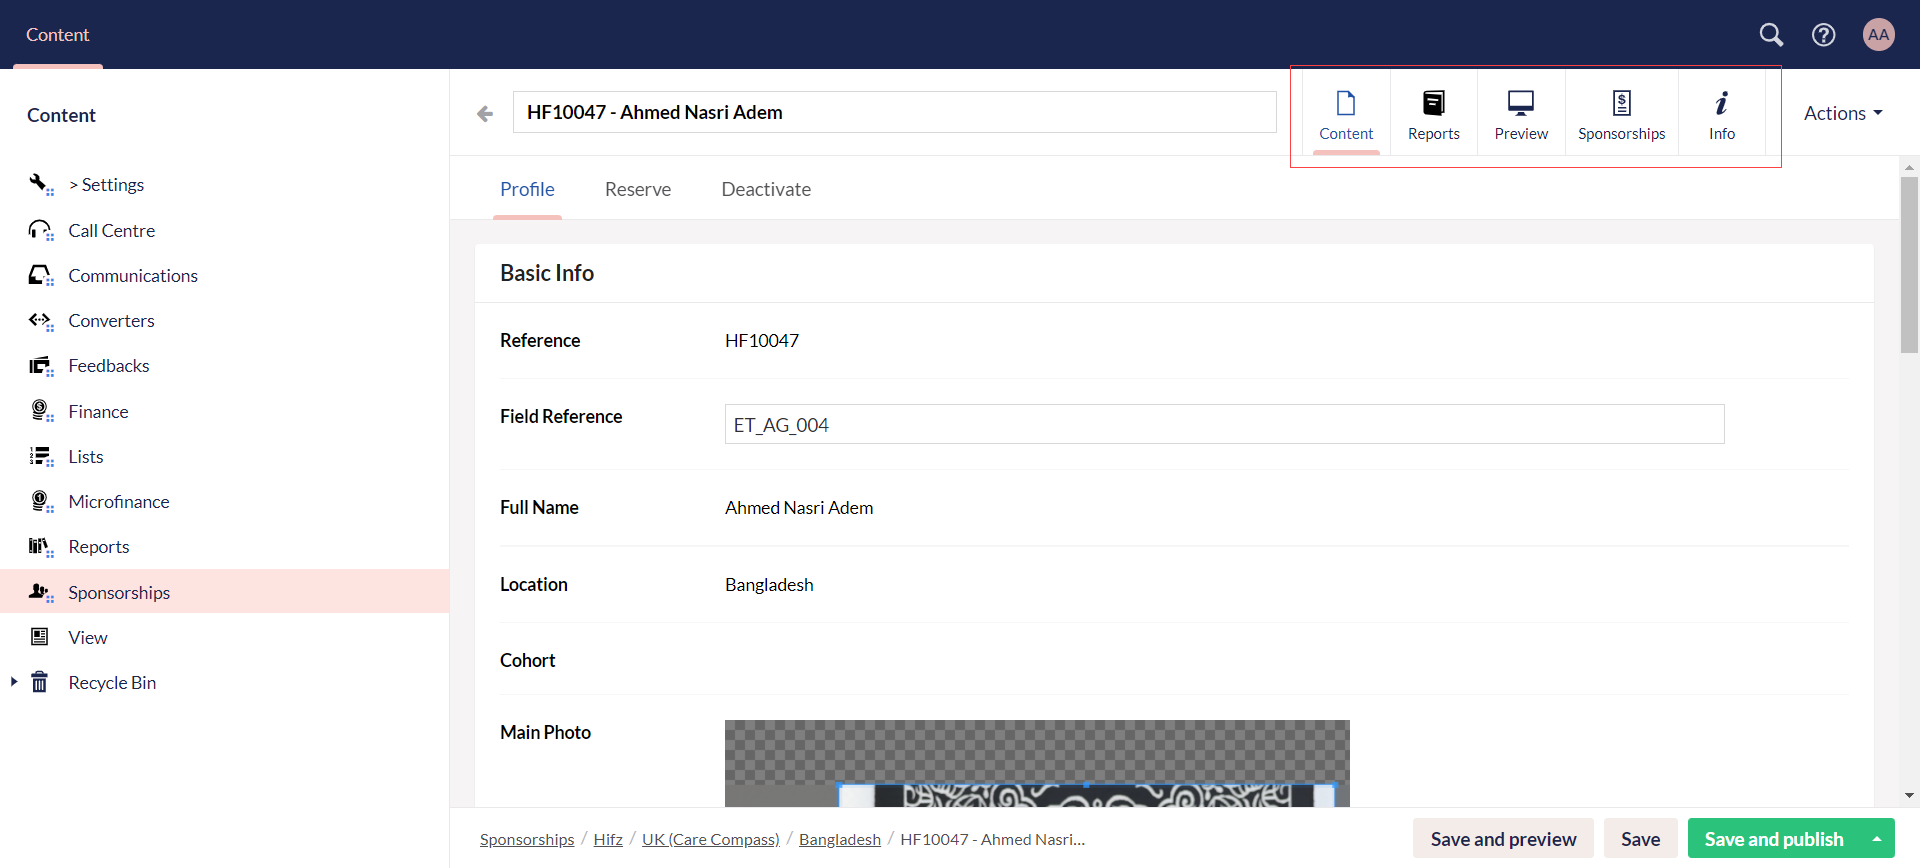
6. To add a new beneficiary, click Create to populate the New Beneficiary screen. Under the Profile tab, in the Basic Info section, enter field reference and click Drop an image to upload a photo of the beneficiary. Input the first name, last name, date of birth and select the gender.
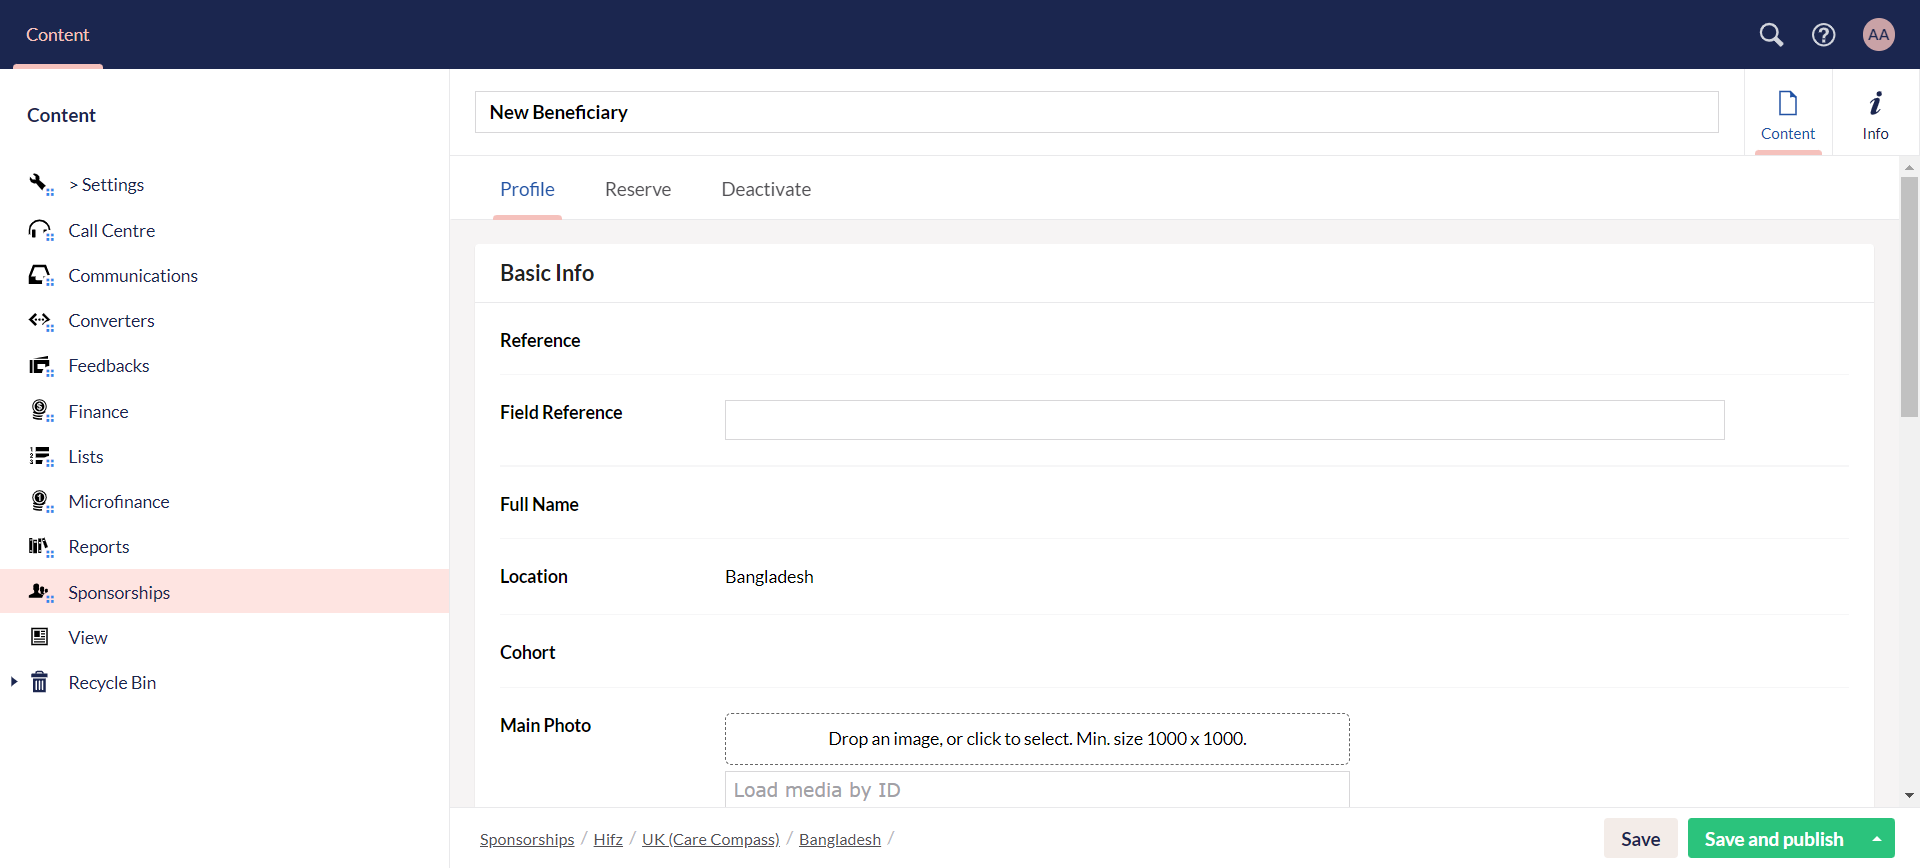
- Make sure the size of the image is minimum "1000x1000" dimensions. If the dimensions are less than the required, a warning message will be shown.
- By default, priority and location will be prepopulated, and you can change it as per necessary.
- Fields such as ID, Cohort ID, Photo URL, etc. are prepopulated by the Umbraco system.
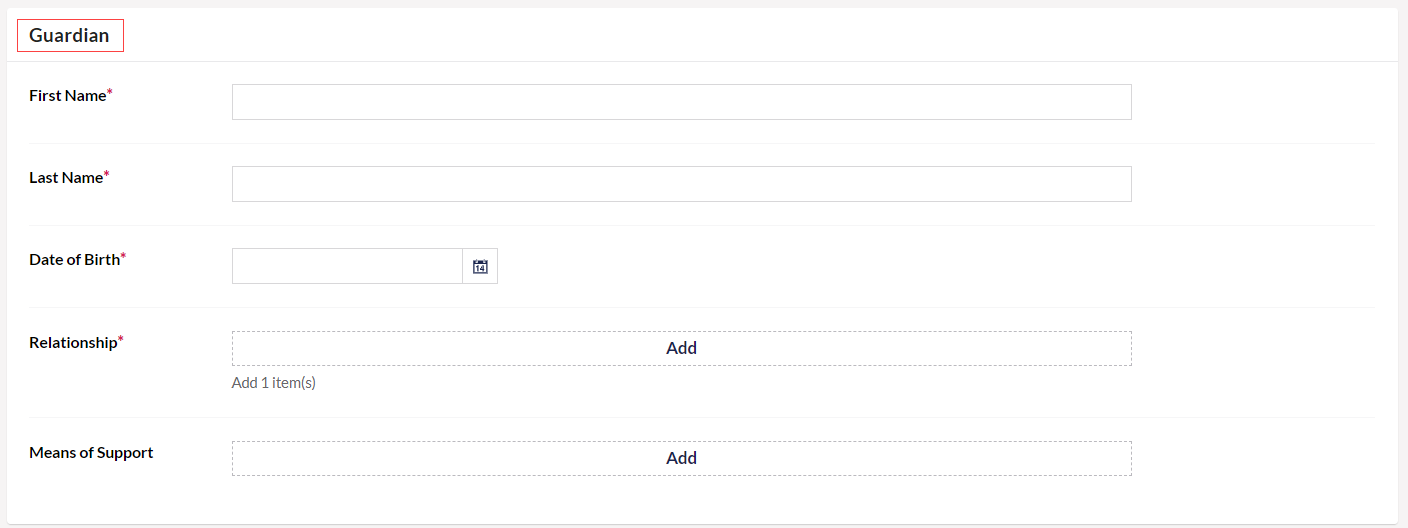
7. In the Guardian section, input all the details for the beneficiaries guardian including first name, middle name, last name, date of birth. Add the Relationship of the guardian with the beneficiary and any means of support.
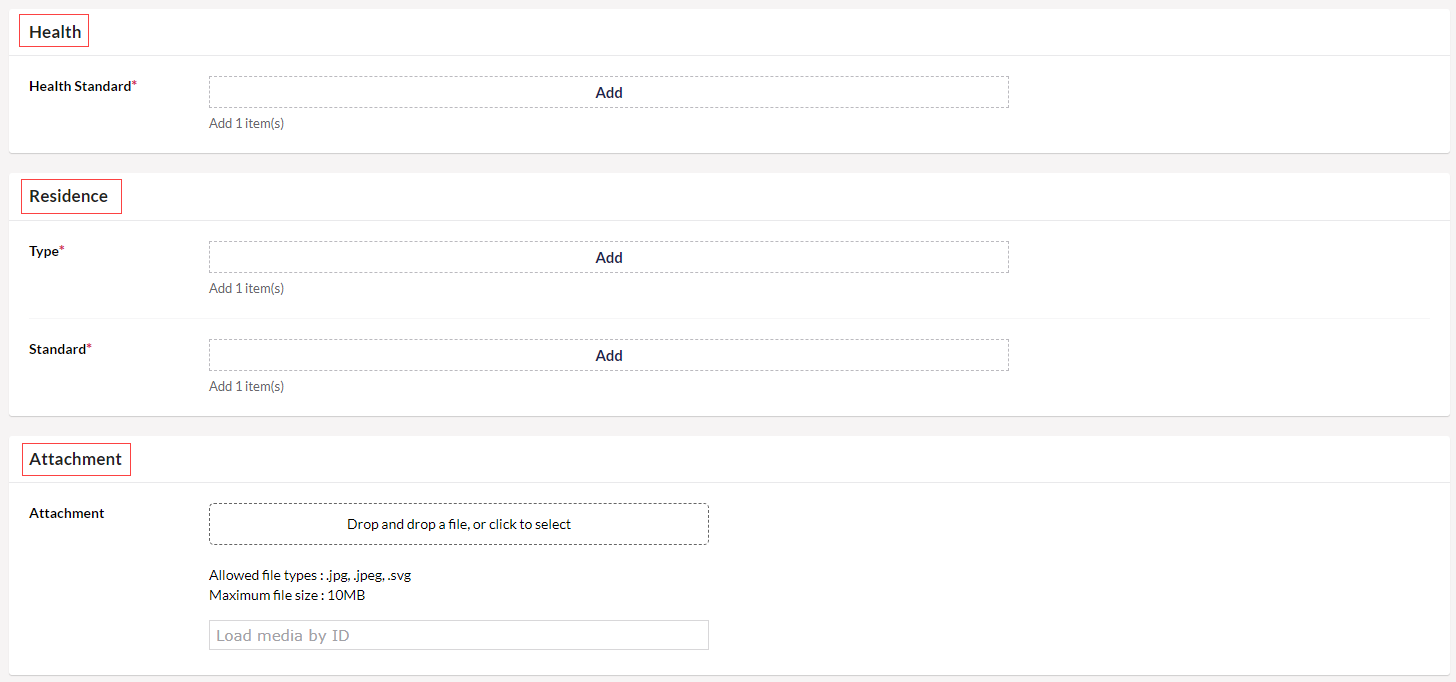
8. In the Health section, add the Health Standard e.g. good, poor etc.
9. In the Residence and Attachment section, add the accomodation type as rented or owned, accomodation standards as good, fair or poor and any attachment e.g. photo ID.
You can add more values for the pre-selected dropdown menu's in various input parameters e.g. guardian relationships, accomodations standards etc. After choosing any program, click Settings and you will see a list of different folders. Select any folder e.g. Accomodation Standard and create a new value for it.
10. Click Save to only save the beneficiary information in Umbraco or Save and publish to publish and automatically sync the Umbraco beneficiary information with Engage.
11. For each beneficiary, you can:
- Preview HTML reports under the Preview tab.
- View the donor account that is sponsoring the beneficiary under the Sponsorships tab with details including sponsorship begin on and end date.
- Click View in Engage to view the sponsorship in Engage under the Sponsorships tab.
12. You can also choose to reserve or deactivate a beneficiary as required. Visit the Reserving or Deactivating Beneficiary documentations respectively.