Adding a Beneficiary in Umbraco
Engage allows you to add a beneficiary to sponsor via Engage Forms that is specifically designed for users to create and manage forms on the website. This means that whenever a beneficiary is added, it is automatically synced within Engage and visible for any donor to create sponsorships.
For any changes saved and published in Engage Forms, Engage automatically syncs and pulls the updated information.
To add a beneficiary, follow the detailed steps defined.
1. Login to Engage and open Forms by clicking on Engage in the top left corner.

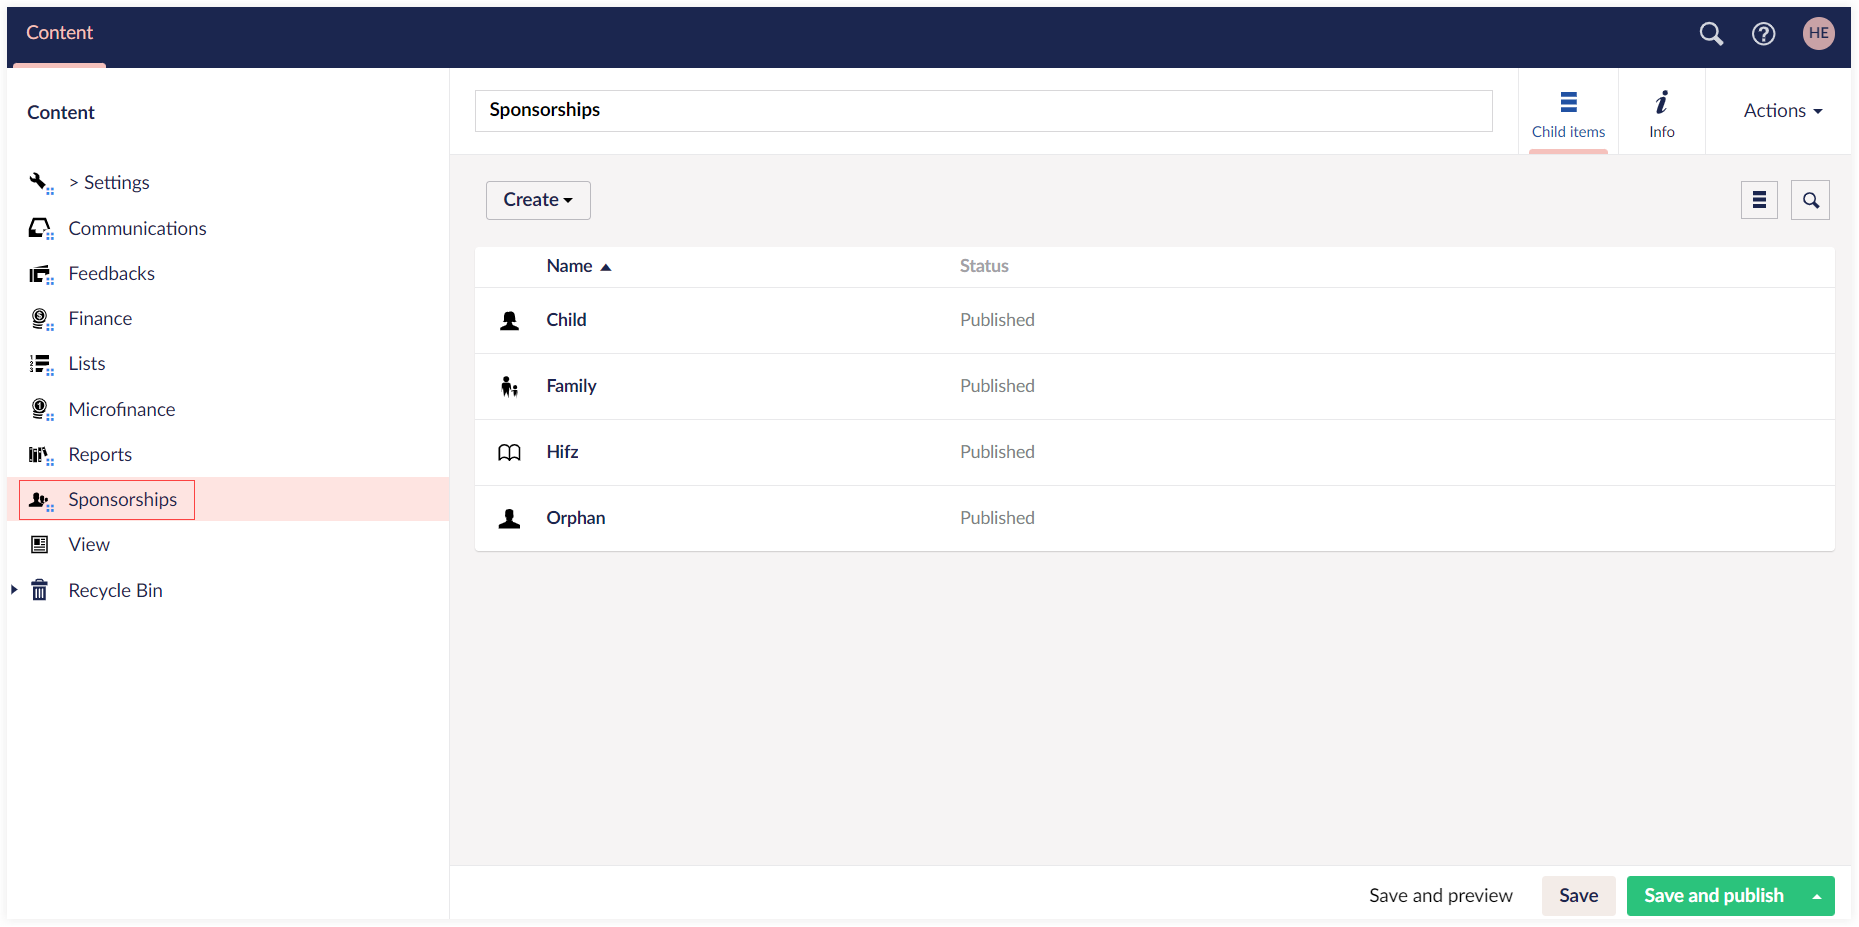
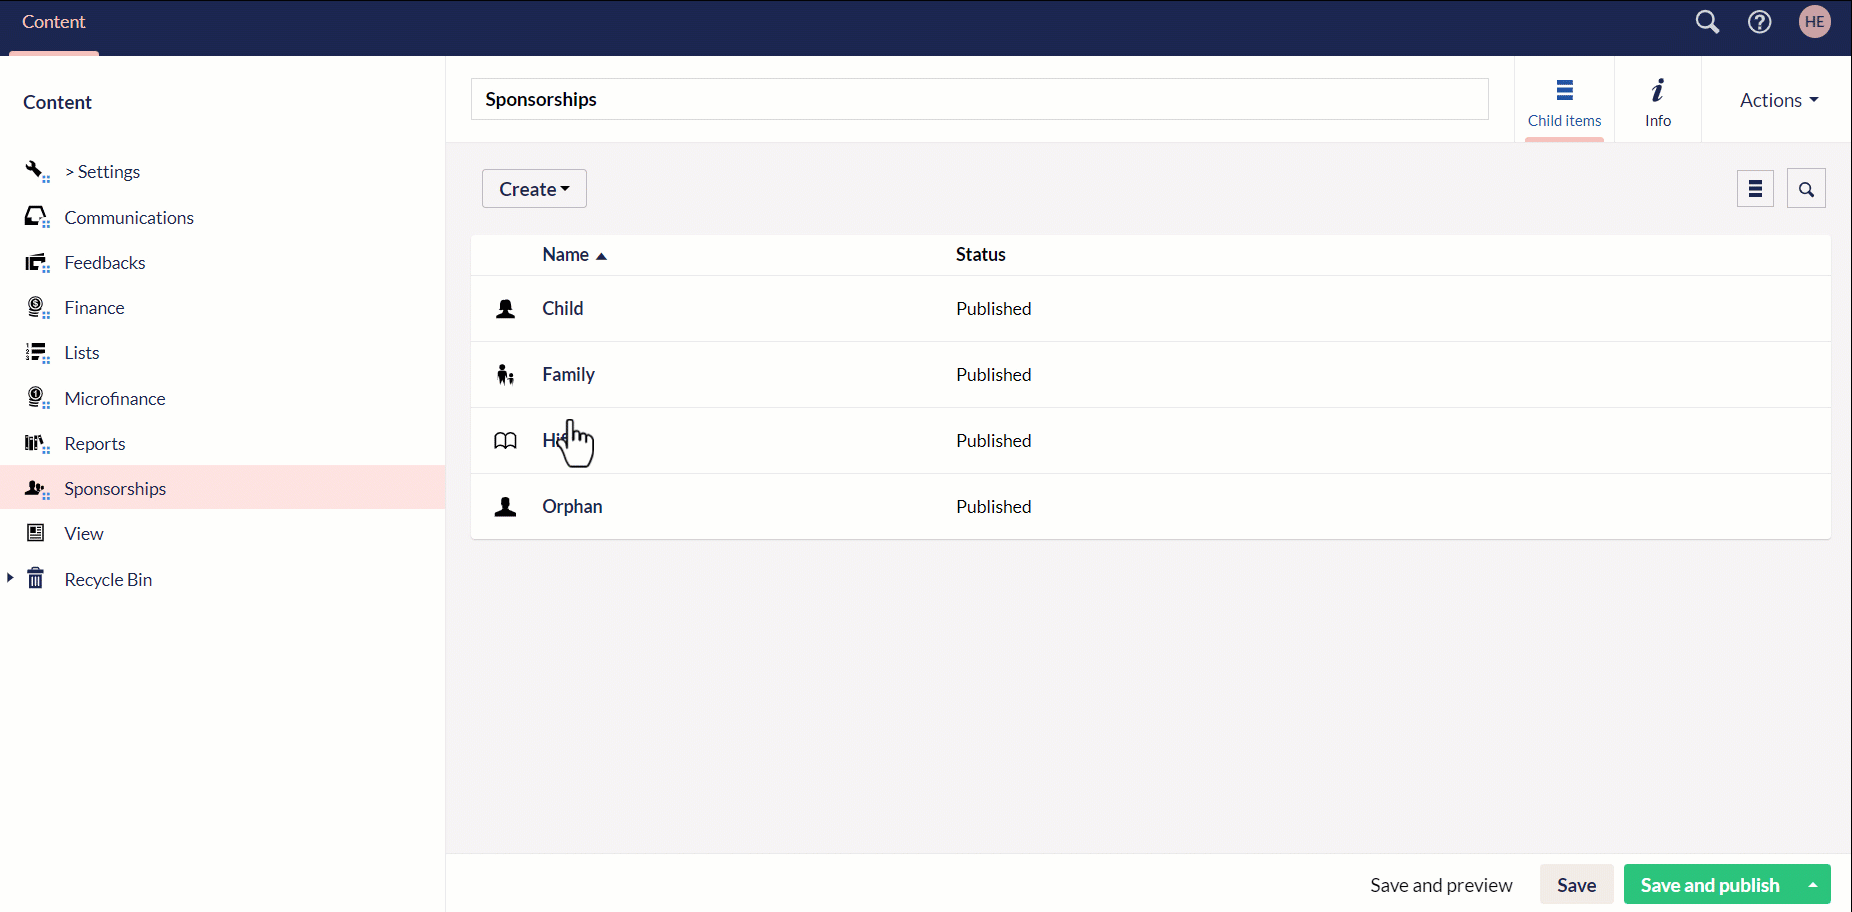
2. In the Content tab, click on Sponsorships. Different sponsorship programs already existing and published in Engage, containing name and status, will appear.
You can also add a new sponsorship program with the Create button under different categories.
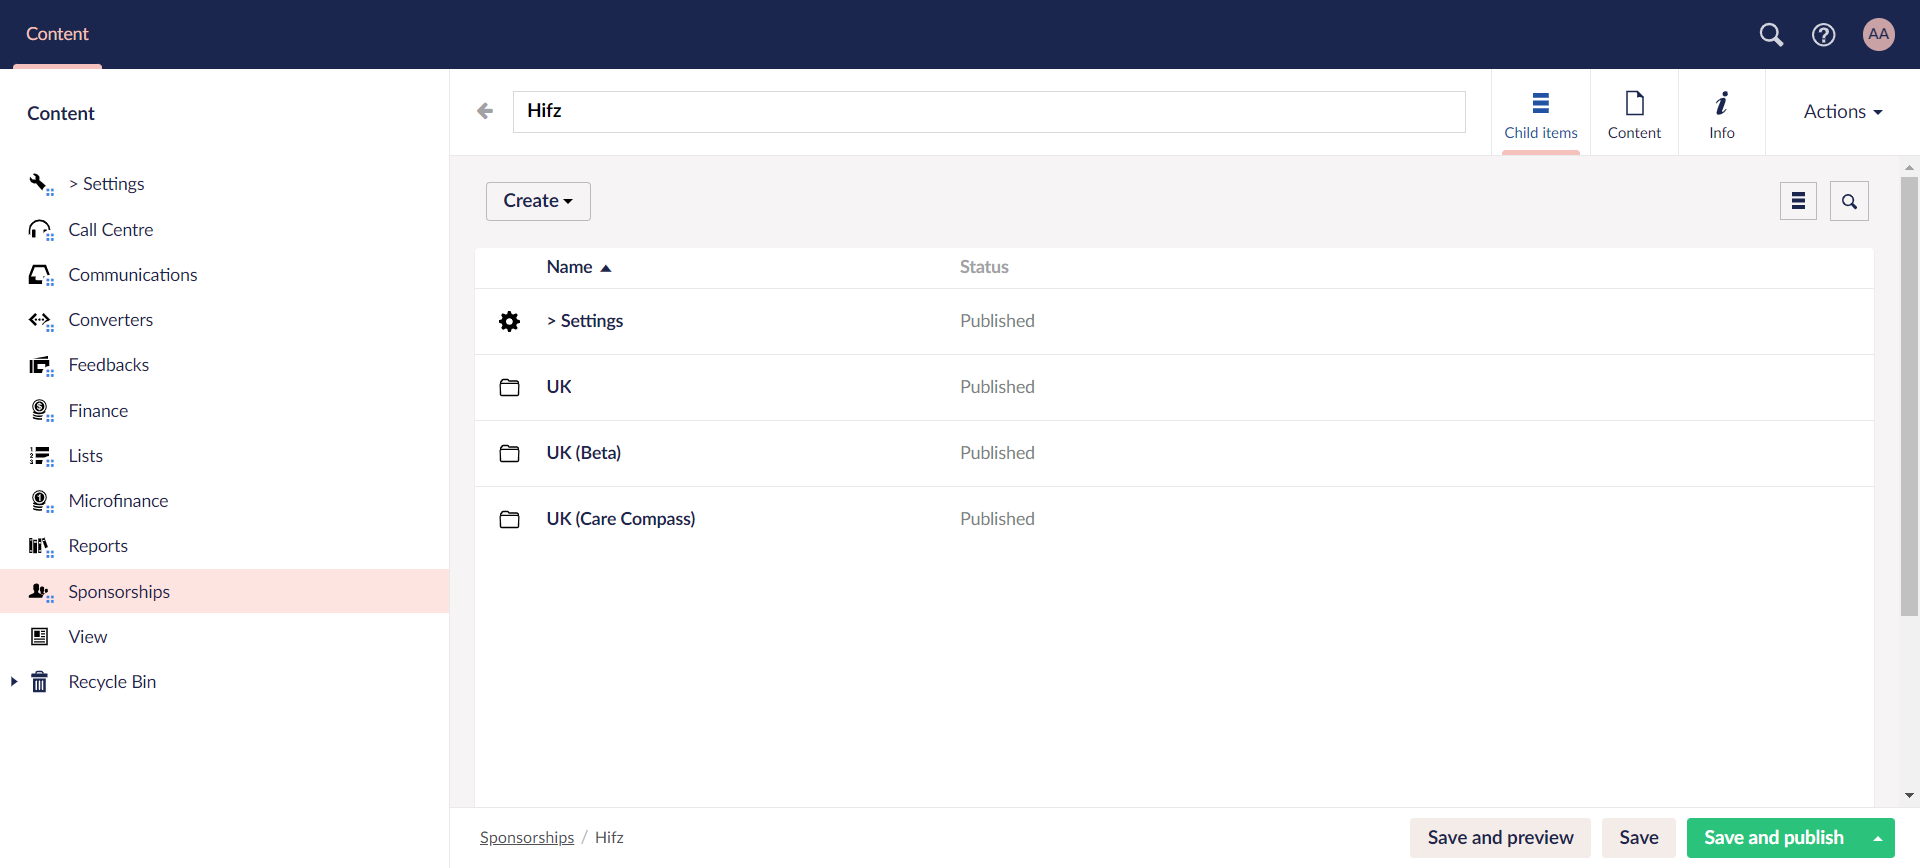
3. Choose any folder, and you can view further scheme folders created within. You can also create a new one via Create
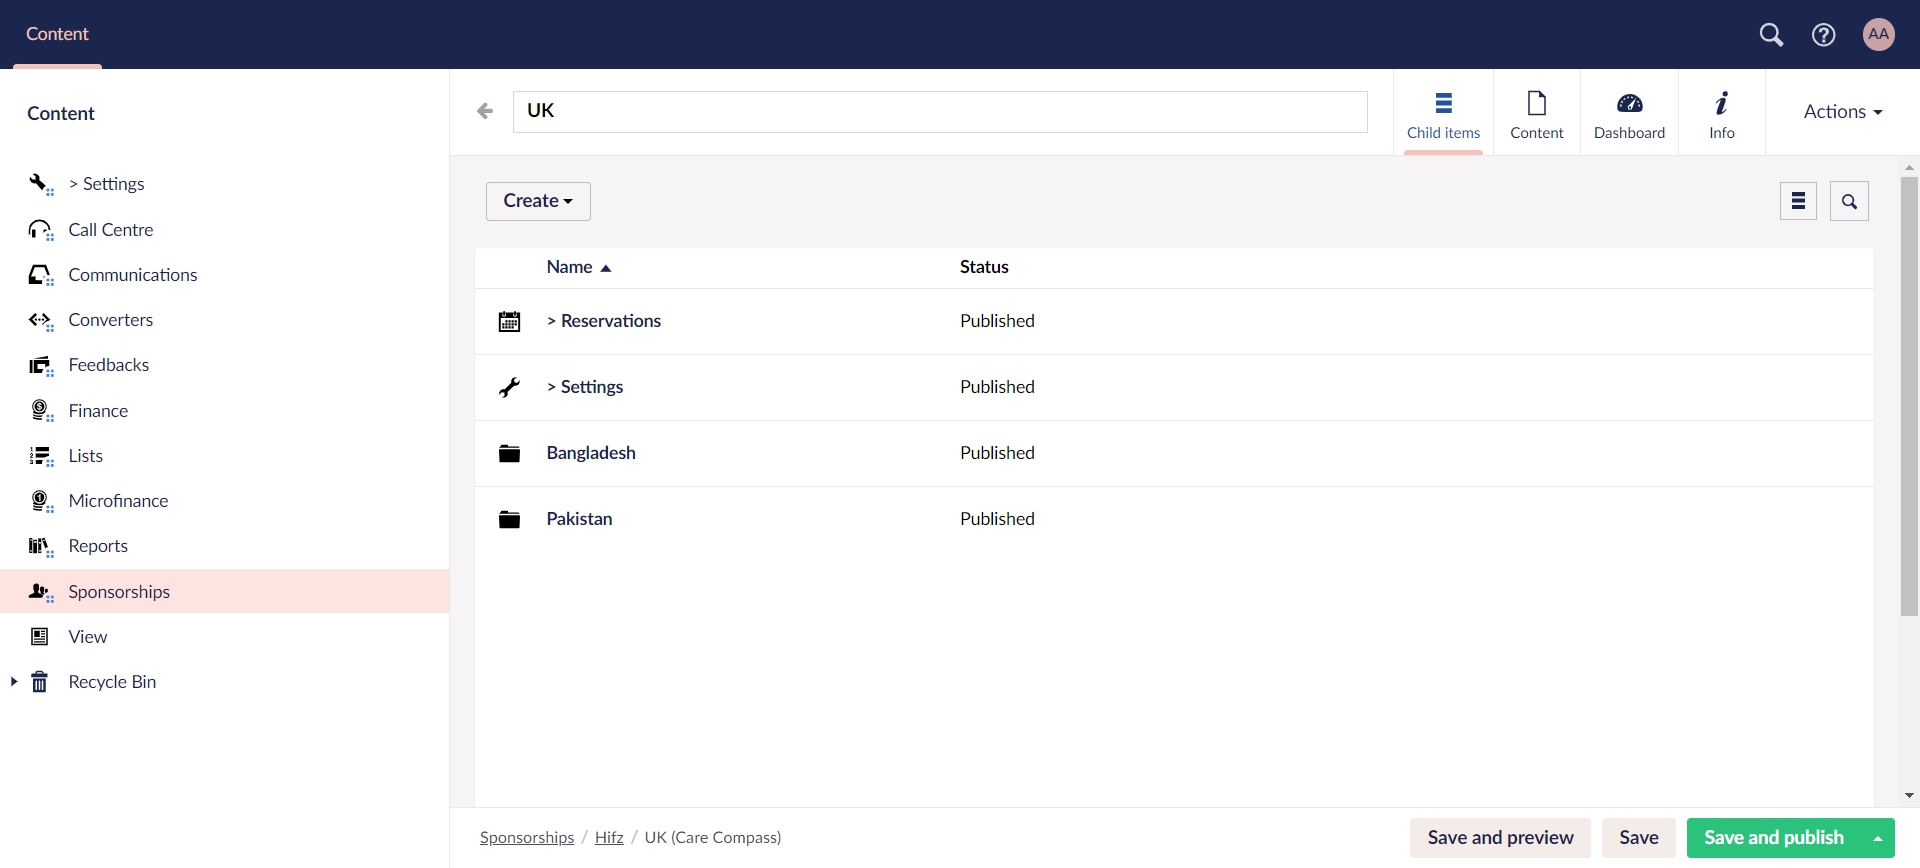
4. Click on any scheme folder and create different locations via Create based on the fund dimension "location" for that scheme in Engage.
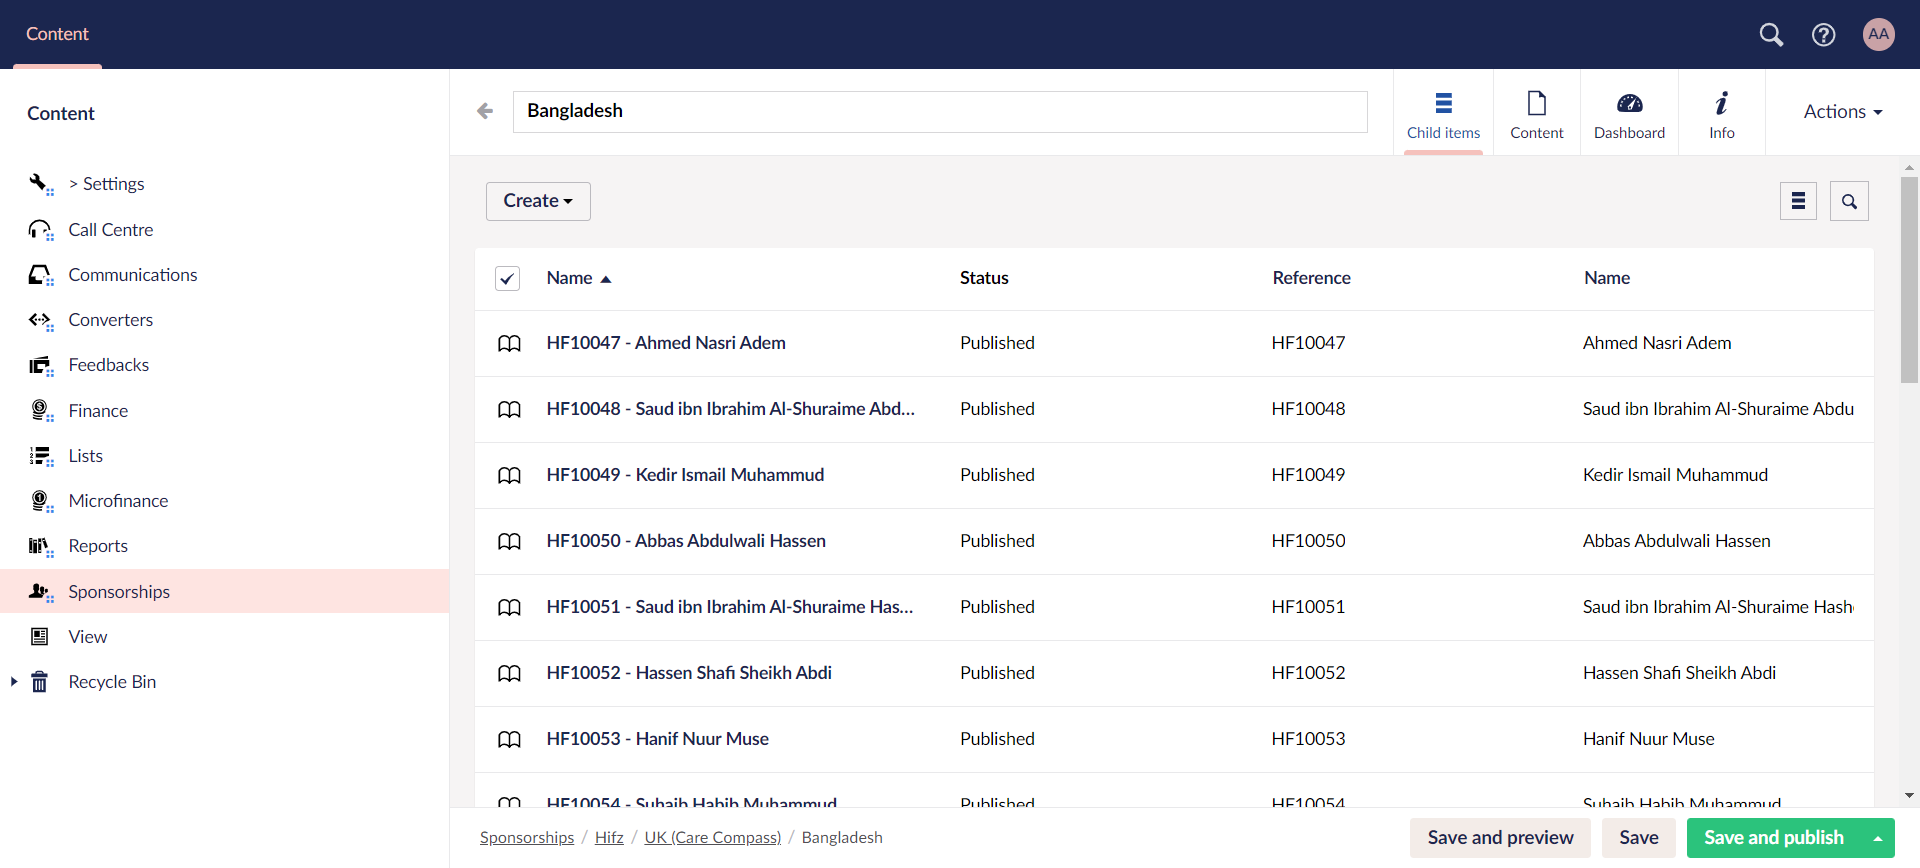
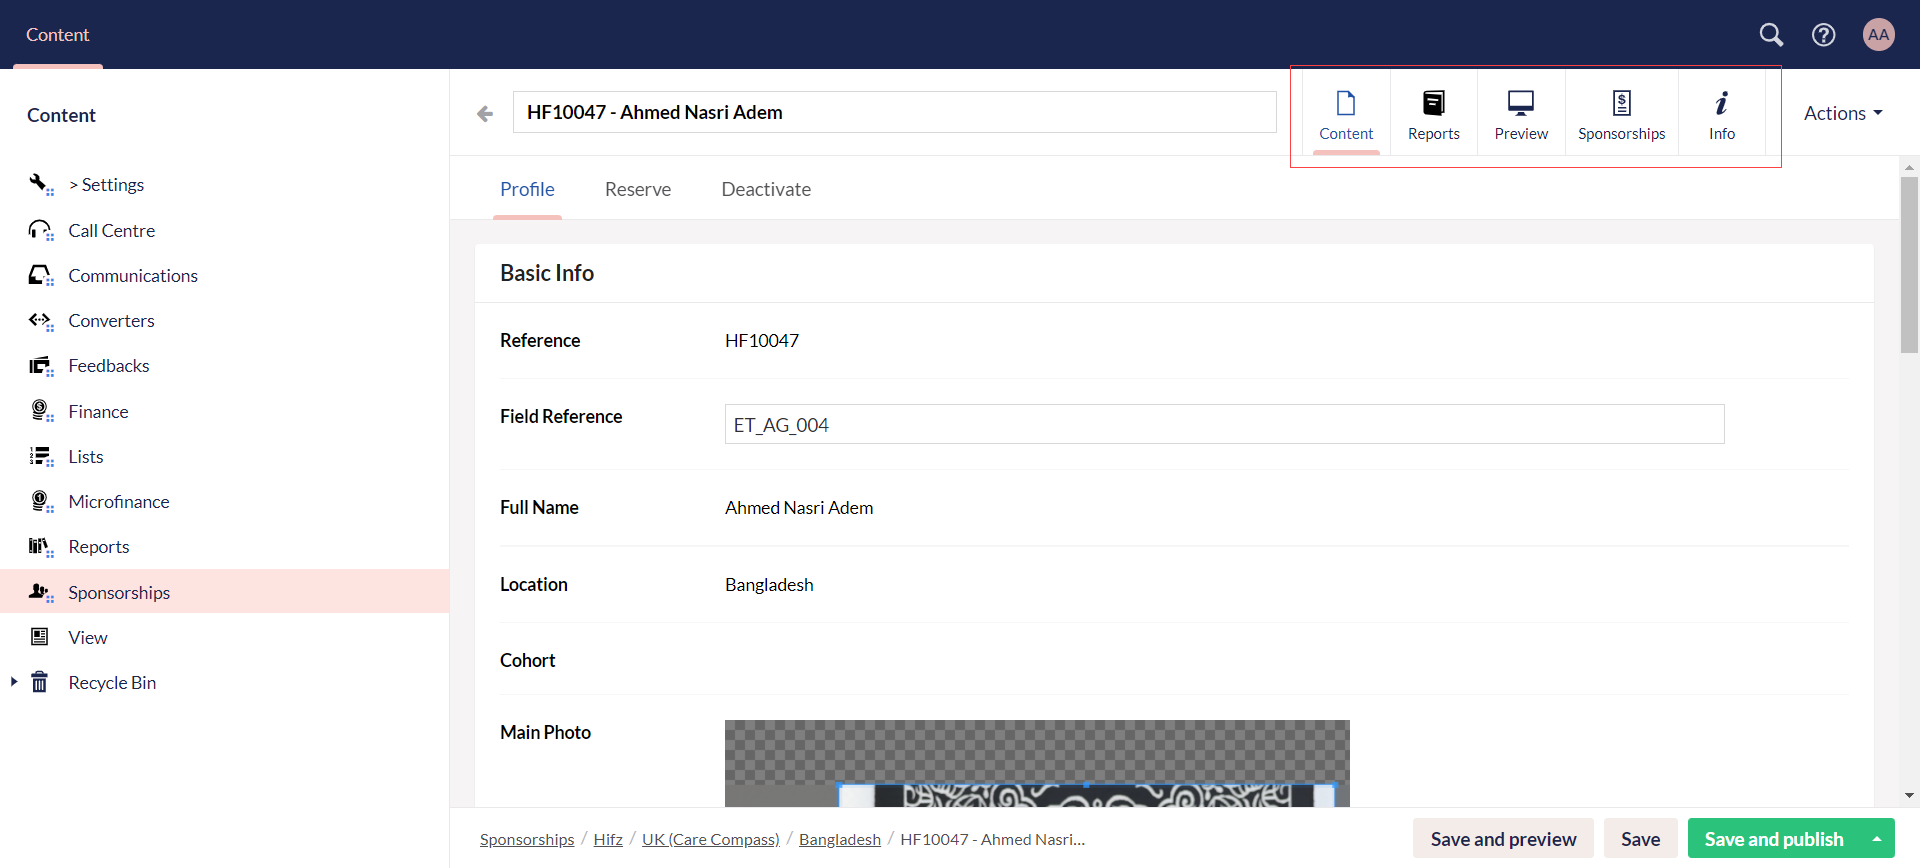
5. Choose any location folder, and you will see a list of all added beneficiaries for a particular scheme.
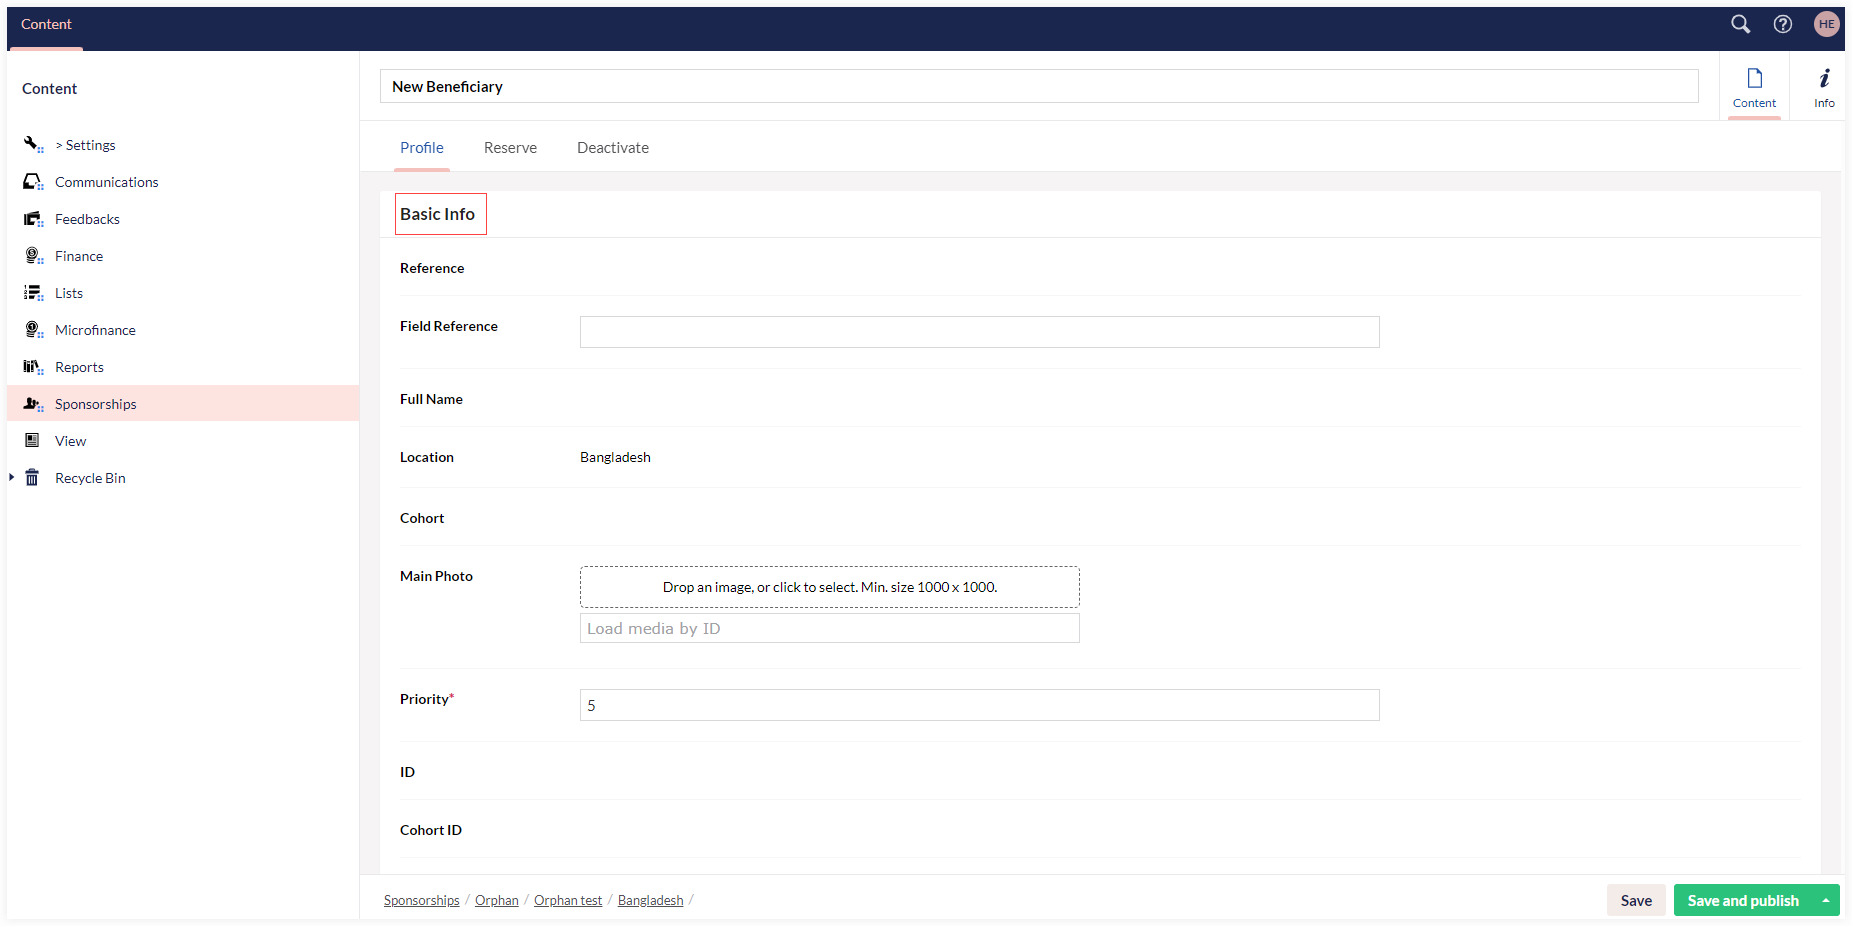
6. To add a new beneficiary, click Create to populate the New Beneficiary screen. Under the Profile tab, in the Basic Info section, enter field reference, click Drop an image to upload a photo of the beneficiary and set the Priority. Input the first name, last name, date of birth and select the gender.
- Make sure the size of the image is minimum "1000x1000" dimensions. If the dimensions are less than the required, a warning message will be shown.
- If there is a need to resize and crop the image, go to Image Resizer, provide the required dimensions and download the cropped image immediately.
- By default, priority and location are prepopulated, but you can change them as per necessary. Priority is designed to indicate the level of a beneficiary when being suggested for a sponsorship. These levels range from 1 to 10 with "1" being the highest priority level and "10" being the lowest priority level. Some examples are:
- Beneficiaries in need of immediate support or residing in regions facing critical challenges can be assigned a higher priority.
- beneficiaries with medical needs, disabilities, or those in situations of extreme vulnerability can be assigned a higher priority.
- Beneficiaries with stable sponsorship arrangements or access to alternative support channels can be assigned a lower priority.
- Beneficiaries who have been waiting longer for sponsorship could be prioritized in a different range (3-8) to ensure equality.
- Fields such as ID, Cohort ID, Photo URL, etc. are prepopulated by the Umbraco system.
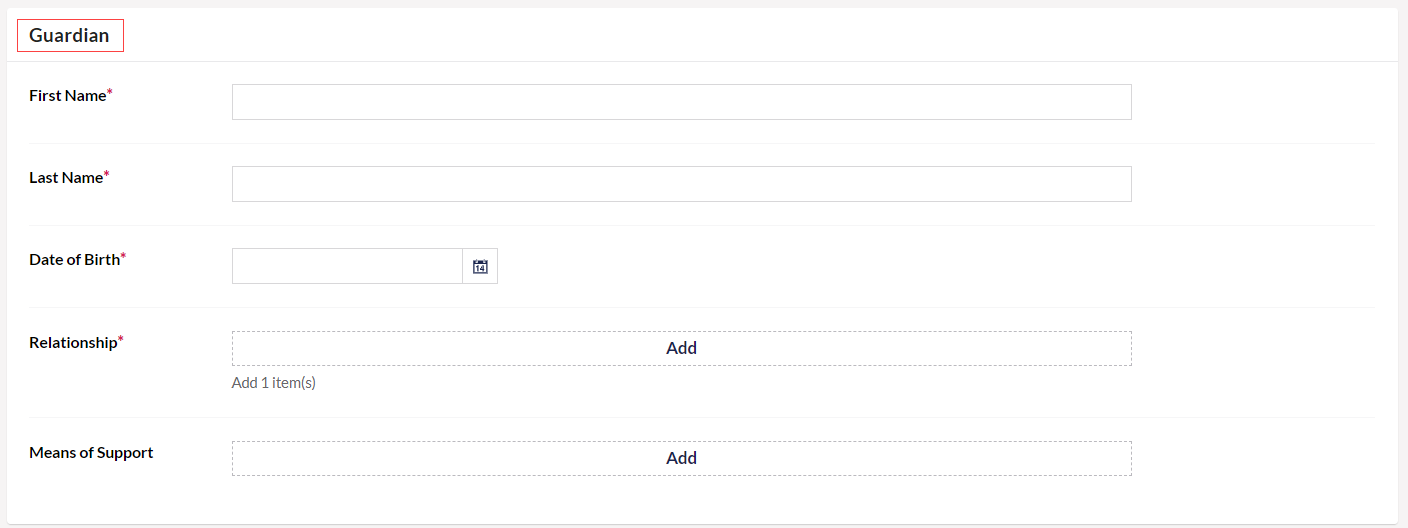
7. In the Guardian section, input all the details for the beneficiaries guardian including first name, middle name, last name, date of birth. Add the Relationship of the guardian with the beneficiary and any means of support.
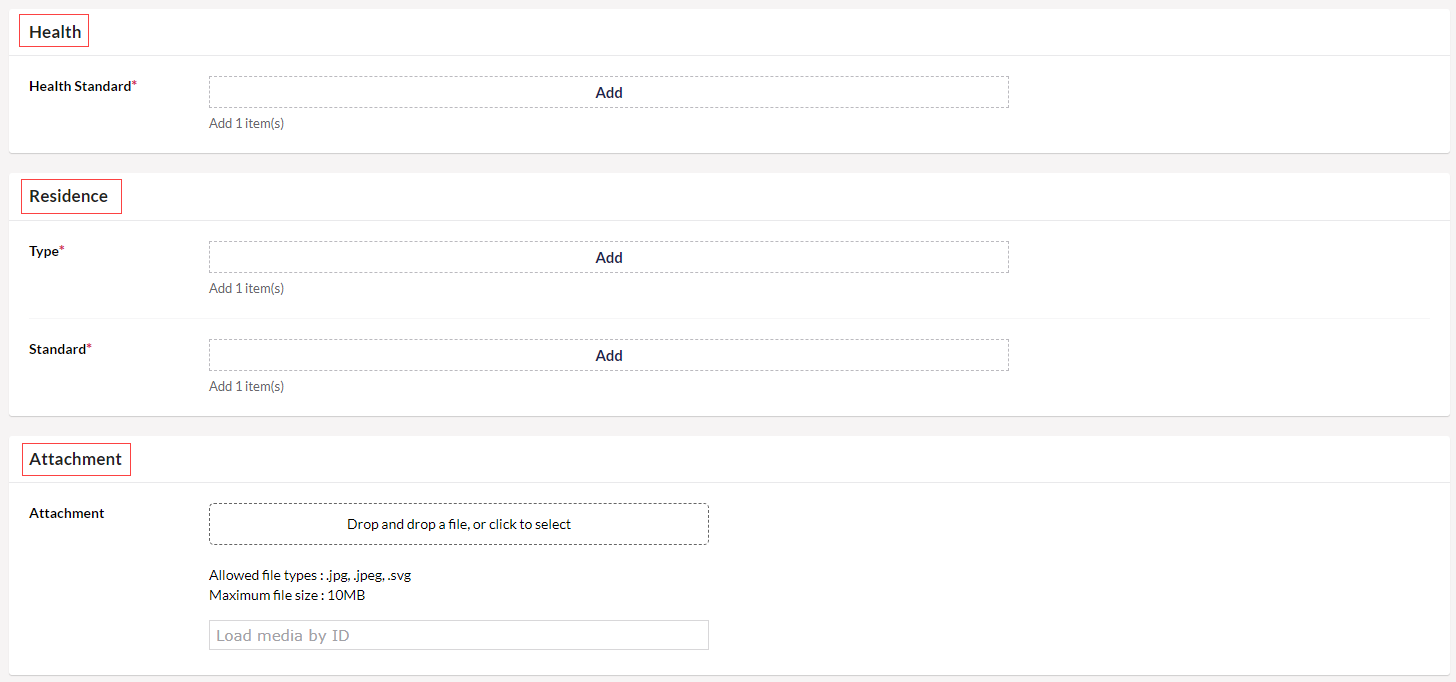
8. In the Health section, add the Health Standard e.g. good, poor etc.
9. In the Residence and Attachment section, add the accomodation type as rented or owned, accomodation standards as good, fair or poor and any attachment e.g. photo ID.
You can add more values for the pre-selected dropdown menu's in various input parameters e.g. guardian relationships, accomodations standards etc. After choosing any program, click Settings and you will see a list of different folders. Select any folder e.g. Accomodation Standard and create a new value for it.
10. For each beneficiary, you can:
- Preview HTML reports under the Preview tab.
- View the donor account that is sponsoring the beneficiary under the Sponsorships tab with details including sponsorship begin on and end date.
- Click View in Engage to view the sponsorship in Engage under the Sponsorships tab.
11. Click Save to only save the beneficiary information in Umbraco or Save and publish to publish and automatically sync the Umbraco beneficiary information with Engage.