Lists
One more feature to grasp under Content in the section menu is Lists. The lists functionality plays an important role in organizing and managing data related to donors, beneficiaries, and various other entities within a CRM.
Just like the lists feature in Engage, Engage Forms also contributes towards this functionality by offering:
- Creation of multiple lists for donors over a specific date range.
- Downloadable Excel sheet for any list in the Exports section.
- Less wait time for downloading of any newly created list.
- Notification via email about the completion of any newly created list.
Create a List Using Engage Forms
Multiple lists, whether a donations summary or a beneficiary list, can be created via Engage Forms by providing only a date range, payment methods, email address and password. These lists right after creation, whether having large or small amount of data, have the ability to be downloaded without too much wait time. The Criteria tab for each list makes it easier for the donor to find any list field, set up its filter and update it accordingly without the need to navigate to Engage itself.
To create a list:
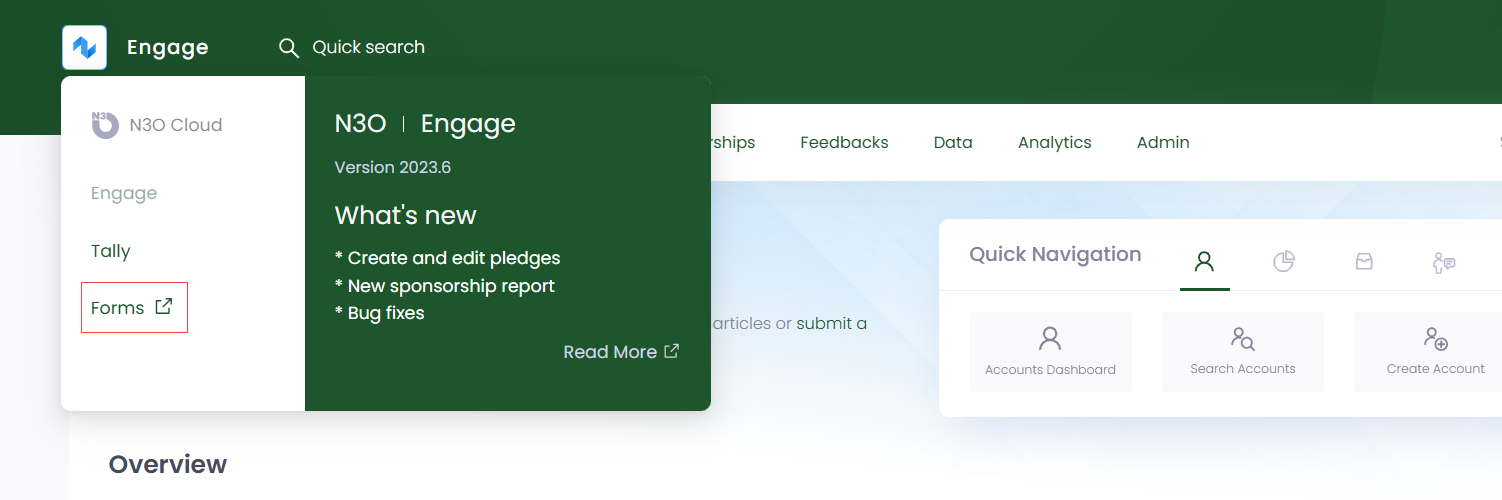
1. Click Engage on the main dashboard and navigate to Engage Forms.
2. Click Create Lists Subscription and create a folder you will keep your list in.
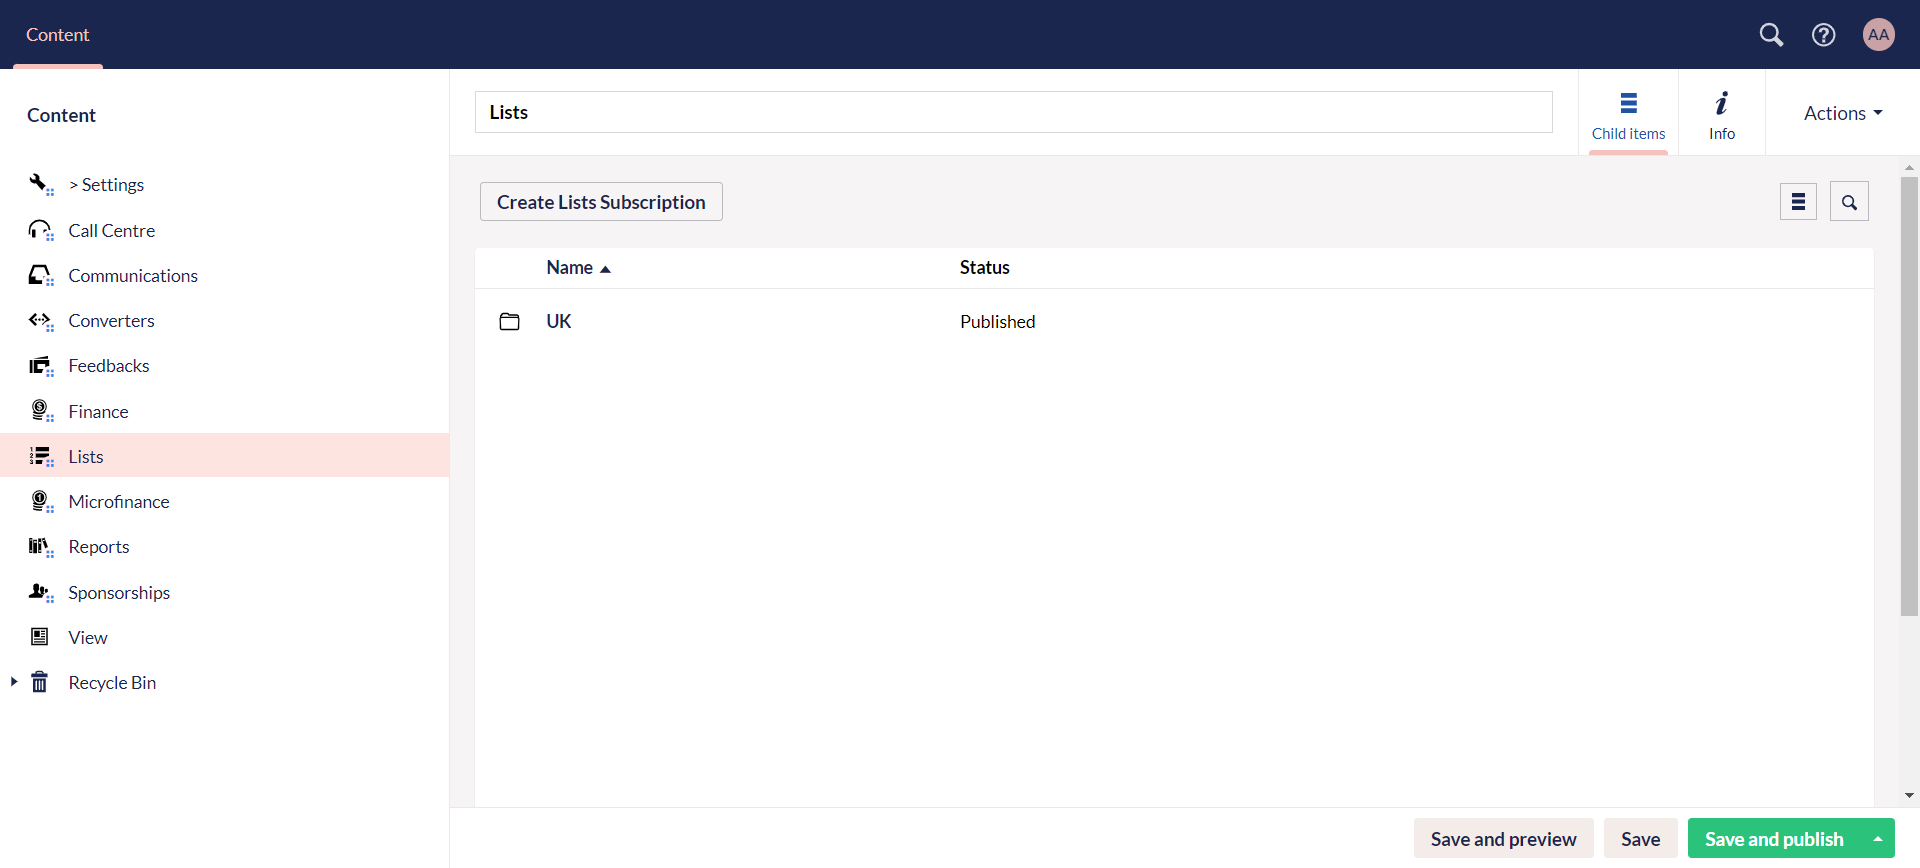
3. Open up the folder, and create lists folder via Create.
Lists settings under the Create button includes all those payment methods to be added which automatically appear when creating a list e.g. Cash, Card and Direct debit, etc.
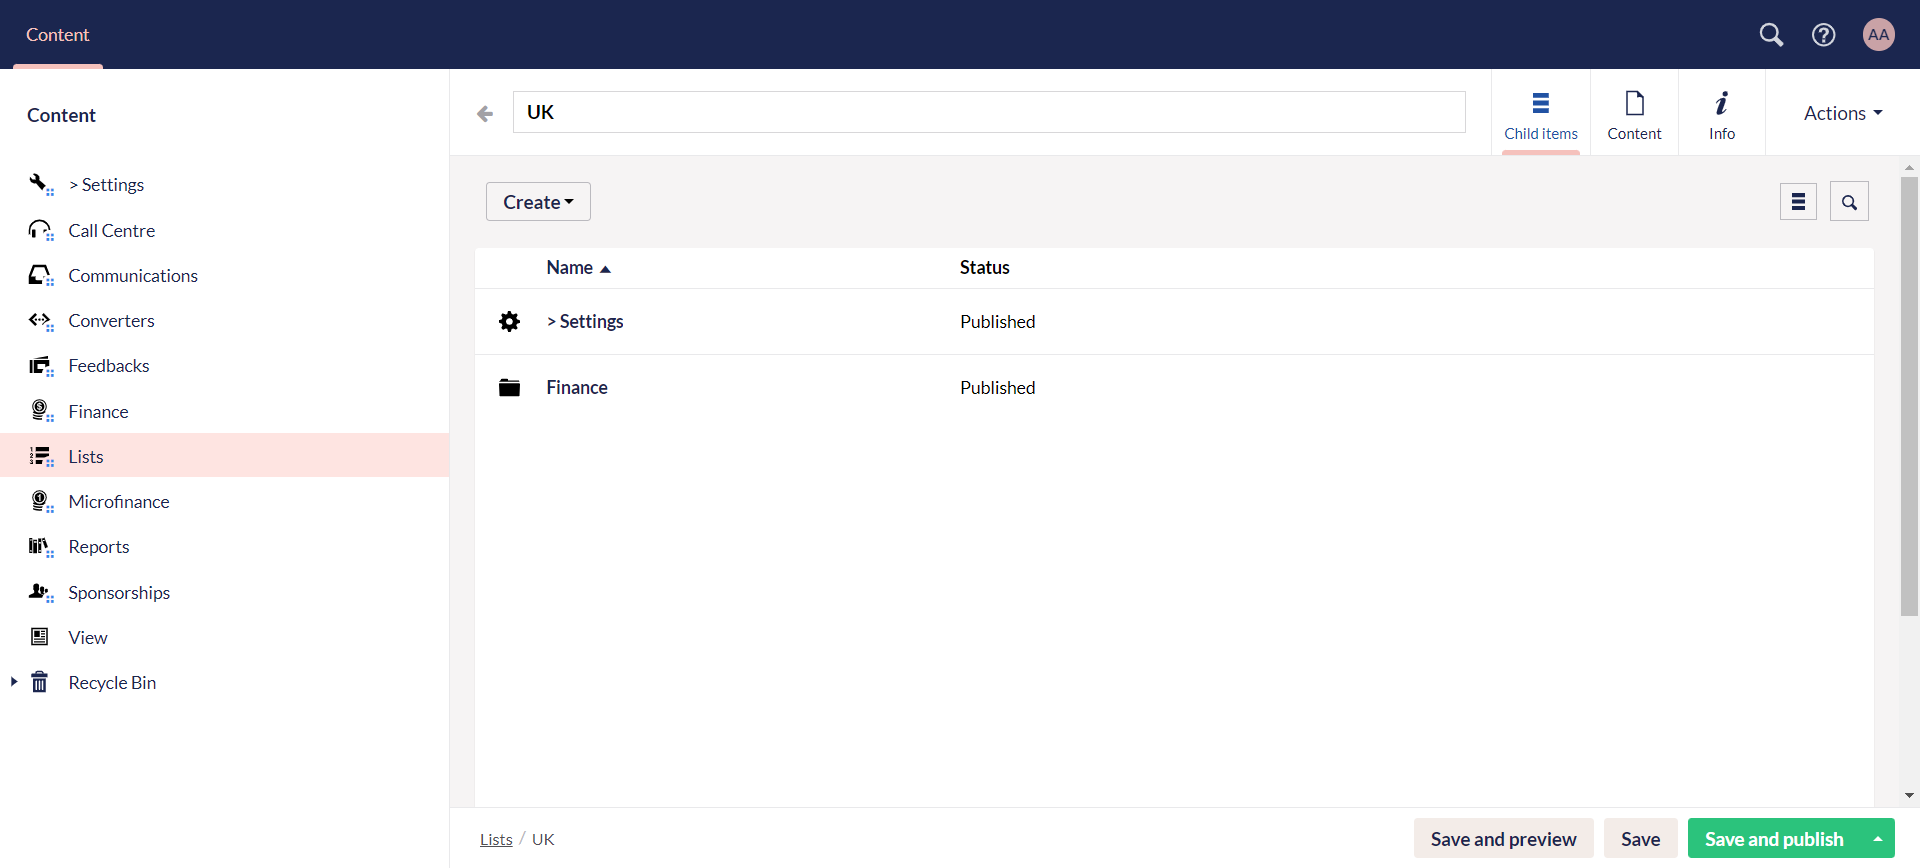
4. Click the lists folder and click Create to create a Date Range list or a Date Range Payment Methods list, with payment methods to be the only difference between them.
5. In the General tab, name the list, specify the date and time in the From and To section, specify the payments methods, input the email to update the donor as soon as the export is complete and the password to protect the file. Click Save and Publish. The Criteria tab includes the json code for all the fields included in a list, predefined by N3O.
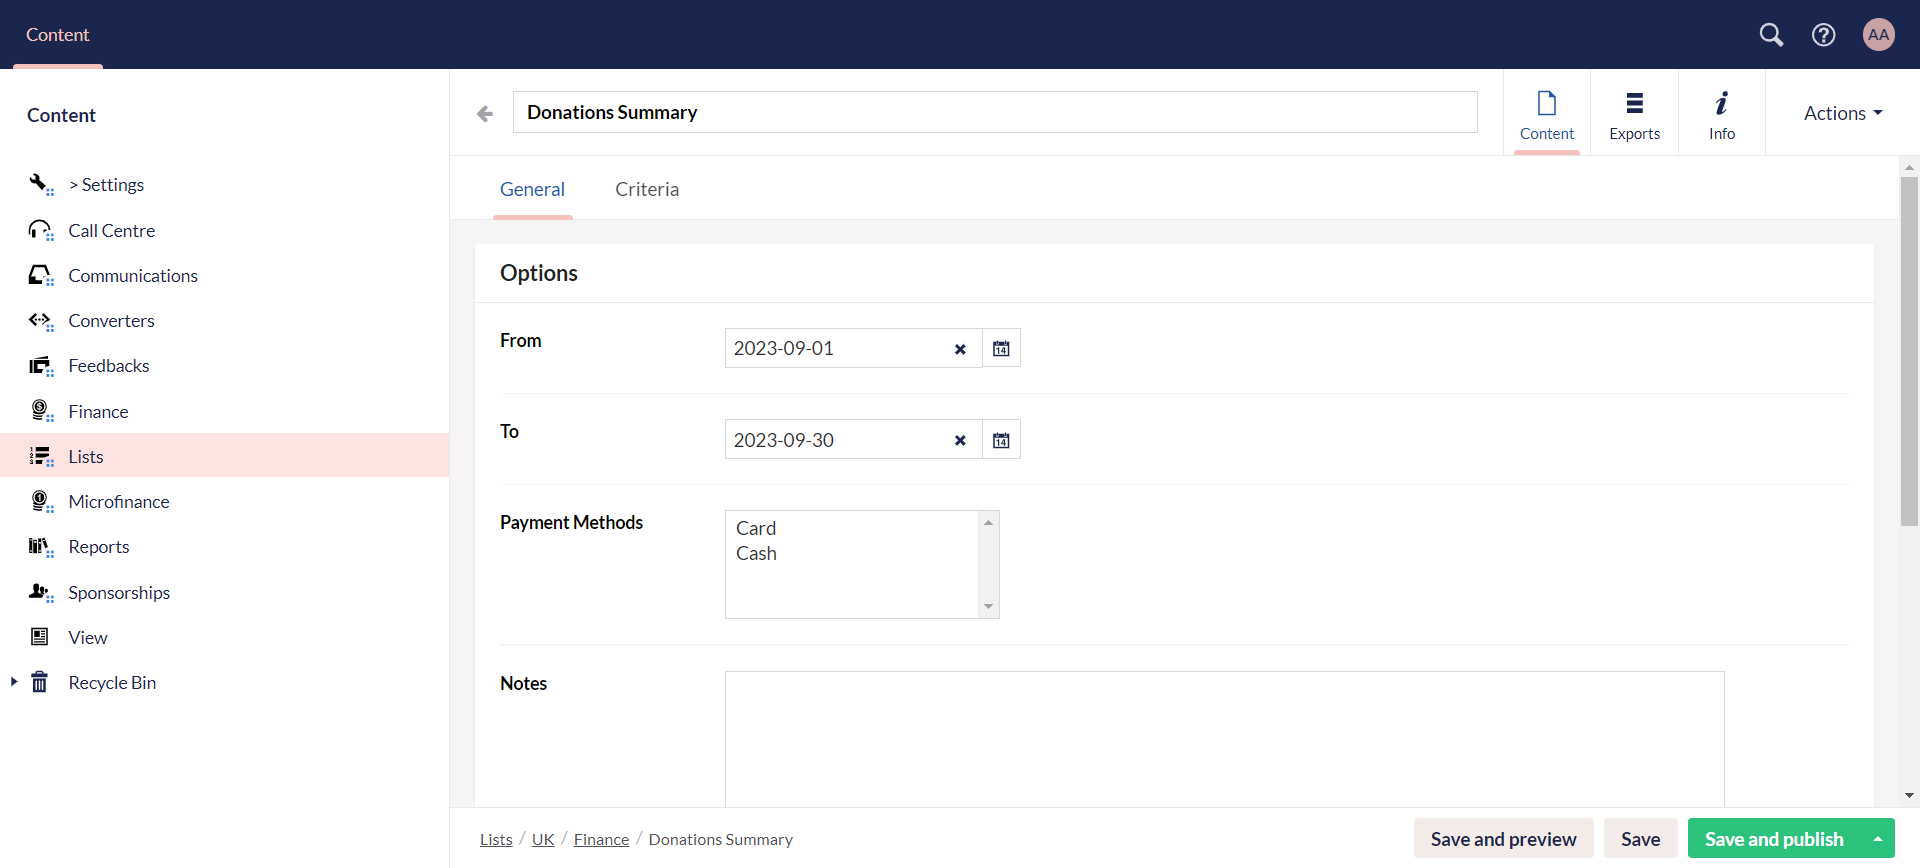
To only save your work for further changes, click Save and to save your work and view an unpublished version of the website, click Save and Preview. An Umbraco preview of the website will appear.
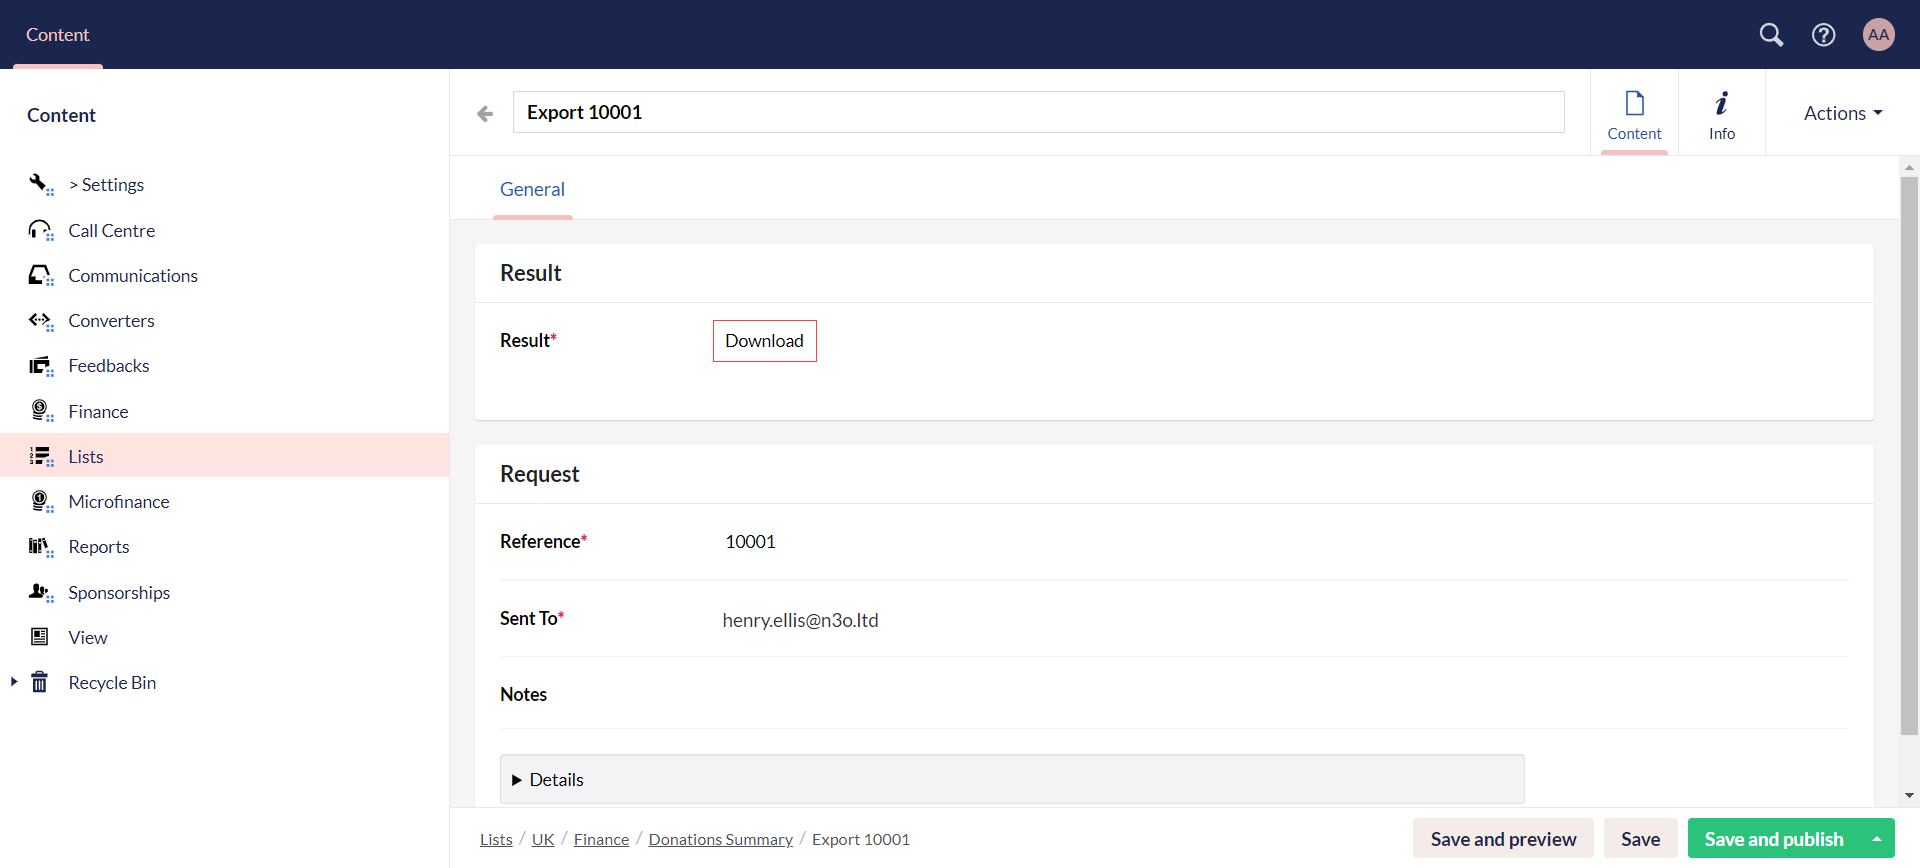
5. As soon as the list for the specified time period is obtained from Engage, you will see an export in the Exports tab. Click it and download the Excel sheet from the Download option.
6. An example can be a donations summary list that includes data about all the donations performed by donors with fields donation reference, donation date, donation type, fund dimensions, etc.
